In this guide
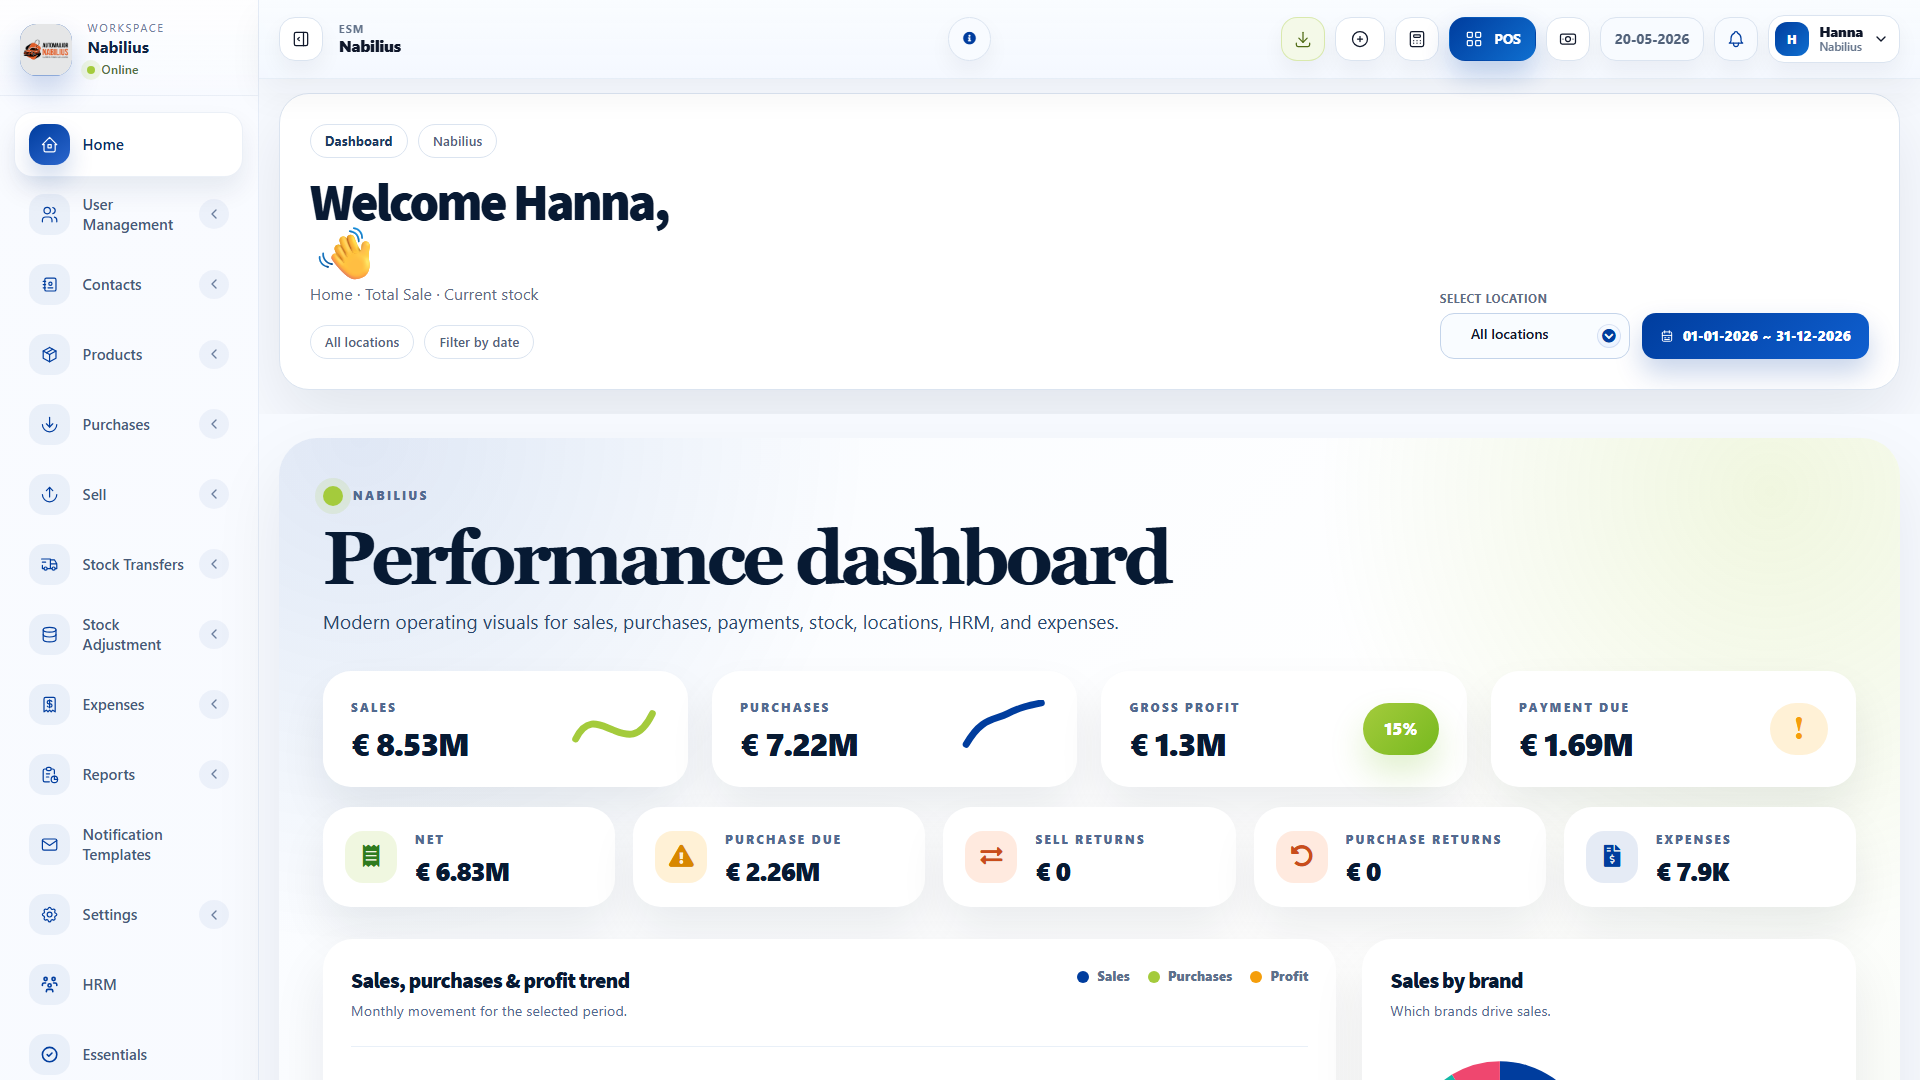
Recommended setup order
Use this order when onboarding a new company so that later modules inherit the correct defaults.
- Confirm business profile, currency, timezone, financial year, tax labels, and default datatable entries in Business Settings.
- Create or verify business locations before adding stock, users, invoices, or POS transactions.
- Add users, roles, categories, units, brands, and taxes before importing products.
- Import products or create them manually, then add opening stock only after location and unit setup is correct.
- Run a small test sale and purchase before inviting the full team.
Check before moving on
Default location is visible in filters and POS.
Invoice scheme and layout are assigned to the location.
At least one admin user can access users, products, purchases, sales, reports, and settings.
What to configure first
Most ESMCloud screens are connected. A small mistake in a shared setting can appear later in sales, stock, and reports.
- Business Settings controls product expiry, tax behavior, invoice labels, POS behavior, reward points, SMS, email, and modules.
- Business Locations controls invoice scheme, invoice layout, registers, price groups, and location-specific stock.
- Users and roles control who can see menus, create transactions, delete data, and access reports.
Check before moving on
Registration, login, Google login, and subscription access still work after setup.
The active subscription includes the modules your team needs.
Safe launch checklist
Before going live, test each transaction path with low-value sample data.
- Create one supplier, one customer, one product, one purchase, one POS sale, one expense, and one stock adjustment.
- Open the stock report and profit/loss report to confirm totals are aligned.
- Print or preview one invoice to verify logo, labels, taxes, and QR settings.
- Export one table to CSV or PDF to confirm reporting output is usable.
Detailed operating workflow
Use this when a business is moving from an empty workspace to live operations.
- Create the business profile, confirm subscription access, and set currency, timezone, language, and financial year before adding transactional data.
- Create locations, invoice schemes, invoice layouts, tax rates, units, categories, brands, and roles before products and contacts are imported.
- Add one supplier, one customer, one product, one purchase, one sale, and one expense as a controlled test before importing bulk data.
- Use reports after the test transaction to confirm stock movement, due balances, sales totals, and profit/loss behavior.
Check before moving on
The default location appears in POS, purchases, reports, and filters.
The invoice layout assigned to the location prints the expected logo, labels, taxes, and totals.
The first test sale and purchase appear in stock history and payment reports.
Review signals and troubleshooting
Use these checks when the screen looks correct but the numbers, records, or workflow do not behave as expected.
- If a menu is missing, check role permissions and the active subscription before editing routes or views.
- If stock is missing, confirm the location filter, product active status, opening stock, and purchase status.
- If totals look wrong, compare dashboard totals with the relevant report using the same date range and location.
Practical notes
- Keep the first test data separate from real opening stock so it can be deleted cleanly if needed.