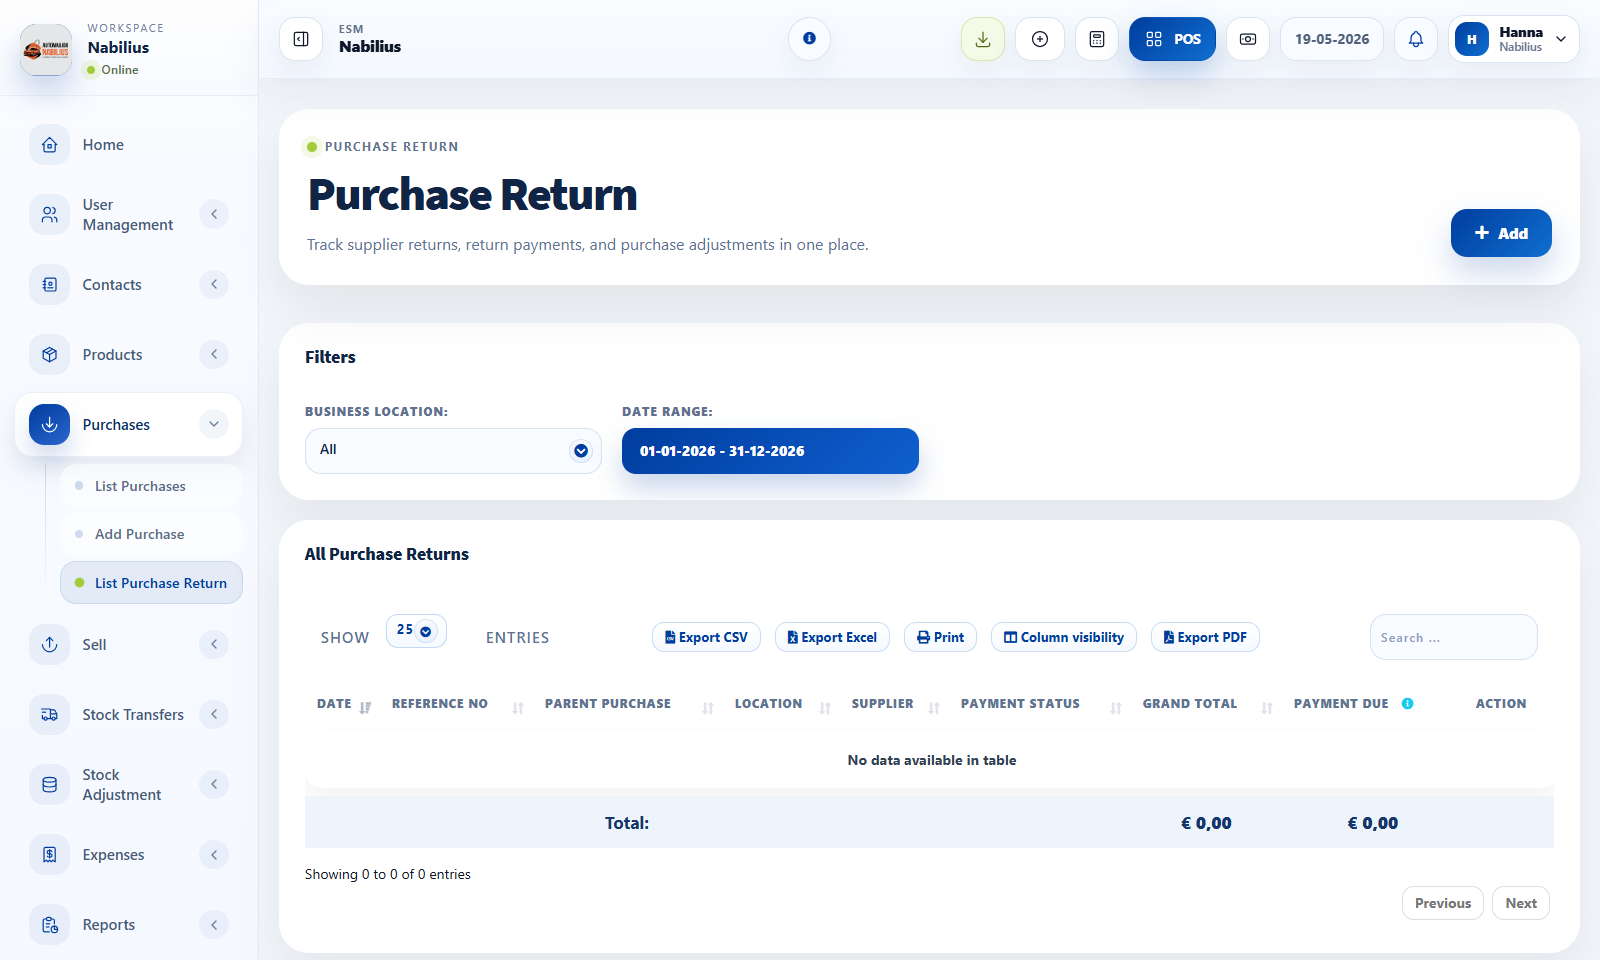
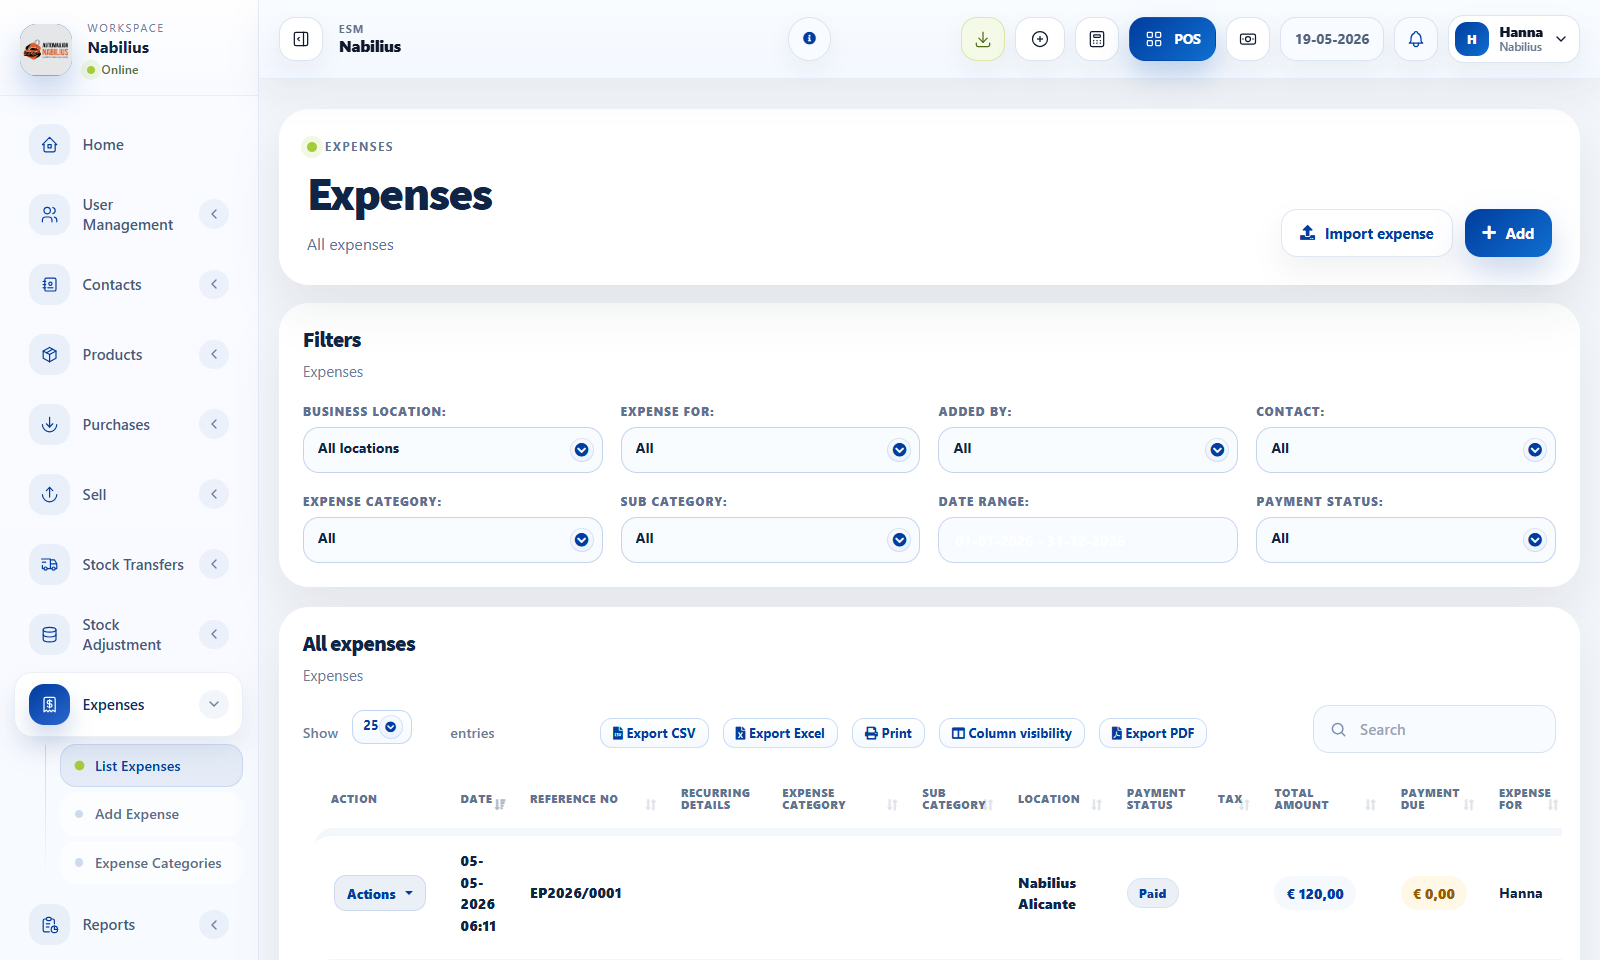
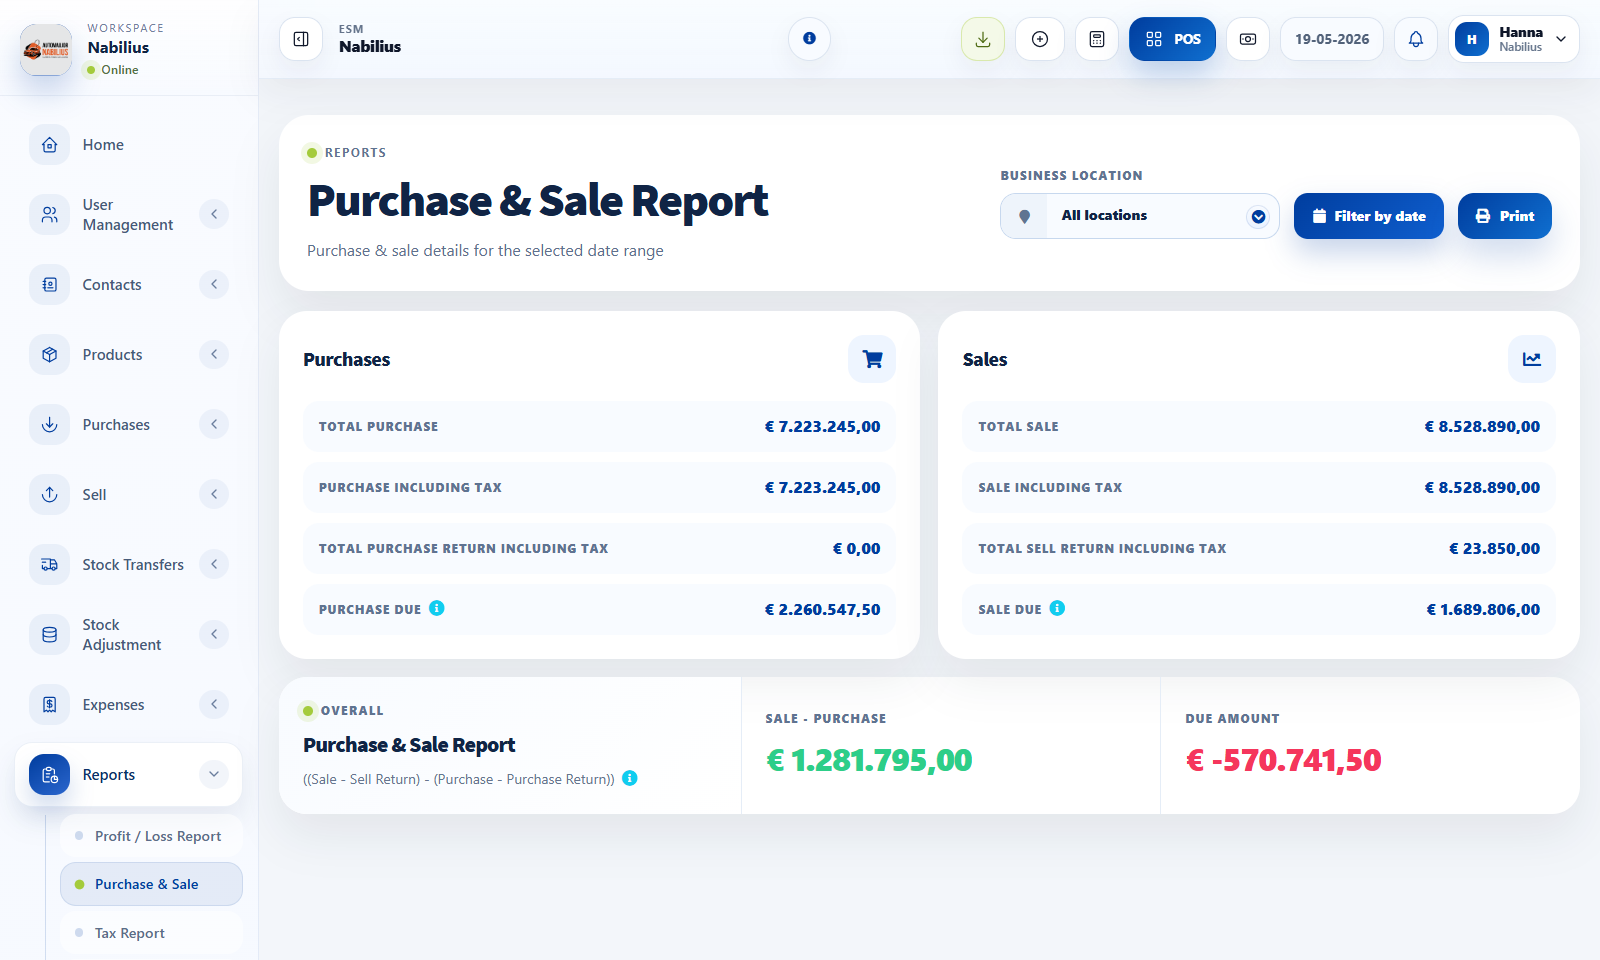
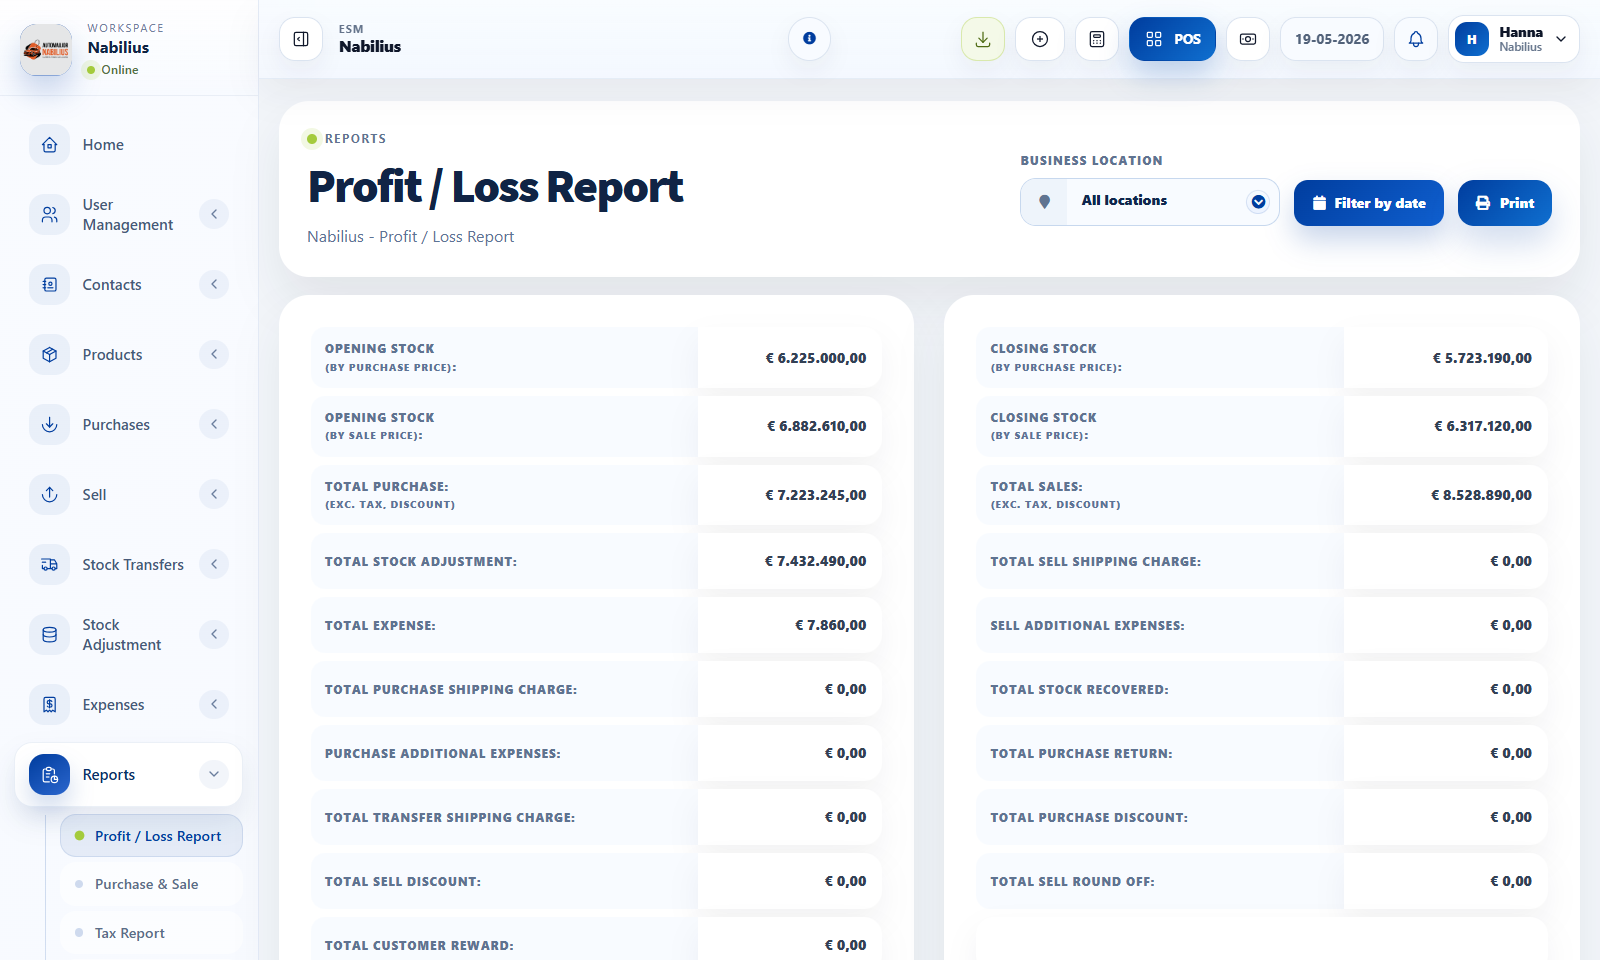
Getting started
Quick start workspace setup
The recommended order for preparing a new business workspace without breaking stock, tax, or invoice logic.
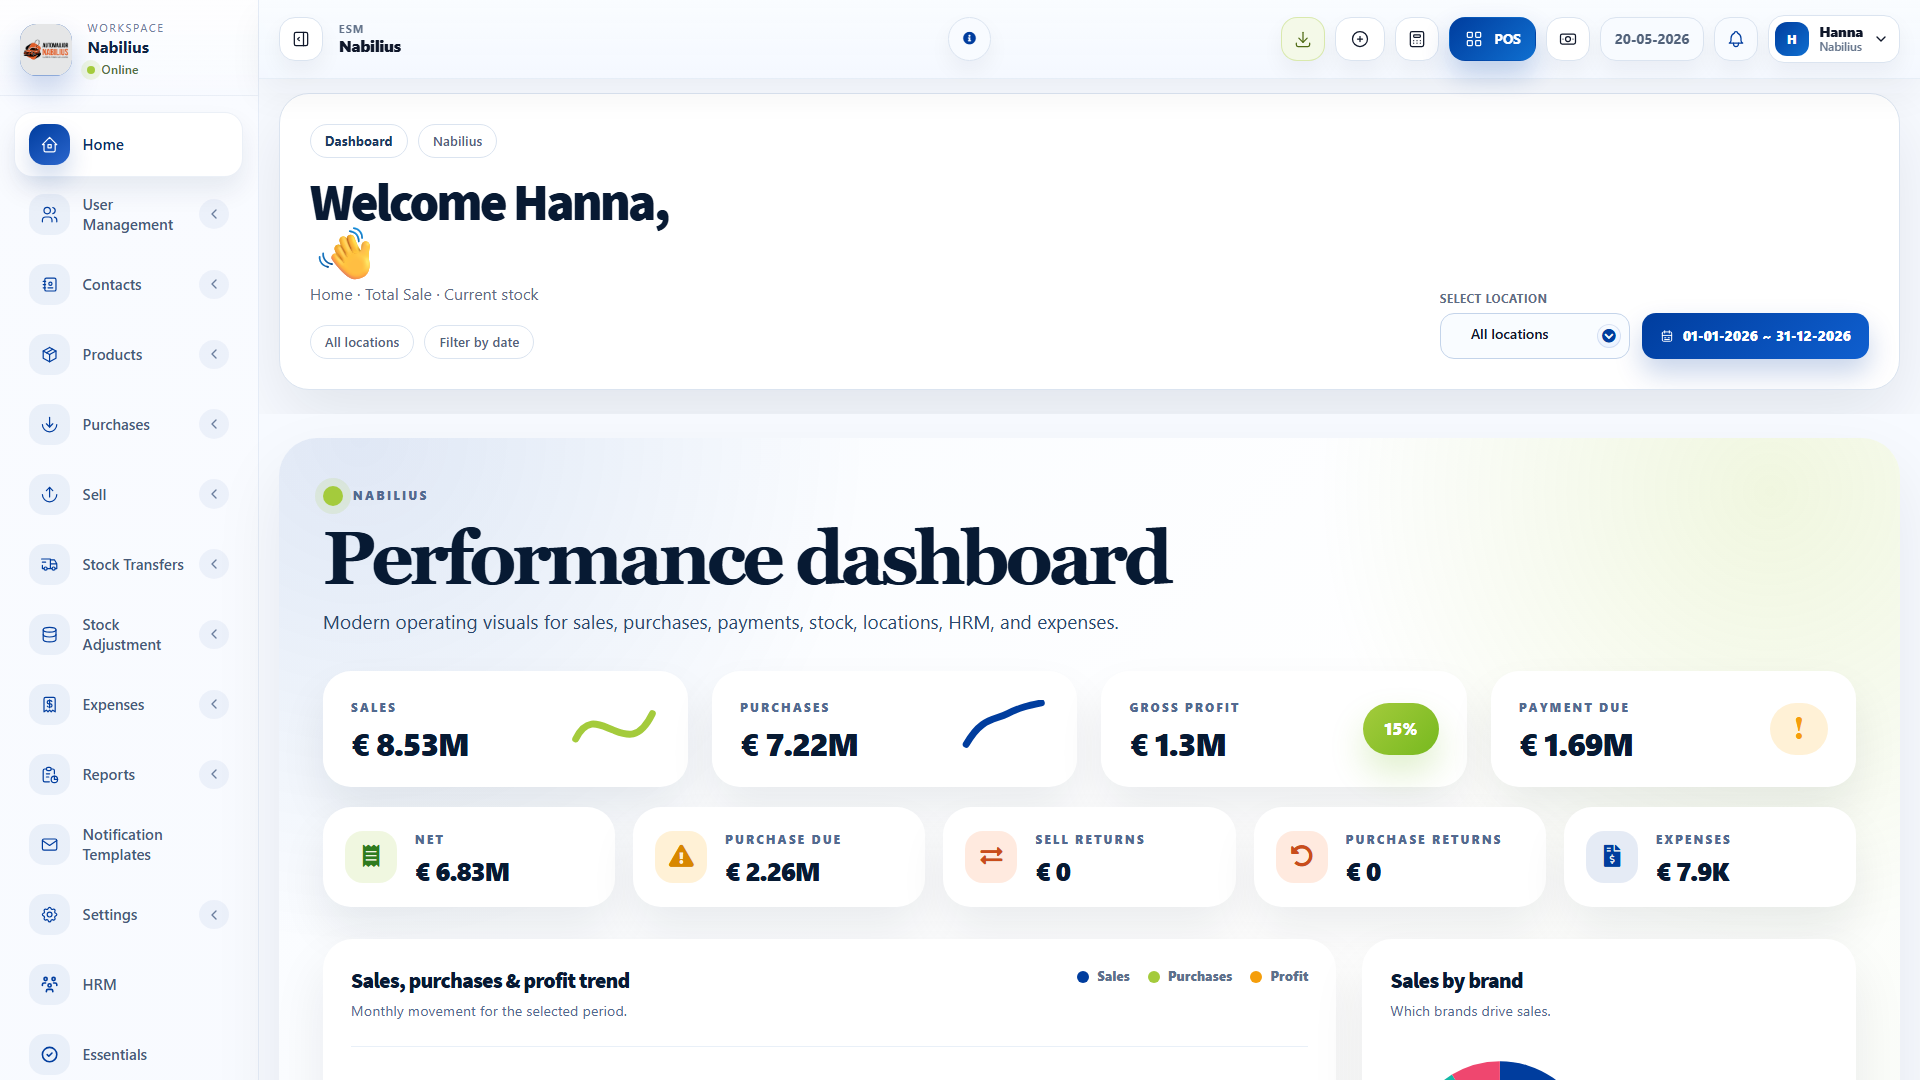
Workspace dashboard and first setup flow
![Workspace dashboard and first setup flow]()
Recommended setup order
Use this order when onboarding a new company so that later modules inherit the correct defaults.
- Confirm business profile, currency, timezone, financial year, tax labels, and default datatable entries in Business Settings.
- Create or verify business locations before adding stock, users, invoices, or POS transactions.
- Add users, roles, categories, units, brands, and taxes before importing products.
- Import products or create them manually, then add opening stock only after location and unit setup is correct.
- Run a small test sale and purchase before inviting the full team.
Check before moving on
Default location is visible in filters and POS.
Invoice scheme and layout are assigned to the location.
At least one admin user can access users, products, purchases, sales, reports, and settings.
What to configure first
Most ESMCloud screens are connected. A small mistake in a shared setting can appear later in sales, stock, and reports.
- Business Settings controls product expiry, tax behavior, invoice labels, POS behavior, reward points, SMS, email, and modules.
- Business Locations controls invoice scheme, invoice layout, registers, price groups, and location-specific stock.
- Users and roles control who can see menus, create transactions, delete data, and access reports.
Check before moving on
Registration, login, Google login, and subscription access still work after setup.
The active subscription includes the modules your team needs.
Safe launch checklist
Before going live, test each transaction path with low-value sample data.
- Create one supplier, one customer, one product, one purchase, one POS sale, one expense, and one stock adjustment.
- Open the stock report and profit/loss report to confirm totals are aligned.
- Print or preview one invoice to verify logo, labels, taxes, and QR settings.
- Export one table to CSV or PDF to confirm reporting output is usable.
Detailed operating workflow
Use this when a business is moving from an empty workspace to live operations.
- Create the business profile, confirm subscription access, and set currency, timezone, language, and financial year before adding transactional data.
- Create locations, invoice schemes, invoice layouts, tax rates, units, categories, brands, and roles before products and contacts are imported.
- Add one supplier, one customer, one product, one purchase, one sale, and one expense as a controlled test before importing bulk data.
- Use reports after the test transaction to confirm stock movement, due balances, sales totals, and profit/loss behavior.
Check before moving on
The default location appears in POS, purchases, reports, and filters.
The invoice layout assigned to the location prints the expected logo, labels, taxes, and totals.
The first test sale and purchase appear in stock history and payment reports.
Review signals and troubleshooting
Use these checks when the screen looks correct but the numbers, records, or workflow do not behave as expected.
- If a menu is missing, check role permissions and the active subscription before editing routes or views.
- If stock is missing, confirm the location filter, product active status, opening stock, and purchase status.
- If totals look wrong, compare dashboard totals with the relevant report using the same date range and location.
Practical notes
- Keep the first test data separate from real opening stock so it can be deleted cleanly if needed.
Getting started
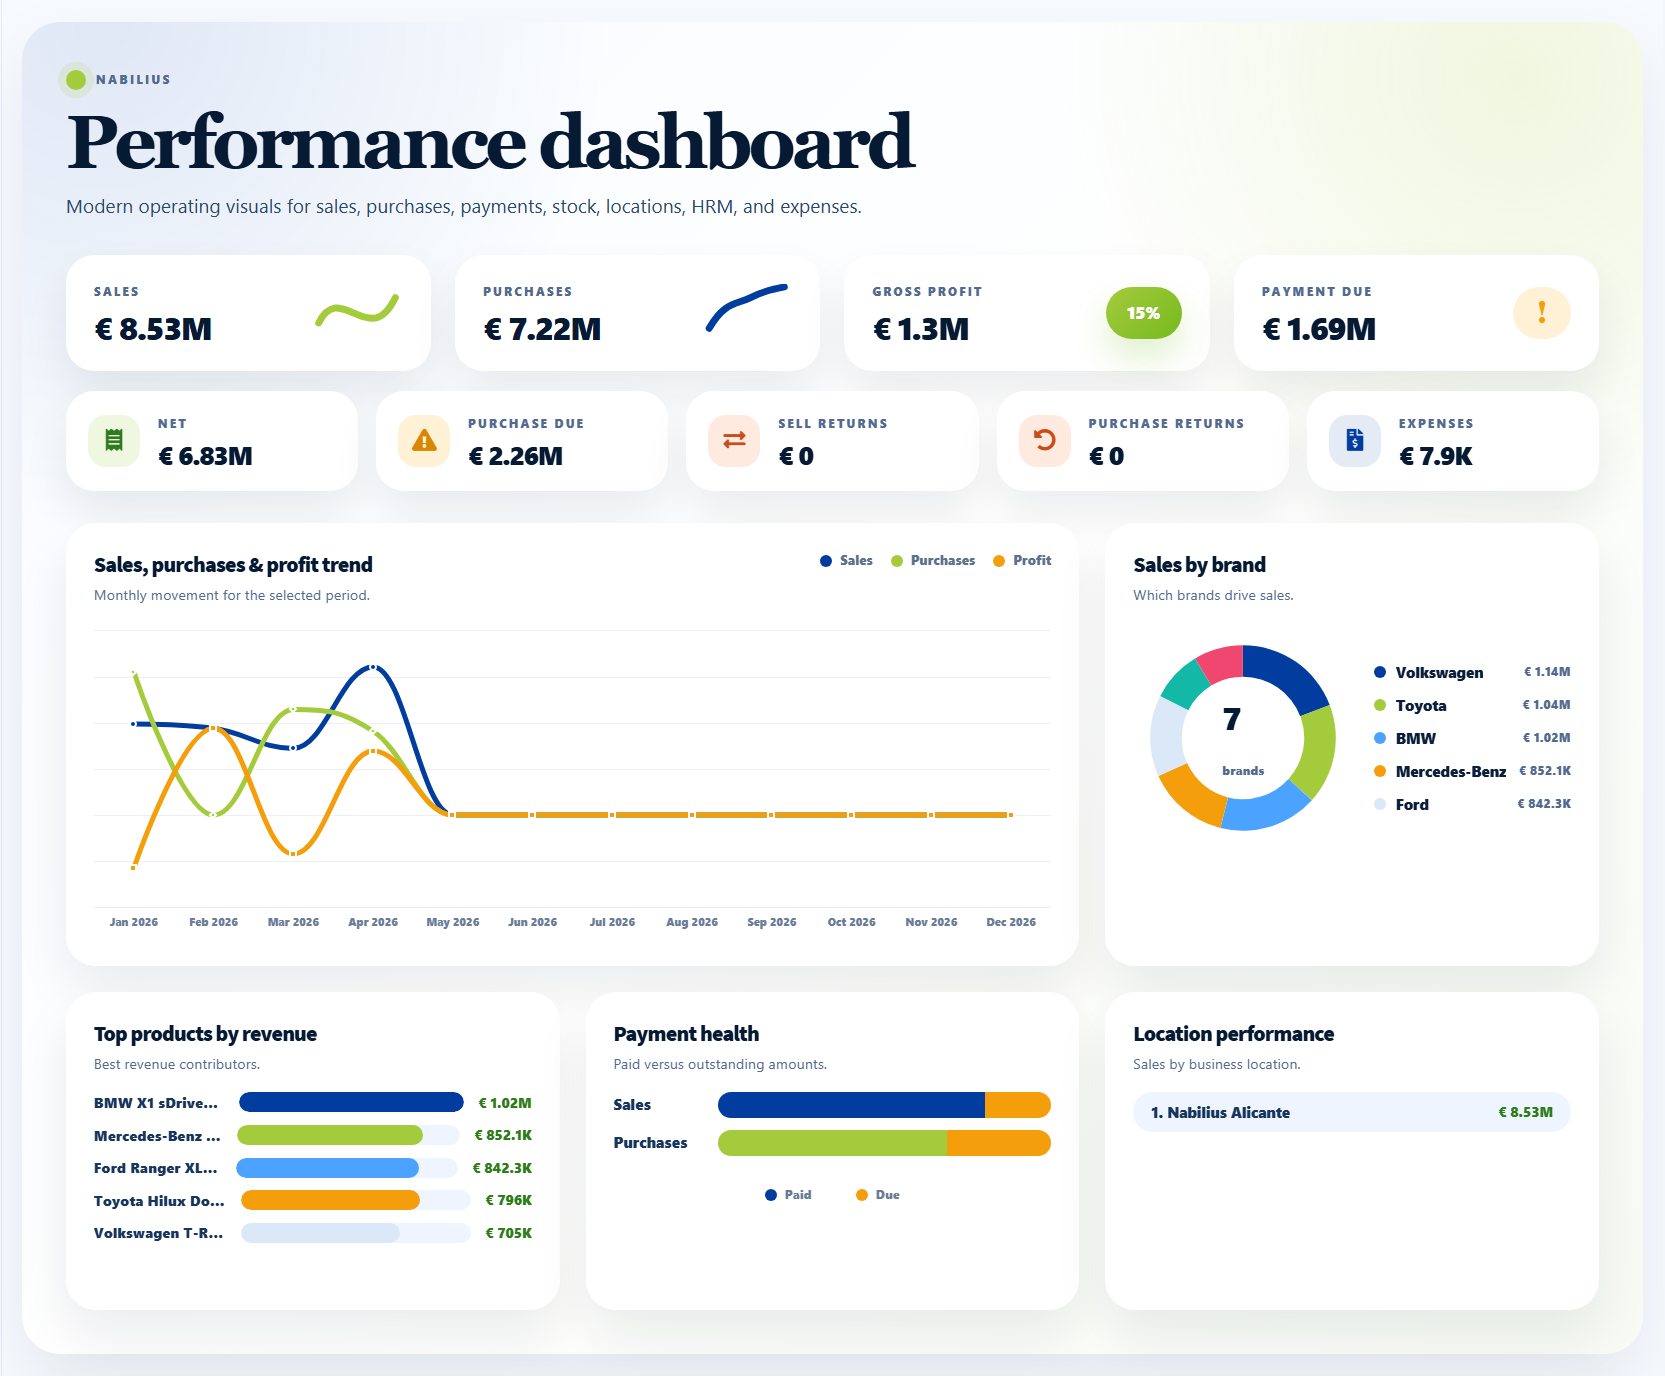
Dashboard overview
Use the dashboard to read sales, stock alerts, payment dues, and operational shortcuts.
Performance dashboard
![Performance dashboard]()
What the dashboard shows
The dashboard gives a fast operational summary for the selected date range and location.
- Sales and purchase totals show transaction movement for the selected date range.
- Stock alerts highlight products that need attention.
- Payment due widgets help track customer and supplier balances.
- Date filters should be used before comparing dashboard numbers with reports.
Filtering the dashboard
Always confirm the date range before judging performance.
- Use Filter by date to switch between today, yesterday, this month, custom ranges, and annual views.
- Use location filters when the business has more than one branch or warehouse.
- Reload only when necessary; most filters update the visible metrics directly.
Common review routine
For daily operations, review the dashboard at opening, mid-day, and closing.
- Check stock alerts before sales begin.
- Review sales payment due before closing the cash register.
- Check recent transactions and activity logs when numbers look unexpected.
Detailed operating workflow
Use the dashboard as the daily control room for sales, purchases, stock, payments, and recent activity.
- Start by selecting the current financial year or the exact operating date range you want to review.
- Review KPI cards first, then move to charts, stock alerts, payment due tables, and recent transactions.
- Use location filters before comparing branches, warehouses, registers, or staff performance.
- Open the underlying report when a dashboard number needs accounting-level detail.
Check before moving on
Dashboard and report filters use the same date range.
Location totals are not mixed with all-location totals.
Unpaid or partial transactions are considered before judging performance.
Review signals and troubleshooting
Use these checks when the screen looks correct but the numbers, records, or workflow do not behave as expected.
- Investigate sudden sales changes with Sales Report and Activity Log.
- Investigate low stock with Stock Report, Product Stock History, and purchase status.
- Investigate payment due with Sell Payment Report, Purchase Payment Report, and contact ledgers.
Practical notes
- Dashboard numbers are only as reliable as the date range, location filter, and completed transaction status.
Getting started
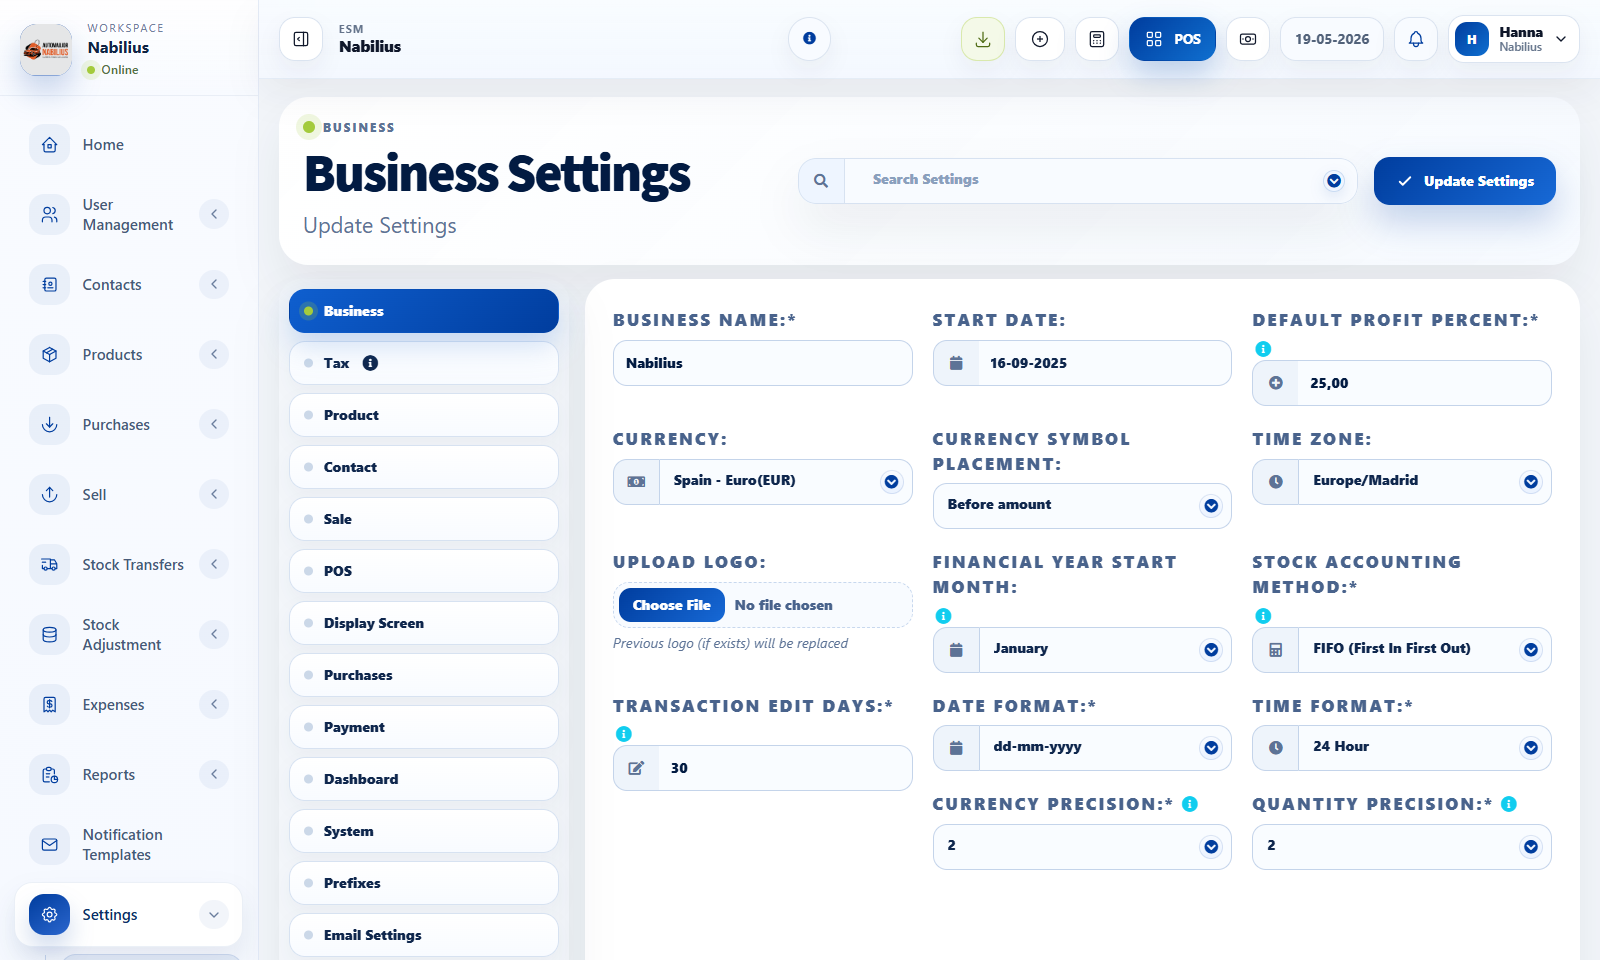
Business settings
Configure global rules for products, sales, POS, taxes, invoices, email, SMS, reward points, and modules.
Business settings tabs
![Business settings tabs]()
Settings that affect the whole app
Business Settings is the central control panel for application behavior.
- System settings define currency, timezone, date format, financial year, and datatable defaults.
- Product settings control expiry, units, stock behavior, custom labels, warranty, and product fields.
- Sales and POS settings control discounts, cash denominations, keyboard shortcuts, customer display, and invoice behavior.
- Email and SMS settings control outbound notifications and test message behavior.
Recommended change process
Because settings affect many workflows, avoid changing multiple unrelated options at the same time.
- Change one setting group, save, then test the related page.
- Use the settings search field when the option is hard to find.
- Keep product expiry, inline tax, reward points, and modules disabled unless the business actively uses them.
Check before moving on
Invoice preview still looks correct.
POS and Add Sale still calculate totals correctly.
Product forms still show required fields only where expected.
When to use custom labels
Custom labels help adapt the system to the industry without changing database structure.
- Use product custom labels for serial numbers, model year, color, service identifiers, or other industry-specific details.
- Use purchase and sell custom labels when the invoice needs extra operational fields.
- Avoid overusing custom fields for data that should be a category, brand, tax, unit, or location.
Detailed operating workflow
Use Business Settings to control global behavior shared by products, sales, POS, notifications, reports, and invoices.
- Change one settings tab at a time, save, then test the screen affected by that setting.
- Use the settings search field for rare options such as expiry, custom labels, cash denominations, and notification drivers.
- Keep module toggles, tax behavior, reward points, and customer display disabled unless the workflow is actively used.
- Document important choices such as financial year, tax labels, and invoice label conventions before onboarding staff.
Check before moving on
POS, Add Sale, Add Purchase, and Product forms still calculate and validate correctly.
Date format, currency, and decimal precision are consistent across reports and exports.
Email and SMS test actions work before automated notifications are enabled.
Review signals and troubleshooting
Use these checks when the screen looks correct but the numbers, records, or workflow do not behave as expected.
- If a field appears unexpectedly, check module toggles and product/sales custom labels.
- If invoices print wrong labels, check invoice layout first and business custom labels second.
- If date filters behave unexpectedly, confirm business timezone, date format, and financial year settings.
Practical notes
- Update settings during low-traffic hours if the team is actively using POS or sales screens.
Getting started
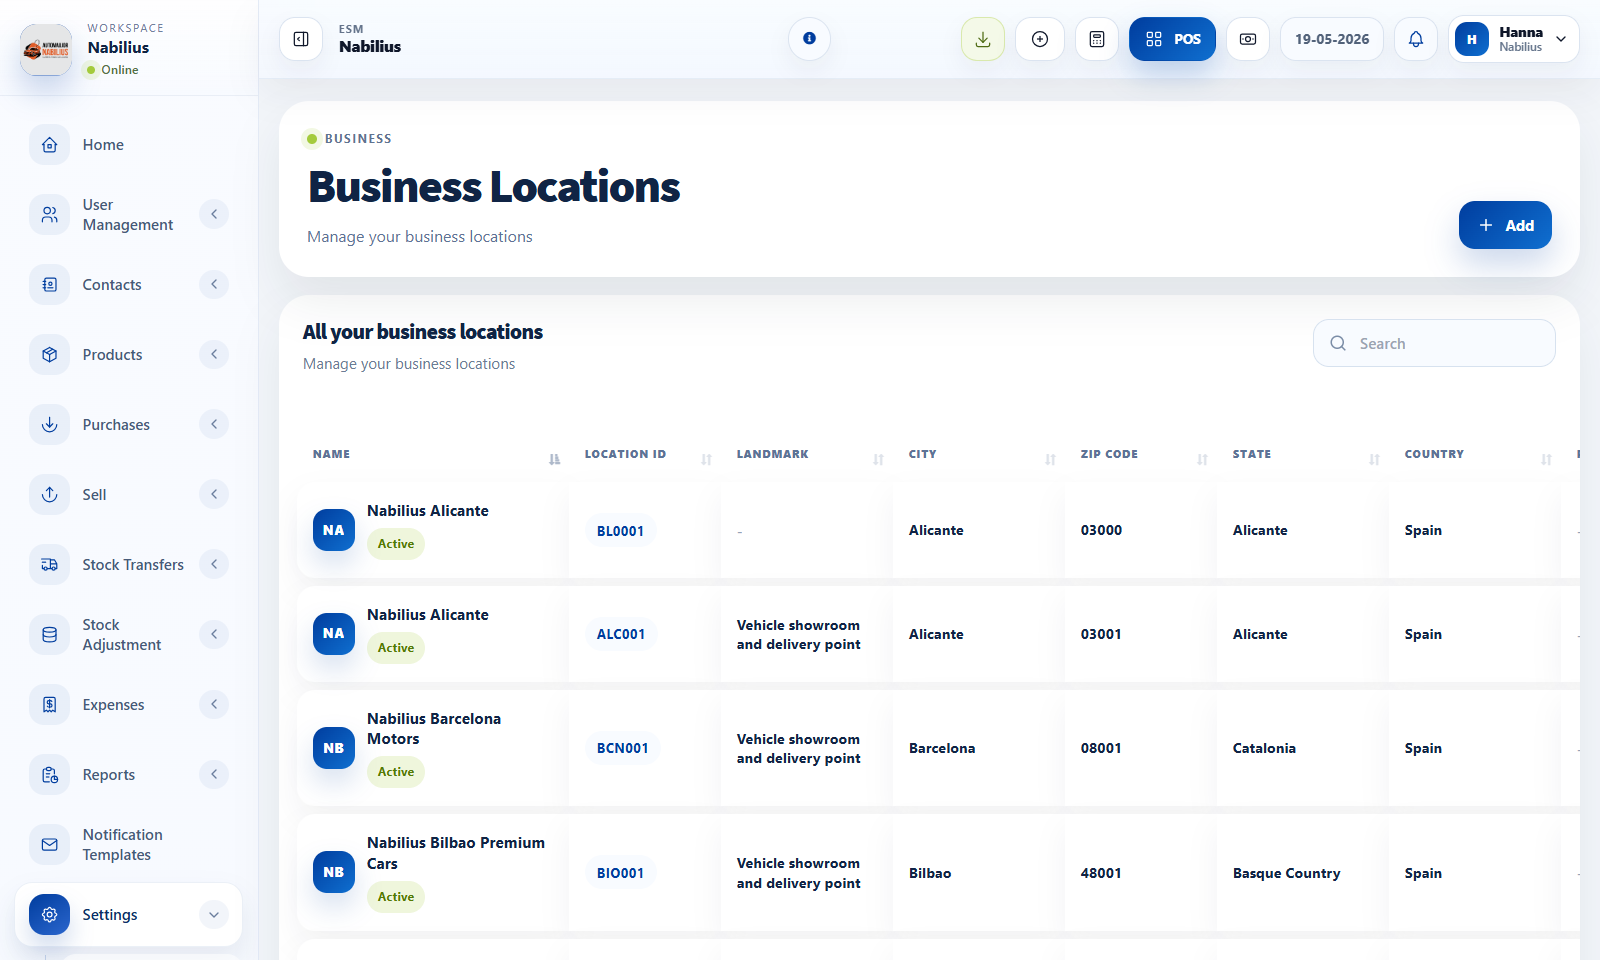
Business locations
Set up branches, warehouses, storefronts, and location-level invoice defaults.
Business locations page
![Business locations page]()
What locations control
A location is more than an address. It controls stock availability, invoices, POS registers, and reporting filters.
- Assign an invoice scheme and invoice layout for each location.
- Use price groups when different branches sell at different rates.
- Use location filters in purchases, sales, stock reports, payment reports, and POS.
Before creating stock
Products can exist globally, but quantities belong to locations.
- Create locations before importing opening stock.
- Confirm the default location for each user who works from one branch.
- Avoid deleting locations that already have transactions; deactivate or archive operationally instead.
Multi-location checks
When stock seems missing, the most common cause is a location filter mismatch.
- Check product stock history by location.
- Check whether transfers moved stock to another branch.
- Check reports using All locations, then narrow to the exact location.
Detailed operating workflow
Use locations to separate stock, invoices, registers, sales filters, and branch-level reporting.
- Create each operational branch, warehouse, or storefront with a clear name and location ID.
- Assign invoice scheme, invoice layout, default price group, registers, and payment settings where applicable.
- Give users access only to the locations they operate or supervise.
- Use transfers rather than manual edits when stock physically moves between locations.
Check before moving on
Every active location appears in POS and report location filters.
Each location has an invoice scheme and layout before sales begin.
Stock reports show location-specific quantities after purchases or opening stock are entered.
Review signals and troubleshooting
Use these checks when the screen looks correct but the numbers, records, or workflow do not behave as expected.
- If a location is missing from a dropdown, check whether it is active and assigned to the user.
- If invoice numbers look wrong, inspect the location invoice scheme assignment.
- If branch totals are unexpected, compare all-location totals with the single-location report.
Practical notes
- Use clear location names such as "Nabilius Alicante" rather than generic names like "Main".
People and access
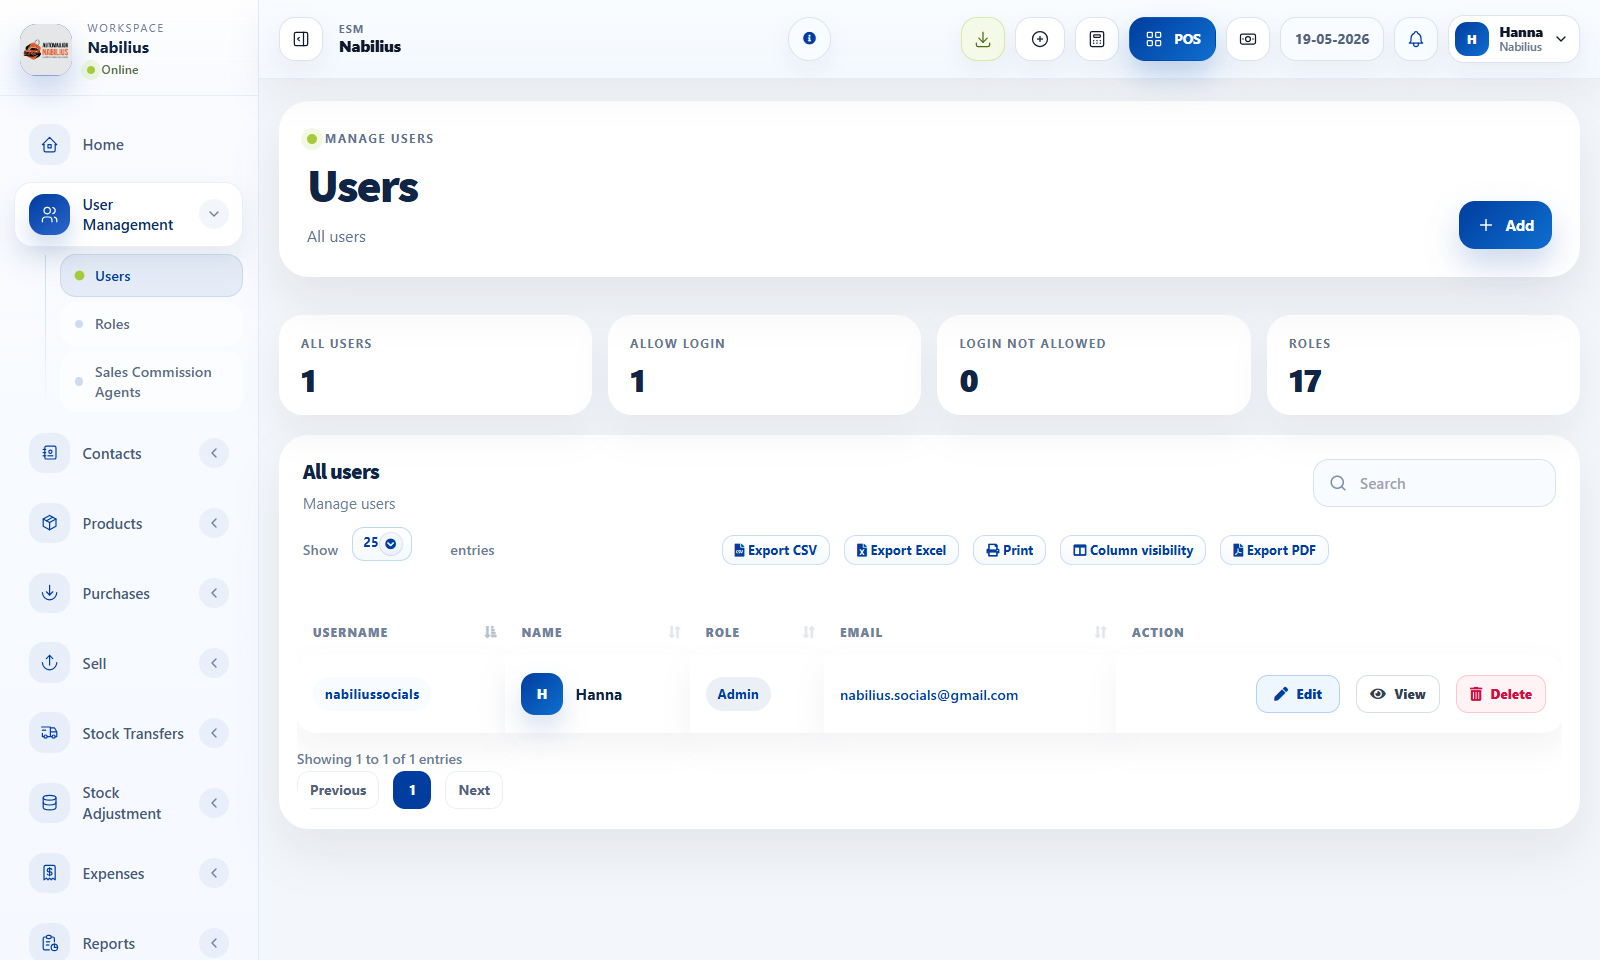
Users, roles, and permissions
Create users, assign roles, control login access, and keep permissions aligned with responsibilities.
Users and roles pages
![Users and roles pages]()
User records
Users represent people who can log in to the app.
- Create users from User Management, then assign a username, email, role, and allowed locations.
- Use Allow Login to enable or block app access without deleting the user.
- Use View User to review activity, notes, and related account details.
Role design
Roles decide which menus and actions are visible.
- Give cashiers POS and basic sales permissions only.
- Give managers reports, stock, purchase, and user review permissions.
- Reserve delete, settings, subscription, and role-management permissions for owners or admins.
Check before moving on
A cashier can open POS but cannot change business settings.
A manager can review reports but cannot access Superadmin screens unless required.
Access review
Review access any time a team member changes job, branch, or employment status.
- Disable login immediately when access should be removed.
- Check activity logs for sensitive changes.
- Keep admin accounts limited and protected.
Detailed operating workflow
Use user management to give every staff member a traceable account with the right permissions.
- Create roles around responsibilities such as cashier, manager, stock controller, accountant, and owner.
- Create users with unique usernames, emails, allowed locations, and role assignments.
- Disable login instead of deleting users when access should be paused but history must remain intact.
- Review sensitive permissions such as delete, settings, subscriptions, payments, and role management separately.
Check before moving on
A cashier can sell but cannot change settings or delete records.
A manager can review reports and stock but cannot access billing unless required.
Every important action can be traced to a real user in the Activity Log.
Review signals and troubleshooting
Use these checks when the screen looks correct but the numbers, records, or workflow do not behave as expected.
- If a user cannot see a menu, check role permissions, location access, and subscription modules.
- If shared logins exist, replace them with individual accounts before relying on activity logs.
- After staff changes, disable login immediately and review active sessions if needed.
Practical notes
- Do not reuse one login for multiple staff members; it weakens activity logs and accountability.
People and access
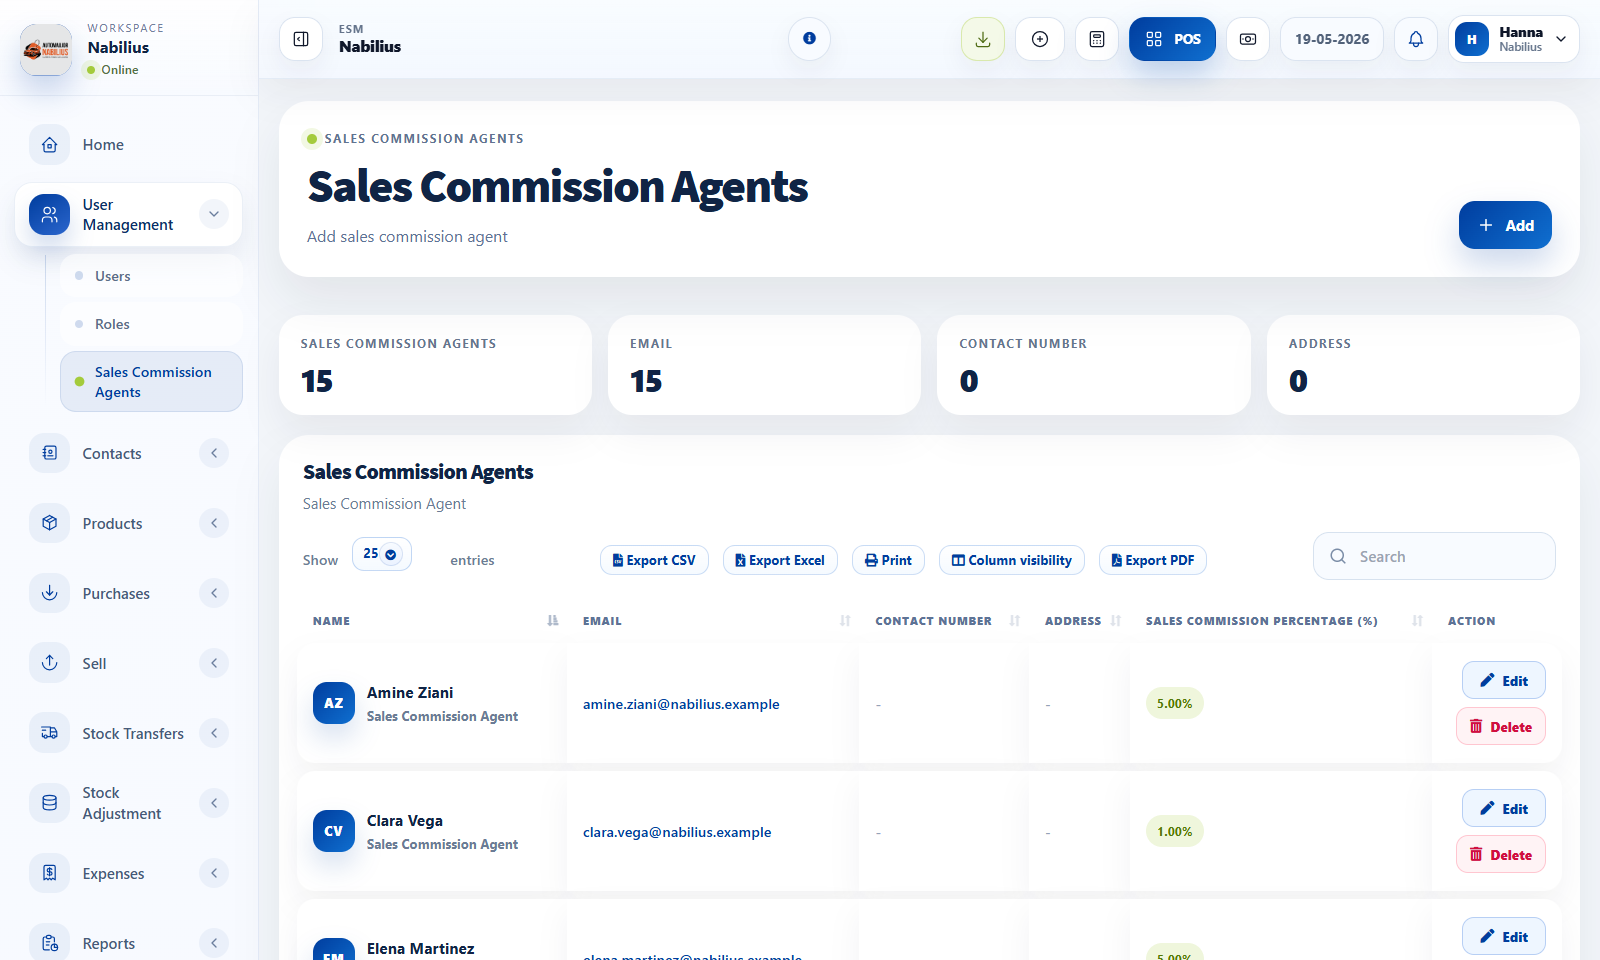
Sales commission agents
Track sales agents and commission structures without changing the core sales workflow.
Sales commission agents page
![Sales commission agents page]()
When to use commission agents
Commission agents are useful when sales performance must be tied to a person or representative.
- Enable the feature in Business Settings if the business pays commissions.
- Create each agent with a clear name and commission percentage or rule.
- Assign the agent during sales so reports can calculate commission totals.
Reporting
Commission data becomes useful only when sales are consistently assigned to the correct agent.
- Use Sales Representative Report to review sales, expenses, payments, and commissions.
- Compare commission output with payment reports before paying agents.
- Use date and location filters to separate monthly or branch-specific performance.
Controls
Keep commission setup simple unless the business has a documented compensation policy.
- Avoid changing commission rules after sales have already been created for a period.
- Use notes if an exception needs to be documented.
Detailed operating workflow
Use commission agents when sales performance or payout needs to be tracked by representative.
- Enable commission-agent behavior in Business Settings before creating agent records.
- Create agents with clear names and commission rules that match the business policy.
- Assign the agent on sales transactions so commission reports have enough context.
- Review commission reports before approving payouts or payroll adjustments.
Check before moving on
Commission agent fields appear only where the workflow needs them.
Sales are assigned to the correct agent before invoices are finalized.
Returned or cancelled sales are considered before paying commission.
Review signals and troubleshooting
Use these checks when the screen looks correct but the numbers, records, or workflow do not behave as expected.
- If commission totals seem high, check duplicate sales, returns, and the selected date range.
- If an agent is missing, confirm the record is active and the feature is enabled.
- Use sales representative reports with payment status when payout depends on collected revenue.
Practical notes
- If the business does not pay commission, leave the feature disabled to keep sales forms simpler.
Contacts
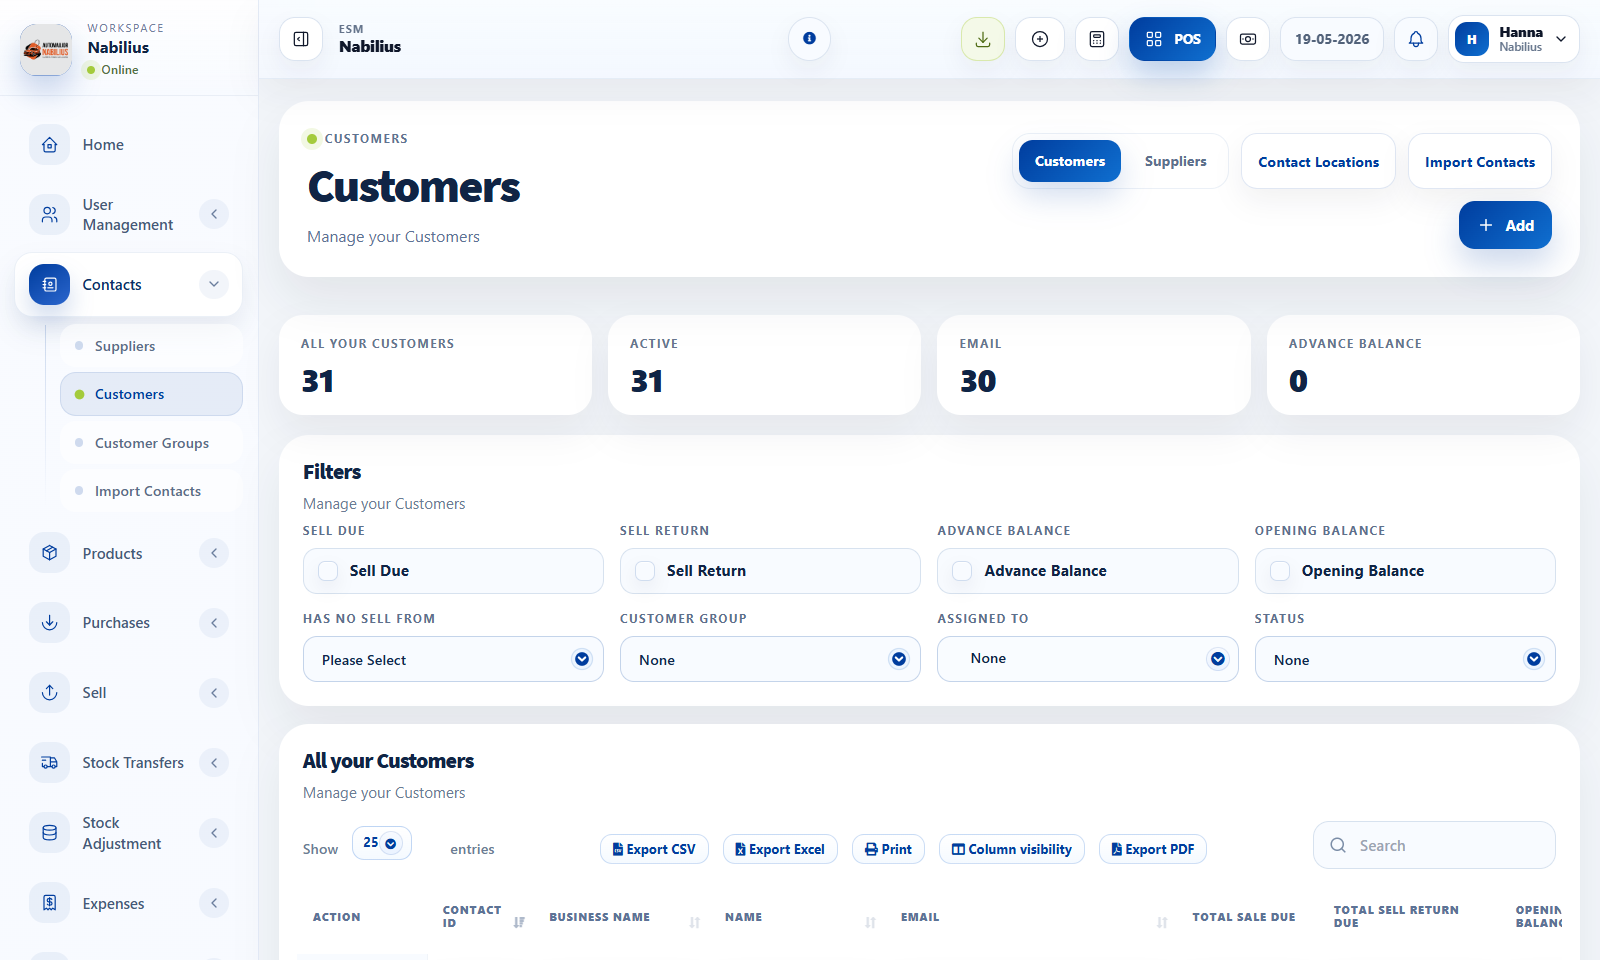
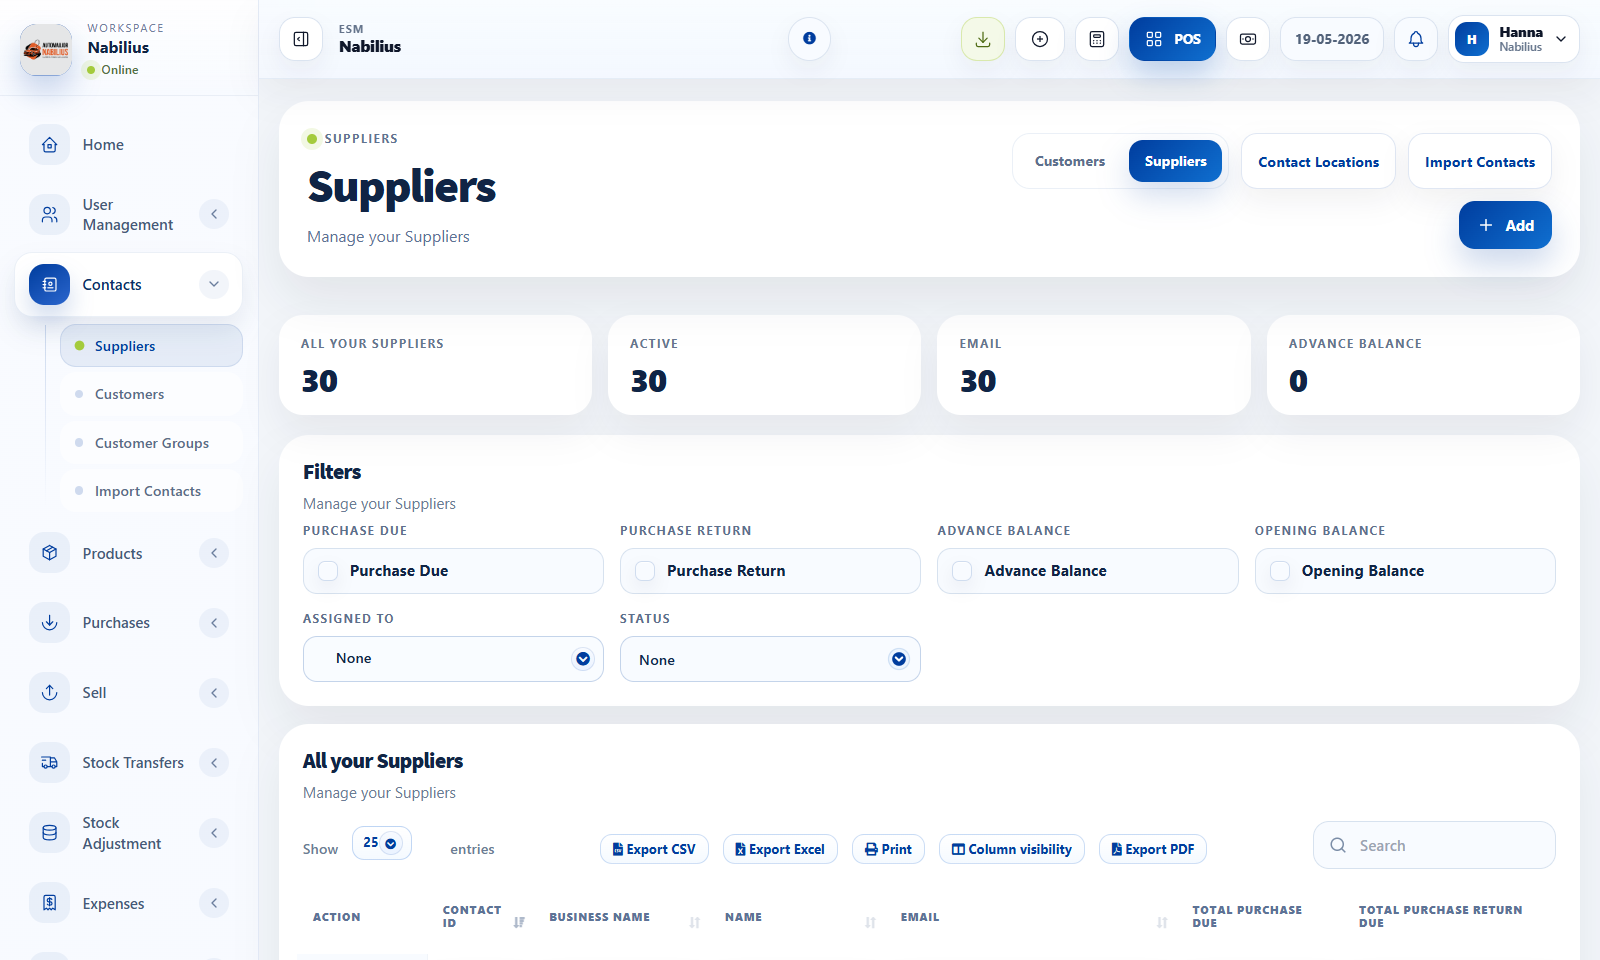
Customers and suppliers
Create and manage the people and companies involved in sales, purchases, balances, and payments.
Customers and suppliers pages
![Customers and suppliers pages]()
Contact types
A contact can be a customer, supplier, or both depending on the business relationship.
- Use Customers for buyers and walk-in customer records.
- Use Suppliers for vendors, distributors, importers, and service providers.
- Keep business name, contact name, phone, email, tax number, address, and pay term accurate.
Balances and credit
Opening balance, advance balance, and due amounts flow into ledgers and reports.
- Use opening balance when importing historical money owed at the start of ESMCloud usage.
- Use advance balance when a customer or supplier has prepaid credit.
- Use pay terms to track due dates and credit behavior.
Operational use
Contacts connect to purchases, sales, payments, shipments, expenses, and reports.
- Select suppliers in purchases so purchase due and returns are tracked correctly.
- Select customers in sales so invoices, payments, and ledger history are complete.
- Use contact filters in reports to audit totals by customer or supplier.
Detailed operating workflow
Use contacts as the source of truth for customers, suppliers, balances, invoices, and ledger activity.
- Create customers and suppliers with clear names, contact IDs, tax numbers, opening balances, and pay terms where needed.
- Use customer groups and price groups when pricing or reporting needs segmentation.
- Keep supplier records tied to purchases and customer records tied to sales instead of using generic contacts.
- Use import contacts only after checking the template columns and duplicate contact IDs.
Check before moving on
Opening balance and advance balance totals appear under the correct columns.
Customer and supplier filters show the expected contact type.
Contact ledgers match purchase, sale, and payment reports.
Review signals and troubleshooting
Use these checks when the screen looks correct but the numbers, records, or workflow do not behave as expected.
- If a contact is missing from a transaction, confirm its type and active status.
- If balances look wrong, compare ledger, payment report, and transaction due amounts.
- If duplicate records exist, merge operational usage before deleting anything.
Practical notes
- Use a dedicated Walk-In Customer for anonymous POS sales rather than leaving the customer field blank.
Contacts
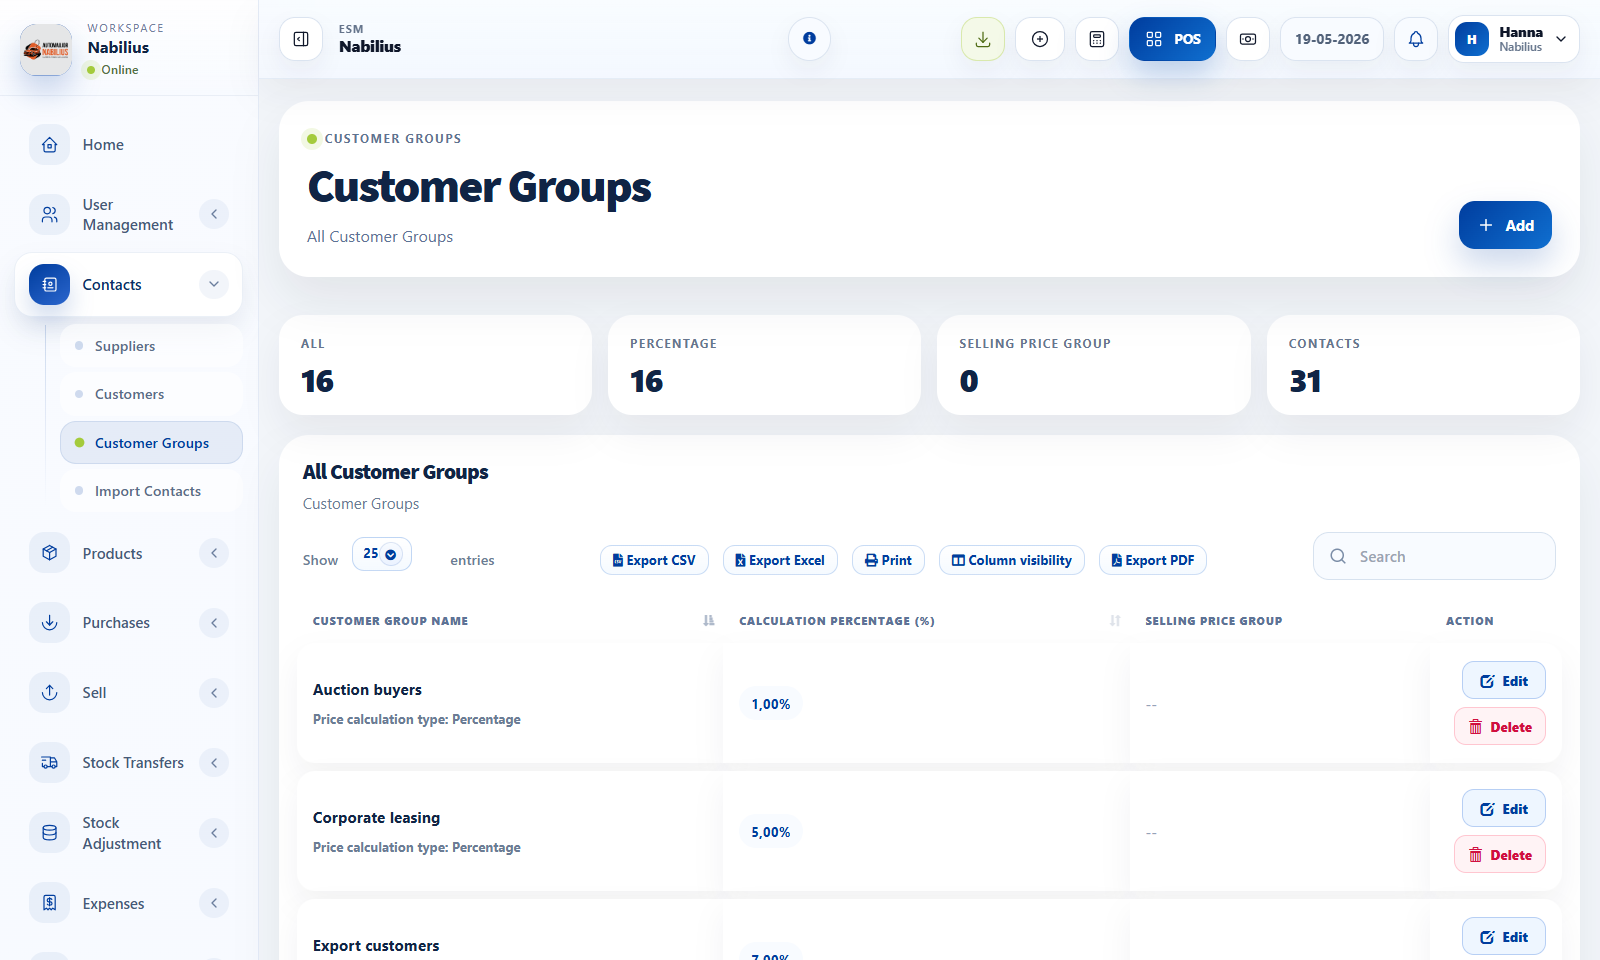
Customer groups and price groups
Group customers for discounts, special pricing, segmentation, and reports.
Customer groups page
![Customer groups page]()
Customer group use cases
Groups help separate customer types without creating duplicate contacts.
- Create groups such as Retail, Wholesale, Fleet, VIP, or Dealer.
- Use percentage-based groups when a discount policy applies to a segment.
- Use selling price groups when customers need a different price list.
How groups affect sales
Customer groups can influence pricing and report segmentation.
- Assign the customer group on the contact record.
- Confirm the selected customer in POS or Add Sale before finalizing the invoice.
- Use Customer Group Report to compare total sales by group.
Review checklist
Keep groups simple and easy for staff to understand.
- Remove unused groups from staff workflows.
- Verify price group behavior with one test sale before using it broadly.
Detailed operating workflow
Use customer groups and price groups to segment customers and apply controlled pricing rules.
- Create customer groups only when the group affects reporting, pricing, or operational segmentation.
- Create selling price groups when products need alternate price lists for specific customers or locations.
- Assign groups to contacts and test one sale to confirm pricing behavior before broad rollout.
- Review group membership regularly so customers do not stay in outdated pricing tiers.
Check before moving on
The group table loads after adding or editing a group.
Calculation percentage and price group columns match the intended rule.
Contact records show the expected customer group assignment.
Review signals and troubleshooting
Use these checks when the screen looks correct but the numbers, records, or workflow do not behave as expected.
- If the group table is blank, inspect the DataTable AJAX response and business ID filters.
- If a sale price is unexpected, check customer group, price group, location, and product-specific prices.
- Use customer group reports to validate whether segmentation reflects actual sales.
Practical notes
- Avoid creating one-off groups for single customers unless the pricing rule will be reused.
Contacts
Contact ledgers and balances
Use ledgers to audit transactions, payments, returns, advances, and outstanding balances.
Contact ledger and payment history
![Contact ledger and payment history]()
What a ledger contains
A contact ledger is the historical financial story for one customer or supplier.
- Sales, purchases, returns, payments, opening balance, and advance balance can appear in the ledger.
- The ledger helps reconcile what the business thinks is owed with what the contact expects.
- Use date filters when reviewing a specific month or accounting period.
Resolving mismatches
Most balance mismatches come from missing payments, wrong contacts, or returns entered in the wrong period.
- Search the reference number from the ledger in the related table.
- Check payment status and payment due reports.
- Confirm whether a transaction belongs to another customer, supplier, or location.
Exporting history
Use export buttons when sending statements or preparing accounting review files.
- Filter the ledger first.
- Export the filtered table to CSV, Excel, or PDF.
- Keep exported statements with the accounting period they represent.
Detailed operating workflow
Use ledgers to reconcile contact-level movement across sales, purchases, payments, returns, and balances.
- Open the contact ledger from the customer or supplier record when a balance needs explanation.
- Filter the ledger by date range before comparing it with payment reports.
- Review invoices, payments, returns, opening balance, and advance balance in chronological order.
- Export or send ledgers only after the balance has been checked against source transactions.
Check before moving on
The ledger period matches the accounting period under review.
Opening and closing balances are visible and coherent.
Payments and returns reduce dues as expected.
Review signals and troubleshooting
Use these checks when the screen looks correct but the numbers, records, or workflow do not behave as expected.
- If a ledger does not match a report, compare filters, contact type, and transaction status.
- If a payment is missing, verify whether it was recorded as a child payment or against a different contact.
- If balances start wrong, review opening balance entries first.
Products and stock
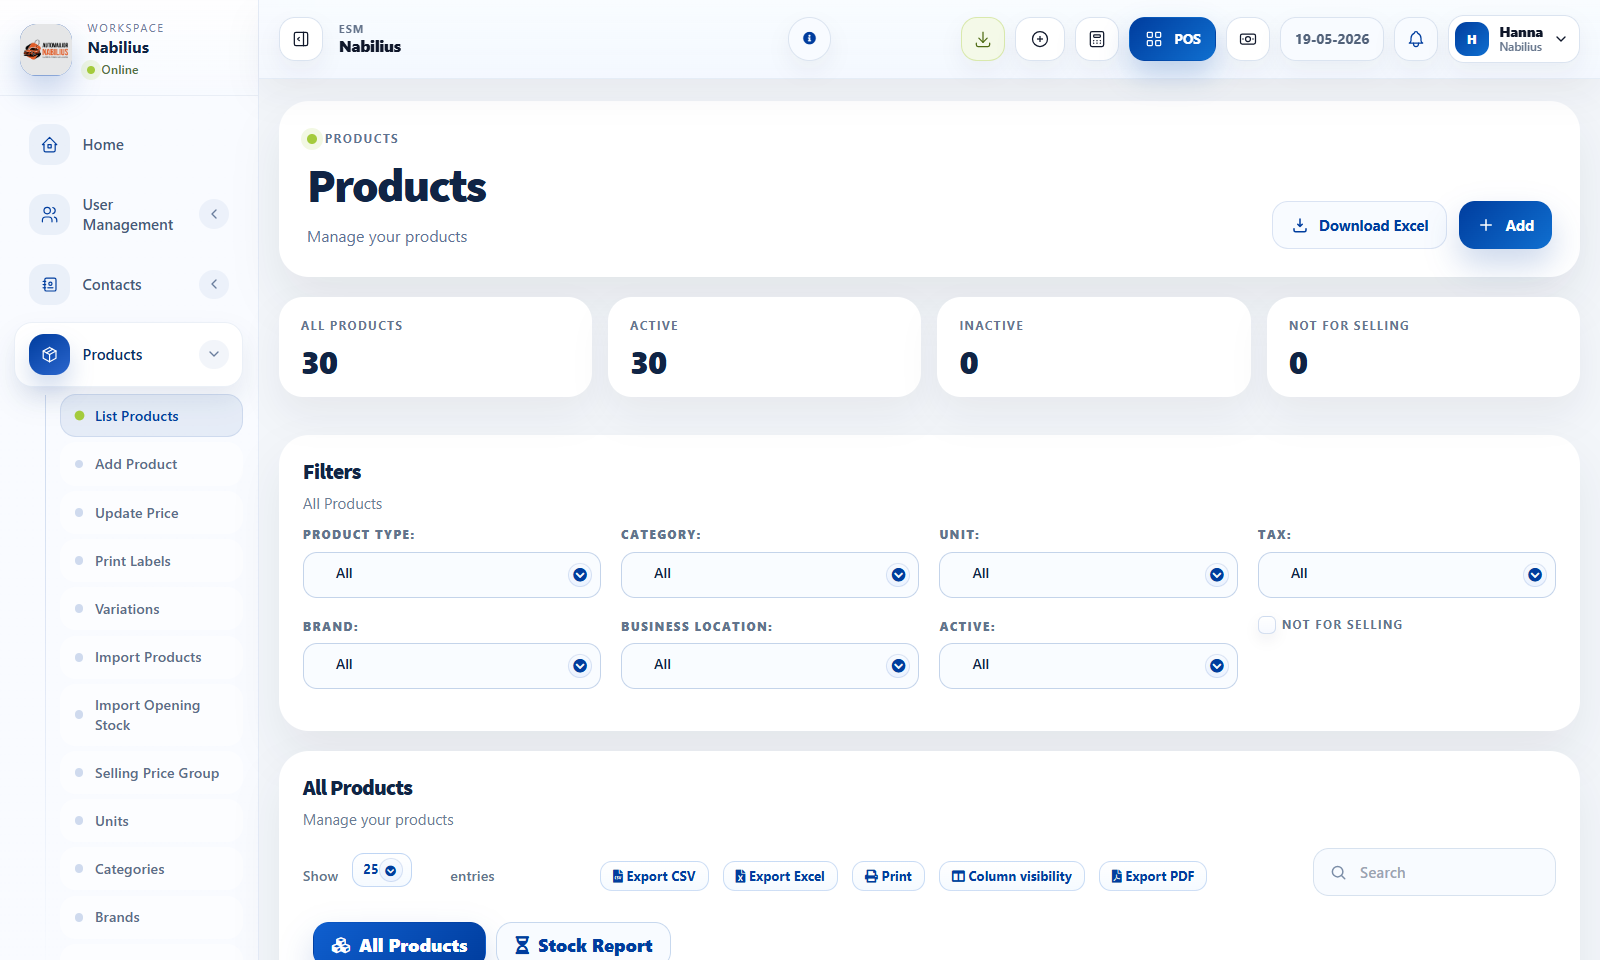
Product catalog
Create products with SKUs, units, categories, brands, prices, images, stock settings, and custom fields.
Products list and Add Product page
![Products list and Add Product page]()
Core product fields
A clean product catalog makes POS, purchases, reports, and stock history reliable.
- Use a clear product name that staff can search quickly.
- Keep SKU unique and predictable; structured SKUs or serial-based identifiers can help when each item must be traceable.
- Assign unit, category, brand, tax, purchase price, selling price, and product type.
- Use product image and brochure only when they help staff identify or sell the item.
Stock behavior
Manage Stock controls whether the product contributes to quantity and stock reports.
- Enable stock management for physical products.
- Disable stock management for services, fees, or non-stock charges.
- Use alert quantity to trigger reorder attention before stock reaches zero.
Check before moving on
Current stock appears in products and stock reports.
Stock history opens from the product table.
Product cleanup
Product data should be standardized before importing many records.
- Create units, categories, brands, warranties, and taxes before importing.
- Use bulk price update for controlled pricing changes.
- Avoid deleting products with transaction history; deactivate when possible.
Detailed operating workflow
Use the product catalog to maintain sellable products, stock tracking, pricing, categories, brands, and product metadata.
- Create supporting units, categories, brands, taxes, warranties, and price groups before adding products.
- Create products with clear names, unique SKUs, purchase price, selling price, stock settings, and locations.
- Use images and product descriptions where they help POS users identify products faster.
- Use the Stock Report tab to confirm current quantities after purchases, transfers, or adjustments.
Check before moving on
SKU is unique and follows a predictable format.
Product appears in POS only when active, sellable, and available for the selected location.
Purchase price, margin, selling price, and tax behavior calculate correctly.
Review signals and troubleshooting
Use these checks when the screen looks correct but the numbers, records, or workflow do not behave as expected.
- If a product is missing in POS, check active status, Not for selling, stock availability, and location.
- If table actions overlap, compare the product table layout against the suppliers table pattern.
- If images are too large, use compact previews and keep product cards readable.
Practical notes
- For car dealership inventory, categories can represent body type and custom fields can capture VIN, model year, trim, and color.
Products and stock
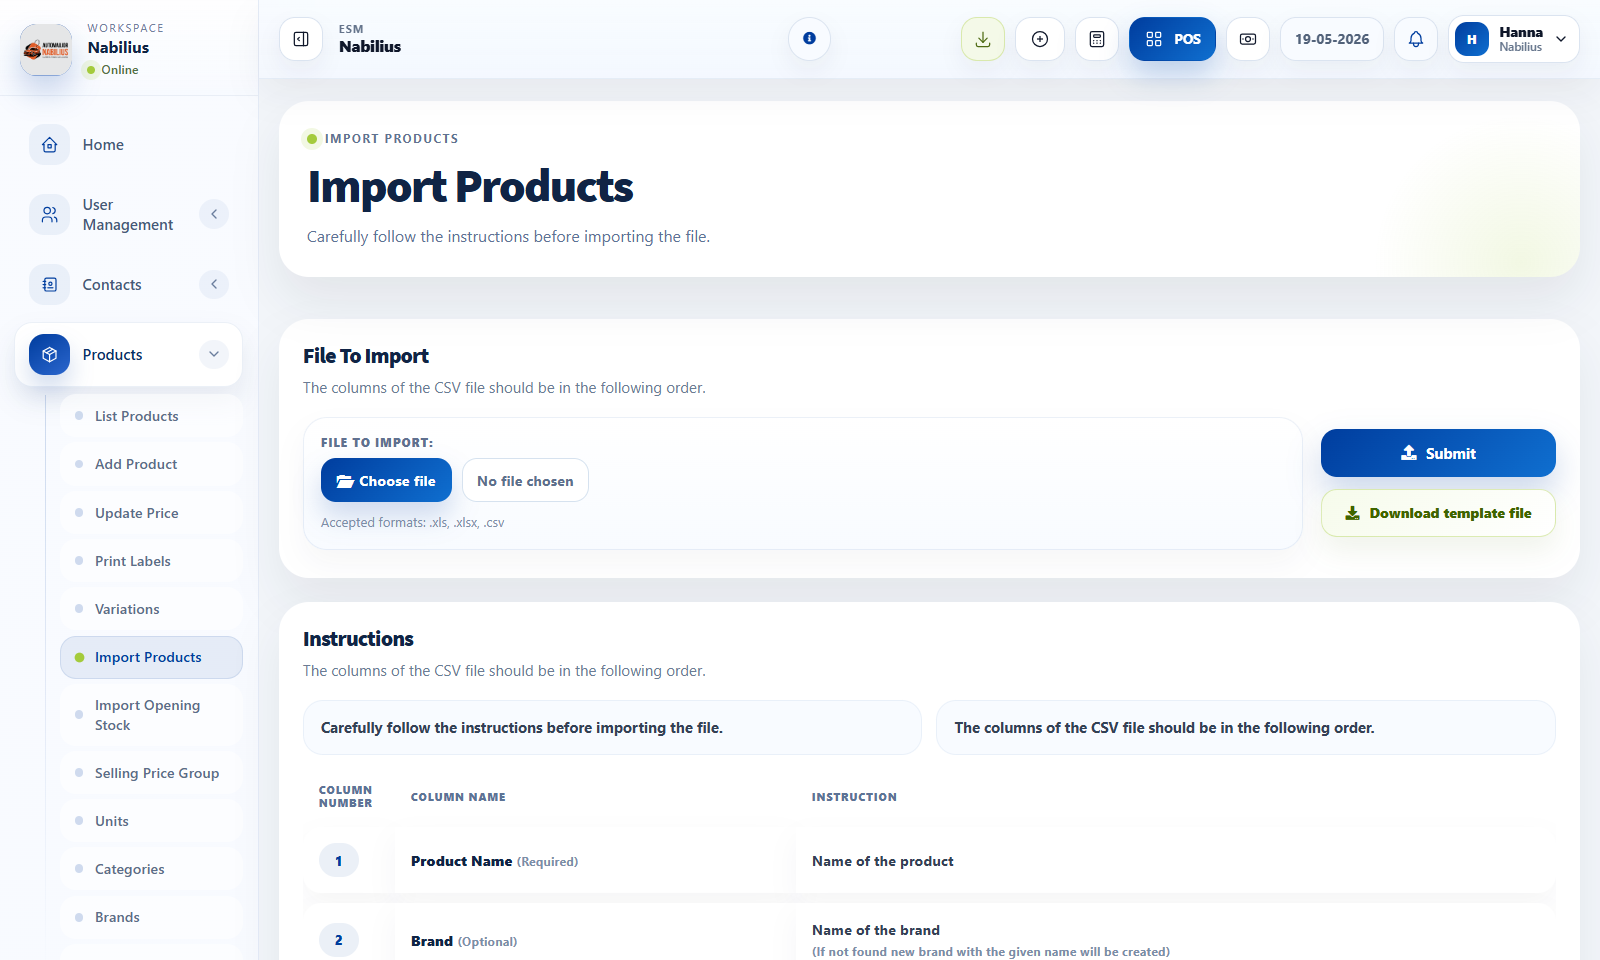
Import products and opening stock
Use import templates to bring existing catalog and stock data into ESMCloud safely.
Import Products and Import Opening Stock pages
![Import Products and Import Opening Stock pages]()
Before importing
Import quality depends on the template being clean and aligned with existing setup.
- Download the current template from the import page.
- Create categories, brands, units, taxes, and locations first.
- Keep required columns filled and use exact names where the template expects existing records.
Opening stock
Opening stock should represent the stock count at the moment you start tracking in ESMCloud.
- Import opening stock after products and locations exist.
- Use opening stock only for initial quantities, not for daily adjustments.
- For later corrections, use Stock Adjustment or Stock Transfer.
Validation routine
Always test imports with a small file first.
- Import five rows and verify product list, stock report, and POS search.
- Check currency, decimal formatting, and image paths if used.
- Only then import the full file.
Detailed operating workflow
Use imports to load products and opening stock safely when a business already has existing inventory.
- Download the correct template and fill only the supported columns.
- Import products before importing opening stock so SKU, unit, category, brand, and tax references exist.
- Validate the preview and fix rejected rows before saving imported data.
- After import, open Product List, Stock Report, and Stock History to confirm quantities and values.
Check before moving on
Template column names were not changed.
Location, unit, tax, category, and brand names match existing records.
Opening stock values appear in the correct location.
Review signals and troubleshooting
Use these checks when the screen looks correct but the numbers, records, or workflow do not behave as expected.
- If import fails, check required columns, duplicate SKUs, date formats, and invalid references.
- If stock value is wrong, review purchase price, quantity, and tax settings in the import file.
- Keep the original import file for audit and rollback planning.
Practical notes
- Keep a copy of the imported file with the date and location name for audit purposes.
Products and stock
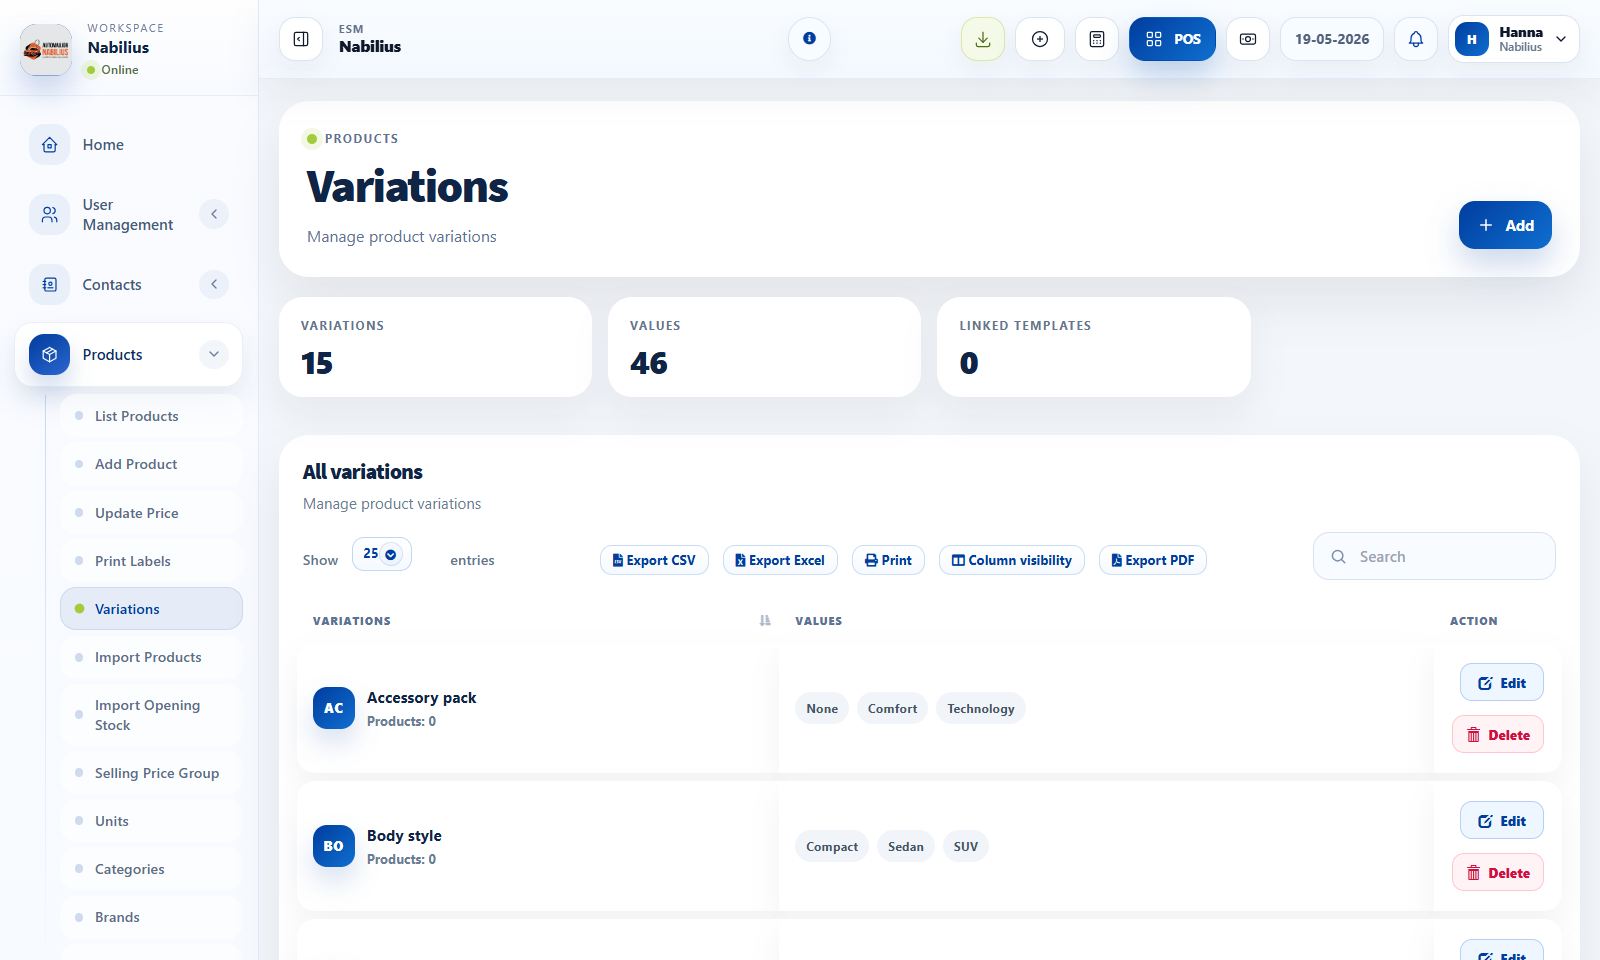
Units, categories, brands, variations, and warranties
Create reusable product structure so product forms and filters stay clean.
Product setup tables
![Product setup tables]()
Core catalog structure
These tables reduce repeated text entry and make reports easier to filter.
- Units define how products are counted, sold, or purchased.
- Categories group products by type, department, body style, or operational family.
- Brands identify manufacturers or product lines.
- Warranties define after-sale coverage that can appear in product and invoice workflows.
Variations
Use variations when one product has controlled options such as size, color, or pack.
- Create variation templates before adding products that need variants.
- Avoid variations for unique high-value items that should be separate products.
- For one-off serialized items, separate product records are often clearer than variations because each item must remain traceable.
Cleanup rules
Keep setup records reusable and consistent.
- Merge naming patterns before importing data.
- Avoid duplicates such as BMW, Bmw, and BMW Group unless they truly mean different things.
- Use category reports to confirm records are used correctly.
Detailed operating workflow
Use master data pages to keep product structure clean before products are created.
- Create units for how products are bought and sold, including sub-units only when conversion is needed.
- Create categories and brands to support filtering, reporting, POS selection, and product organization.
- Create variations only when the same product truly has repeatable options such as size or color.
- Create warranties only when warranty tracking is useful on sales or product records.
Check before moving on
Master data tables load and show newly created records.
Names are consistent enough to avoid duplicate categories or brands.
Products use the correct unit and category before imports or bulk changes.
Review signals and troubleshooting
Use these checks when the screen looks correct but the numbers, records, or workflow do not behave as expected.
- If filters become messy, consolidate duplicate categories or brands before more products are added.
- If units affect quantity incorrectly, check base unit and sub-unit conversion.
- Avoid variations for one-off serial or VIN-level identifiers; use product fields or SKUs instead.
Products and stock
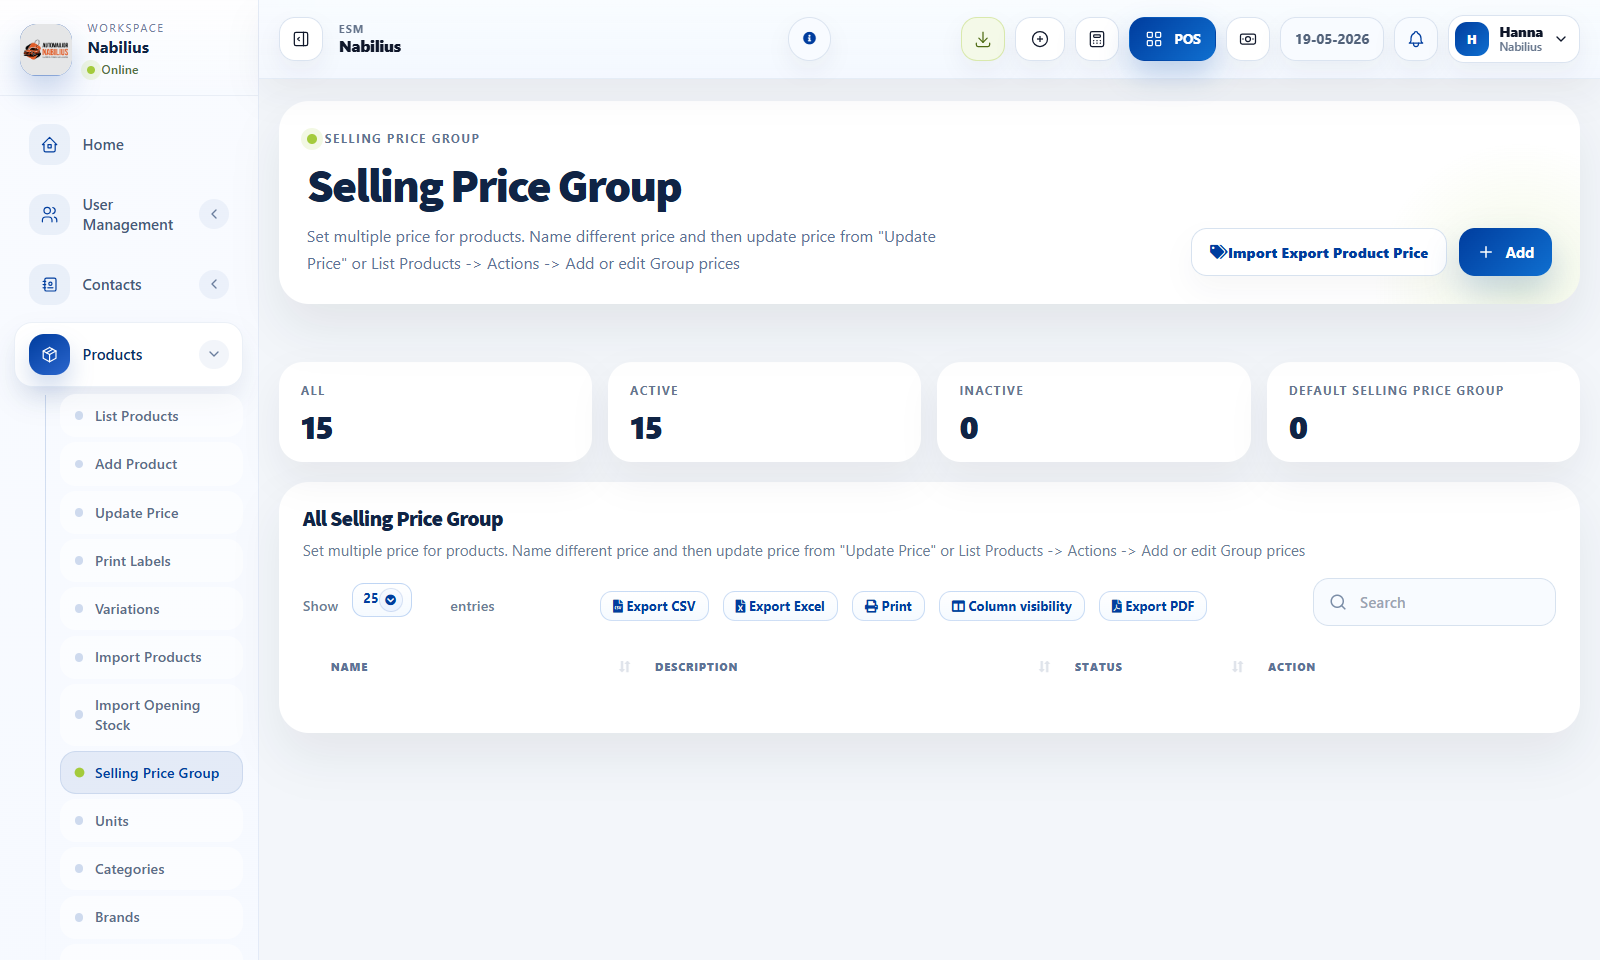
Selling price groups and price updates
Maintain retail, wholesale, location, or customer-specific pricing without editing each sale manually.
Selling Price Group and Update Price pages
![Selling Price Group and Update Price pages]()
When to use price groups
Price groups are useful when one product has more than one official selling price.
- Create a price group for wholesale, dealer, fleet, or branch-specific rates.
- Assign price groups to contacts or locations where needed.
- Use update price tools to revise many product prices together.
Safe price updates
Pricing changes affect future sales and reporting.
- Export current prices before a major update.
- Test one product with the new price group in POS.
- Review margin and selling price after import or bulk update.
Label printing
Labels help physical inventory and retail checkout.
- Use Print Labels when product shelves or stock tags need barcode labels.
- Confirm barcode setting and paper format before printing batches.
- Use product filters to avoid printing unnecessary labels.
Detailed operating workflow
Use selling price groups when different customers, branches, or channels need controlled alternate prices.
- Create the selling price group with a clear name and active status.
- Update product prices for that group using the price update screen or import flow.
- Assign the group to customers or locations that should use those prices.
- Run a test sale and confirm the selected customer or location receives the correct price.
Check before moving on
Price group appears in contacts, locations, and product price update screens where expected.
Default product price remains unchanged unless intentionally edited.
Reports show sales values based on the actual transaction price.
Review signals and troubleshooting
Use these checks when the screen looks correct but the numbers, records, or workflow do not behave as expected.
- If a price is wrong, check customer group, price group, location assignment, and product price override.
- If a group is no longer used, deactivate rather than deleting records connected to history.
- Review special pricing periodically to avoid outdated margin rules.
Products and stock
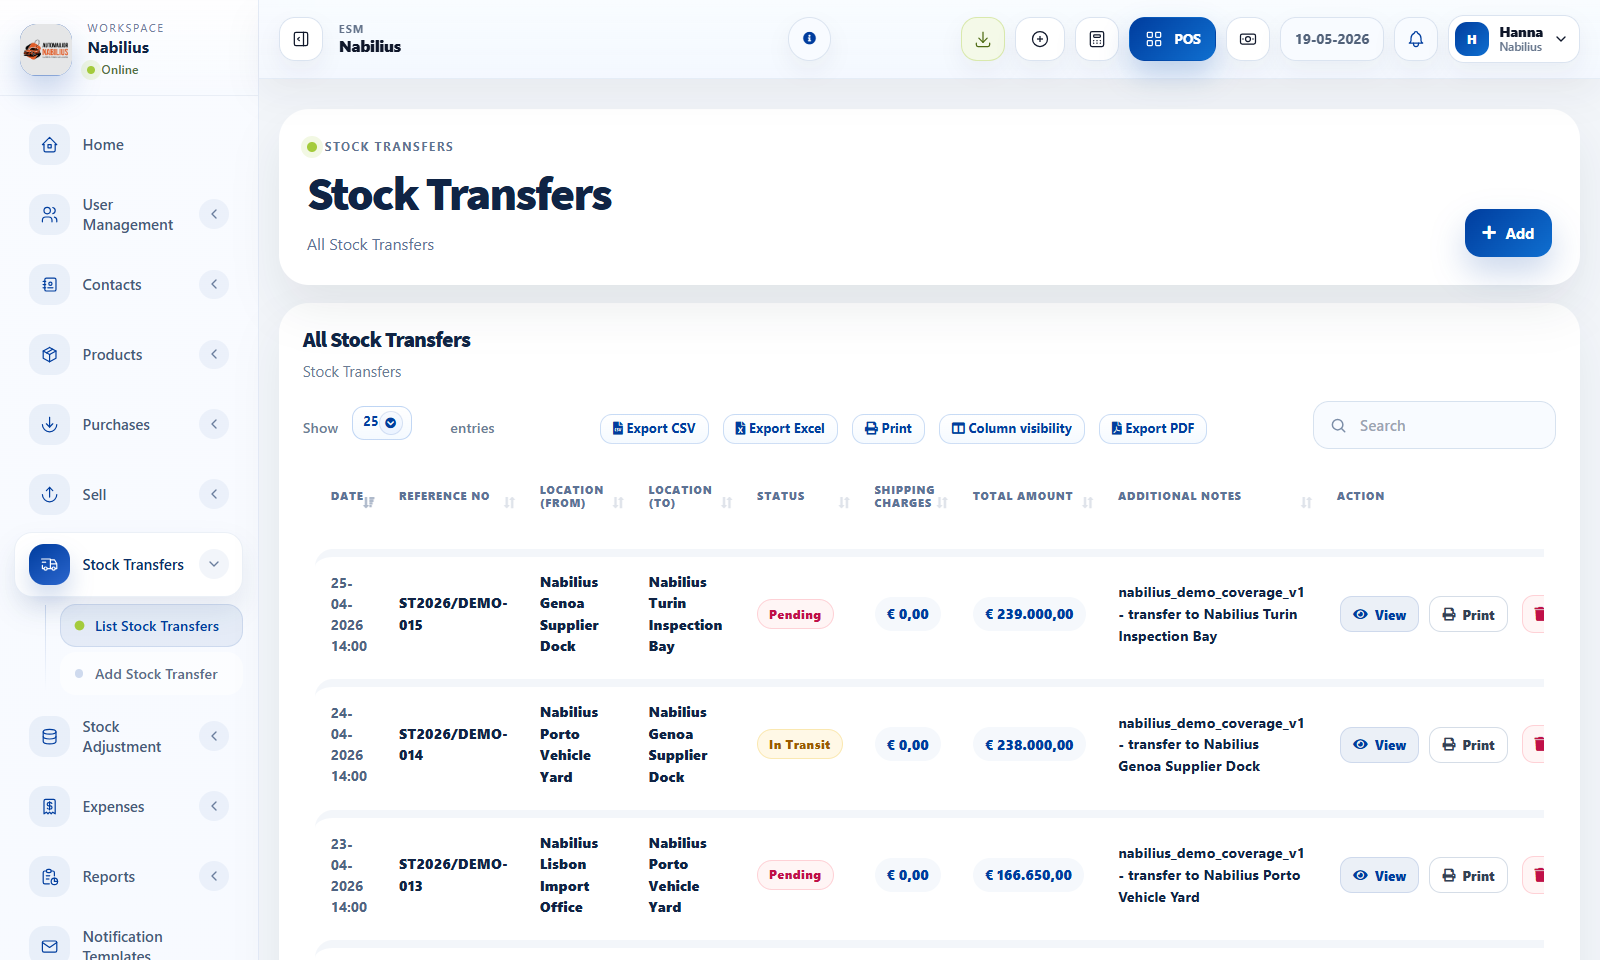
Stock transfers and adjustments
Move stock between locations and correct stock counts with auditable transactions.
Stock Transfer and Stock Adjustment pages
![Stock Transfer and Stock Adjustment pages]()
Stock transfers
Use transfers when stock physically moves from one location to another.
- Select source location, destination location, date, and transfer status.
- Add products and quantities being moved.
- Use stock transfer reports to track movement history.
Stock adjustments
Use adjustments when physical count differs from system stock.
- Use normal adjustment for count correction, damage, loss, or discovered stock.
- Add a clear reason and reference so the change can be audited later.
- Do not use stock adjustment to represent a sale or purchase.
Audit routine
Every stock movement should explain why quantity changed.
- Review product stock history for the item.
- Check stock report totals after posting.
- Use activity logs when investigating unexpected changes.
Detailed operating workflow
Use transfers for movement between locations and adjustments for physical count corrections.
- Use Stock Transfers when products move from one business location to another.
- Use Stock Adjustments when a physical count differs from system quantity due to damage, shrinkage, correction, or write-off.
- Add products with clear quantities, references, dates, and notes for traceability.
- Review stock history after saving to confirm the movement appears under the correct product and location.
Check before moving on
Transfer source and destination locations are different and correct.
Adjustment reason is documented before stock is reduced or increased.
Stock report reflects the new quantity after the transaction is completed.
Review signals and troubleshooting
Use these checks when the screen looks correct but the numbers, records, or workflow do not behave as expected.
- If transfer stock is missing, check status and both location filters.
- If adjustment totals look wrong, review quantity sign, product selection, and transaction date.
- Use adjustments sparingly; purchases, sales, and transfers should explain most stock movement.
Practical notes
- If stock is missing in POS, check location, current stock, and stock history before changing product settings.
Sales and POS
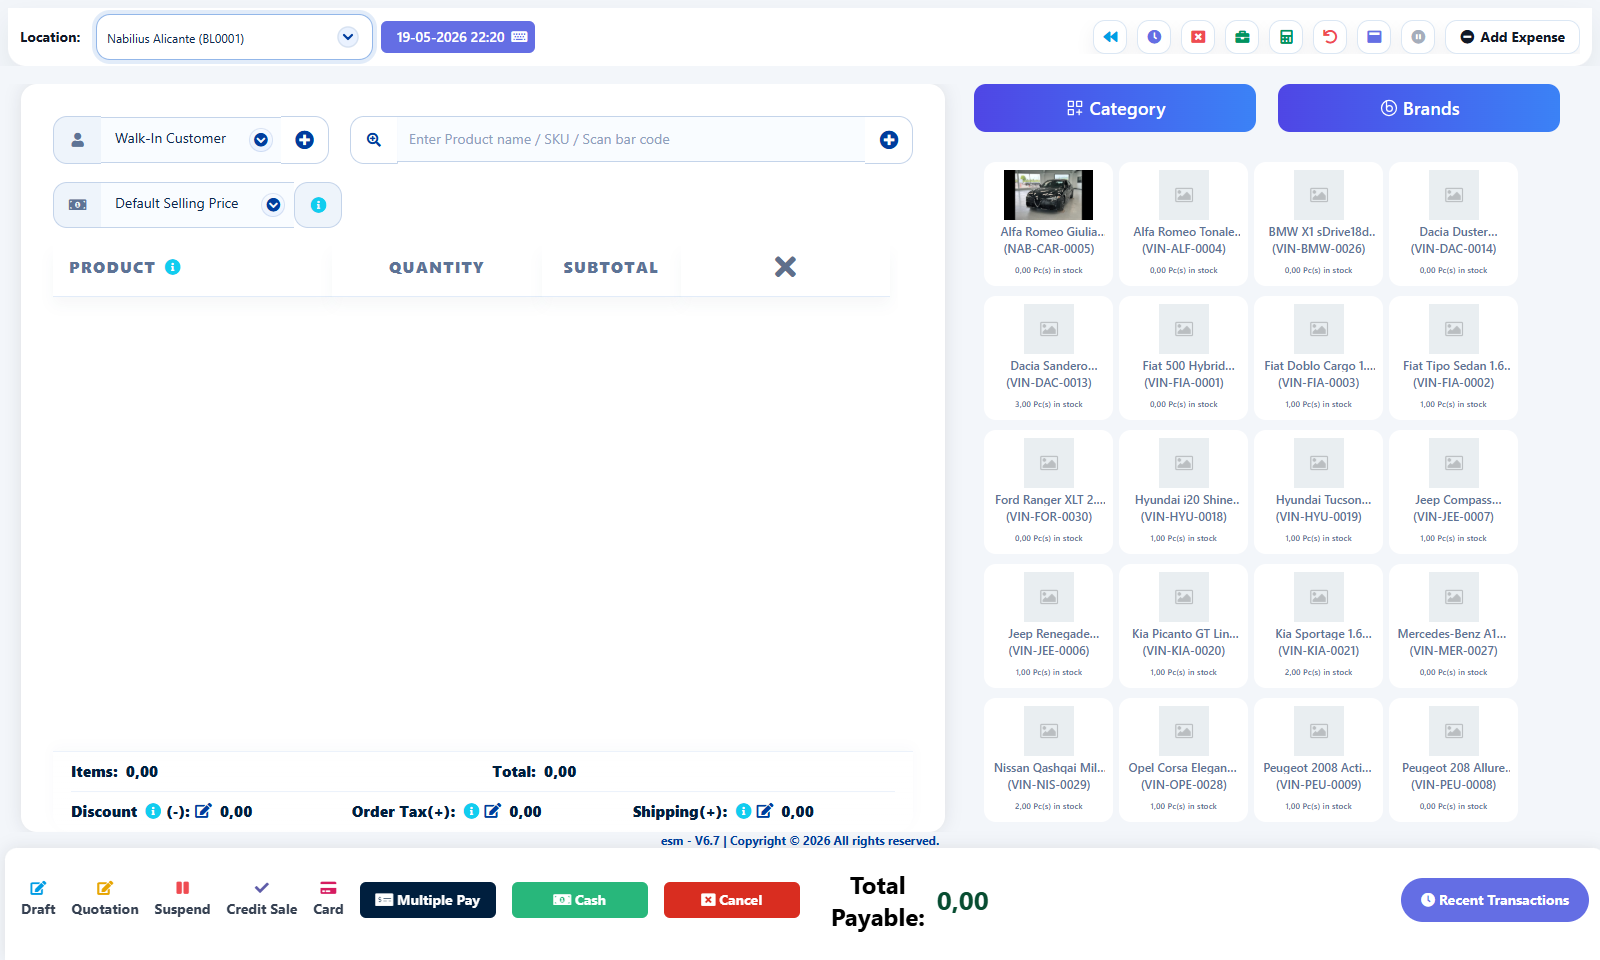
POS sales
Use POS for fast checkout, product search, category and brand filters, payments, and recent transactions.
POS screen
![POS screen]()
POS workflow
The POS screen is built for speed while still preserving customer, stock, tax, discount, and payment logic.
- Select customer or keep Walk-In Customer for anonymous sales.
- Search products by name, SKU, barcode, or category/brand selectors.
- Adjust quantities, discounts, order tax, and shipping where required.
- Choose payment method and finalize the sale.
Product selection
POS uses product stock and location availability.
- If a product does not appear, check stock, location, active status, and Not for selling setting.
- Use category and brand selectors to narrow long catalogs.
- Use the clear-all X in the product list only when the cart should be emptied.
Payment and register controls
POS payment buttons should match the business checkout process.
- Use cash, card, cheque, bank transfer, credit sale, draft, quotation, or suspend only when appropriate.
- Use recent transactions to quickly review or reopen recent activity.
- Close or reconcile register activity at the end of the shift if cash tracking is enabled.
Detailed operating workflow
Use POS for fast checkout while preserving customer, product, tax, discount, payment, and register history.
- Select customer and location, then add products from search, category, brand, or product cards.
- Review quantities, unit, subtotal, discount, order tax, shipping, and total payable before payment.
- Choose the payment method, collect payment, and finalize only when the transaction is correct.
- Use draft, quotation, suspend, credit sale, and card/cash flows only for the matching real-world situation.
Check before moving on
Products added to the list are visible in the scrollable product card.
Total payable matches item totals, taxes, discounts, shipping, and payments.
Stock reduces from the selected location after finalizing the sale.
Review signals and troubleshooting
Use these checks when the screen looks correct but the numbers, records, or workflow do not behave as expected.
- If product cards are empty, check category/brand filters, stock, and search terms.
- If payment cannot complete, check register status, payment account settings, and required fields.
- If POS layout feels cramped, keep the product list and bottom totals fixed and scroll only the item list.
Practical notes
- Configure POS keyboard shortcuts in Business Settings for high-volume checkout teams.
Sales and POS
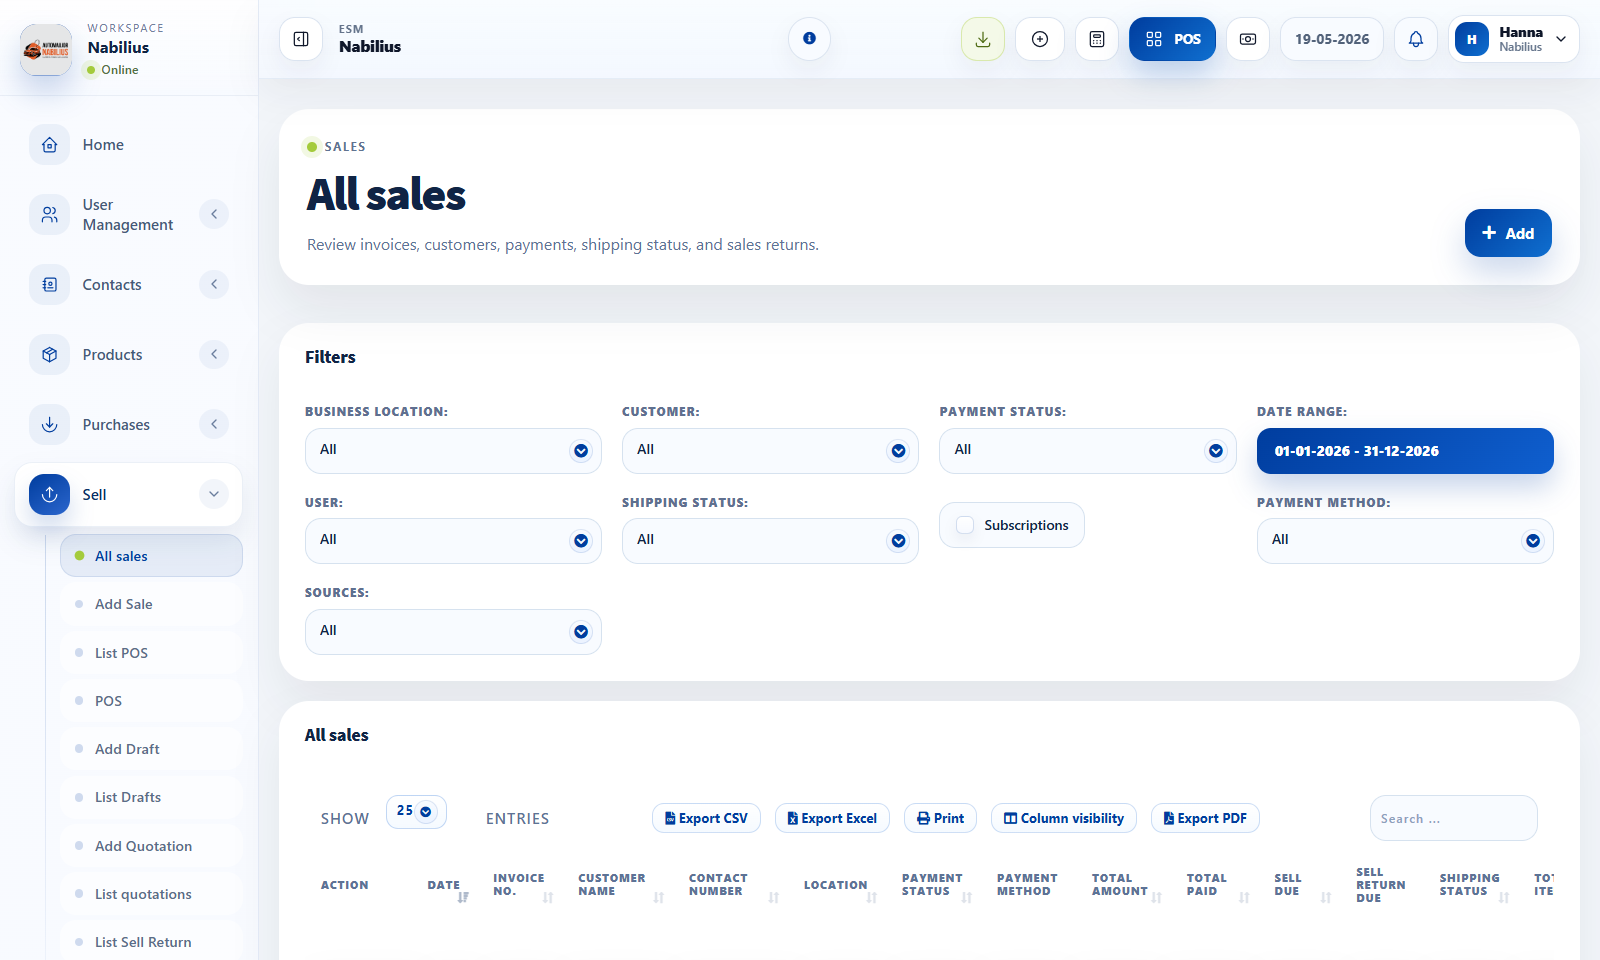
Sales invoices
Create sales outside the POS screen for detailed invoices, shipping, payment, and notes.
Add Sale and Sales list pages
![Add Sale and Sales list pages]()
When to use Add Sale
Add Sale is better than POS when the sale needs richer details or a slower invoice workflow.
- Use Add Sale for B2B invoices, delivery orders, service sales, or sales with long notes.
- Select customer, pay term, sale date, location, products, tax, discount, shipping, and payment.
- Attach documents when the sale needs supporting files.
Line items
Line item totals are affected by quantity, unit price, tax, discount, and product configuration.
- Use product suggestions to add the correct SKU.
- Confirm unit and quantity before saving.
- Use subtotal and grand total to validate the sale before payment.
After saving
Saved sales appear in Sales, Drafts, Quotations, POS, reports, and payment records depending on status.
- Print or preview the invoice after saving.
- Record payments if the sale is not fully paid.
- Use sell return when goods are returned rather than deleting the original invoice.
Detailed operating workflow
Use sales invoices to review, edit, print, ship, and reconcile completed sales outside the POS workspace.
- Filter sales by date, customer, location, payment status, shipping status, user, or subscription where needed.
- Open actions to view, edit, print, add payments, ship, or inspect activity based on permissions.
- Use concise payment status and shipping status columns to identify follow-up work.
- Export the filtered table when sharing sales records with accounting or operations.
Check before moving on
Invoice number, date, customer, location, total, paid amount, and due amount align with reports.
Edit and delete actions are limited to authorized users.
Printed invoice uses the expected invoice layout.
Review signals and troubleshooting
Use these checks when the screen looks correct but the numbers, records, or workflow do not behave as expected.
- If totals do not match reports, confirm cancelled, draft, quotation, and subscription filters.
- If an invoice action is missing, check role permissions and transaction status.
- Use activity logs when invoice status or payment history is disputed.
Sales and POS
Drafts, quotations, and suspended sales
Use temporary sale states when a sale is not ready to become a final invoice.
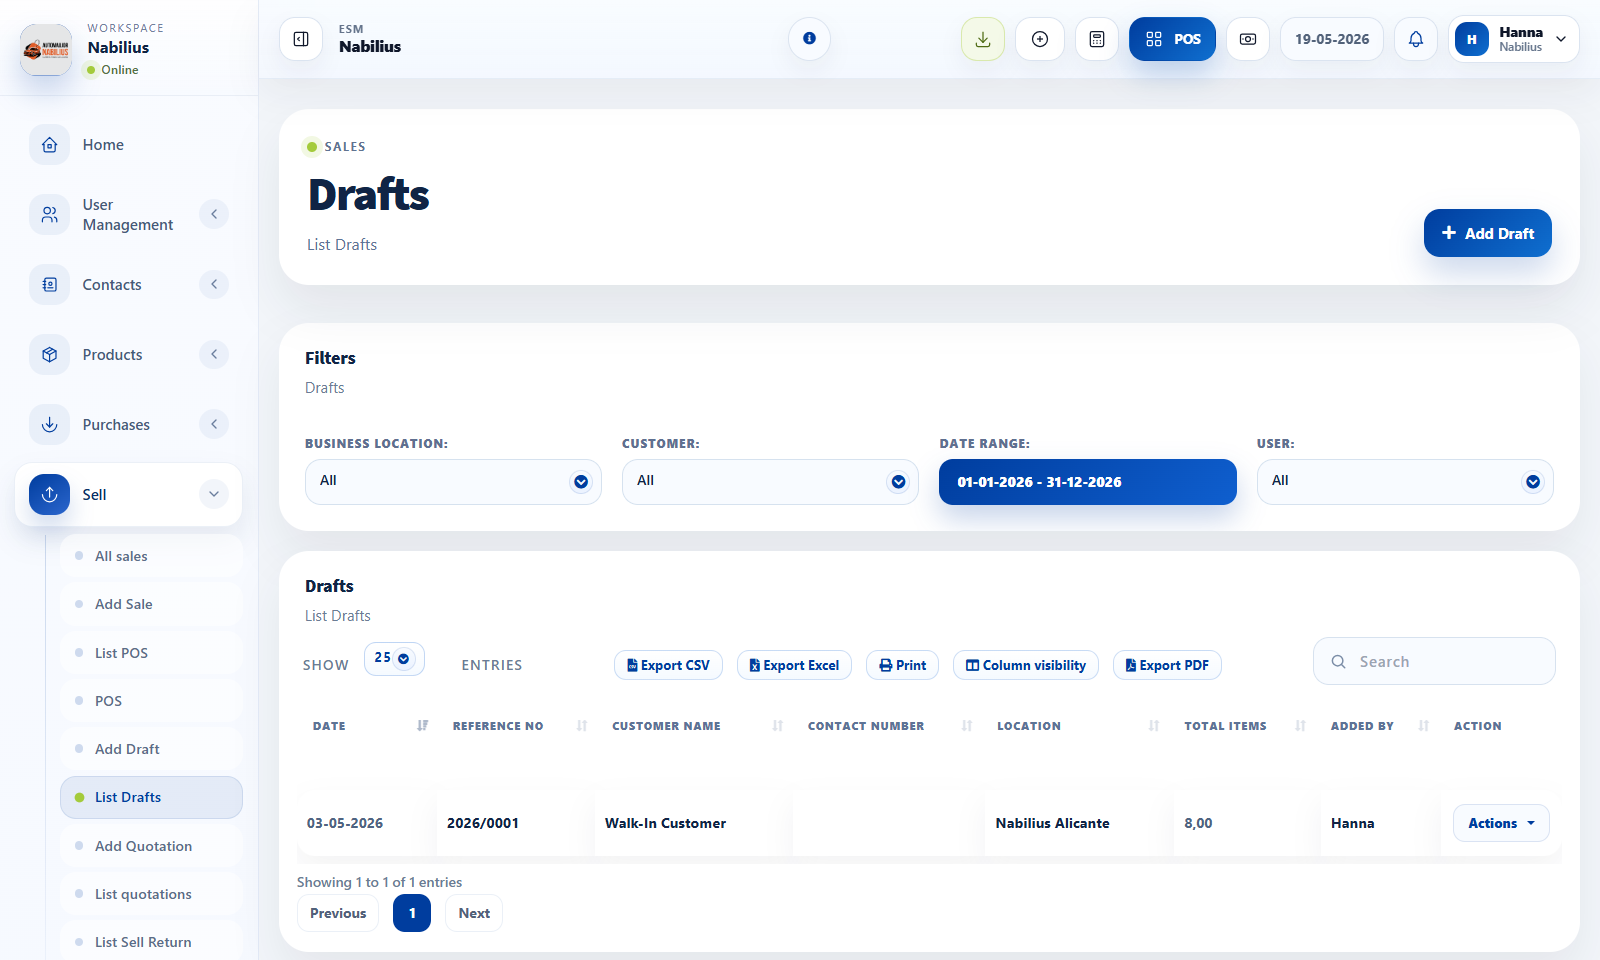
Drafts and quotations pages
![Drafts and quotations pages]()
Drafts
Drafts hold unfinished sales that may be edited later.
- Use Draft when the customer is not ready to finalize.
- Review drafts regularly so old unfinished transactions do not clutter reports.
Quotations
Quotations communicate a proposed sale without finalizing stock and payment the same way as an invoice.
- Use quotations for estimates, proposals, and customer approval flows.
- Convert or recreate the sale when the customer accepts the quote.
Suspended sales
Suspended sales are useful during active checkout interruptions.
- Suspend when the customer will return soon or payment is briefly delayed.
- Finalize suspended sales before closing the shift.
Detailed operating workflow
Use drafts, quotations, and suspended sales to separate incomplete work from finalized invoices.
- Create a quotation when a customer needs a price proposal without stock commitment.
- Use drafts for internal unfinished sales that should not yet behave like invoices.
- Use suspended sales in POS when checkout is paused temporarily.
- Convert, copy, or finalize records only after customer, items, prices, taxes, and totals are reviewed.
Check before moving on
Drafts and quotations do not inflate completed sales reports.
Converted invoices preserve the correct customer and product details.
Suspended POS sales are cleared after they are resumed or cancelled.
Review signals and troubleshooting
Use these checks when the screen looks correct but the numbers, records, or workflow do not behave as expected.
- If a quotation appears in sales totals, check transaction status and report filters.
- If stock changes too early, verify whether the record was finalized instead of saved as draft.
- Review old drafts and suspended sales regularly to keep the workspace clean.
Sales and POS
Shipments and sell returns
Track delivery status and process returns without hiding the original sale history.
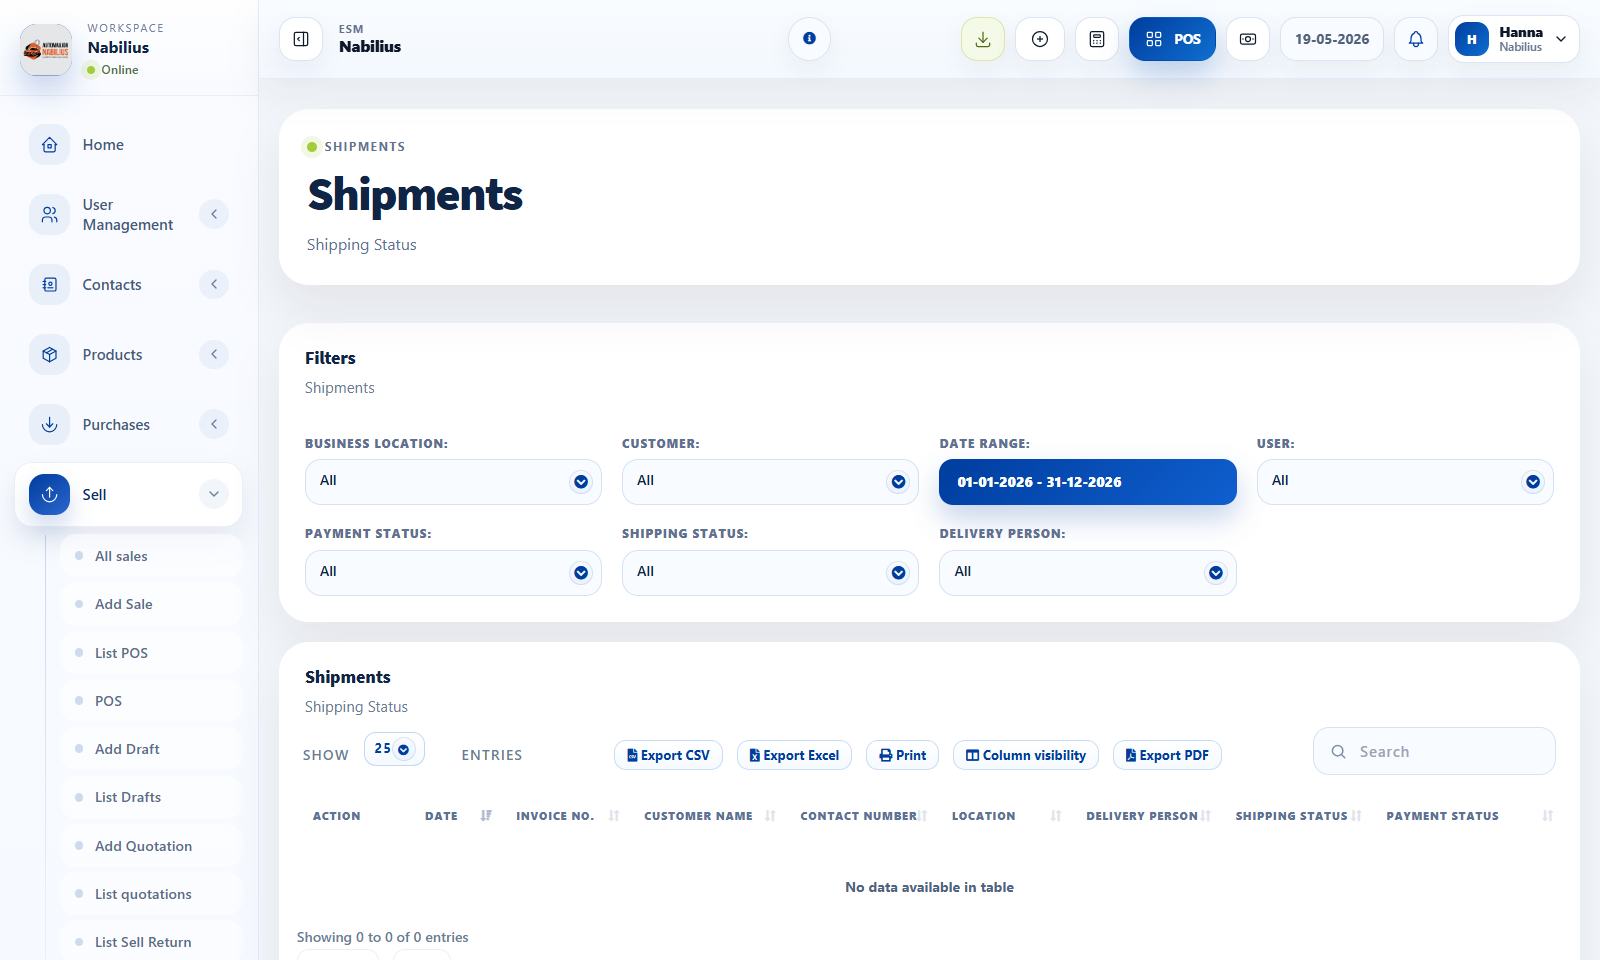
Shipments and Sell Return pages
![Shipments and Sell Return pages]()
Shipments
Shipment data helps teams follow delivery status after a sale.
- Use shipping status, delivery person, shipping address, and documents where needed.
- Filter shipments by customer, user, payment status, delivery person, and date range.
- Keep status updated so customer service can answer delivery questions.
Sell returns
Returns reverse part or all of a sale while preserving the original invoice.
- Select the original sale before creating a return.
- Confirm returned quantities and refund or payment due behavior.
- Review stock after return if returned products go back into inventory.
Controls
Returns and shipment updates can affect accounting, stock, and customer trust.
- Use notes to explain return reasons.
- Check payment method when refunding.
- Use reports to reconcile returns by date and customer.
Detailed operating workflow
Use shipment and return workflows to track delivery status, returned products, and refund impact.
- Filter shipments by date, customer, location, user, payment status, shipping status, and delivery person.
- Update shipping details, shipping address, delivery person, documents, and additional expenses when needed.
- Create sell returns from the original sale so returned products and payment effects remain linked.
- Review return quantities and totals before saving because stock and dues may change.
Check before moving on
Shipping status matches the physical delivery state.
Returned quantities do not exceed sold quantities.
Return totals appear correctly in sales and stock reports.
Review signals and troubleshooting
Use these checks when the screen looks correct but the numbers, records, or workflow do not behave as expected.
- If shipment filters show no records, check date range and shipping status.
- If a return affects stock unexpectedly, inspect product stock history for the return transaction.
- Document return reasons to support customer service and inventory review.
Sales and POS
Discounts and reward points
Configure promotions, customer rewards, and pricing rules without manually editing every invoice.
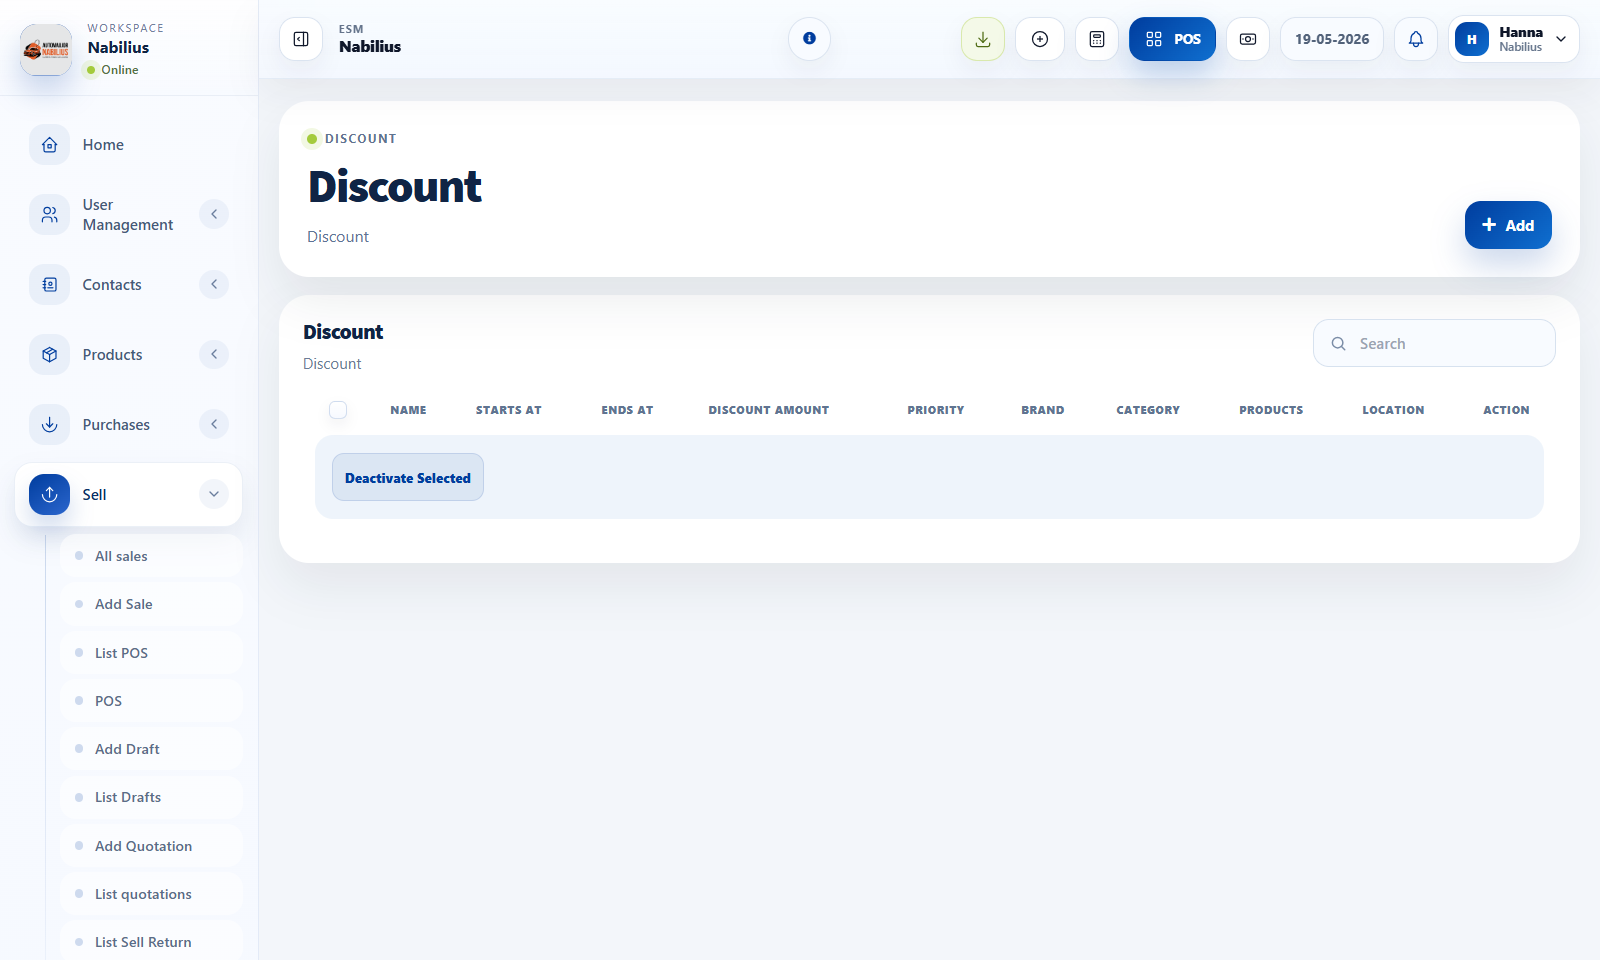
Discounts and reward settings
![Discounts and reward settings]()
Discount setup
Discounts can be filtered by brand, category, location, date, and active status.
- Create discounts with clear names and date windows.
- Use product/category/brand filters so discounts do not apply too broadly.
- Test a discount in POS before announcing it to staff.
Reward points
Reward points can encourage repeat customers when configured carefully.
- Enable reward points only if the business has a defined loyalty policy.
- Set earning, redeeming, minimum order, maximum point, and expiry rules.
- Make invoice labels clear so customers understand their points.
Reviewing promotions
Promotions should be measured, not just created.
- Use reports to compare sales during discount periods.
- Deactivate expired discounts.
- Audit reward point totals before changing the conversion rate.
Detailed operating workflow
Use discounts and reward points to manage promotions while keeping margin and eligibility visible.
- Create discounts with clear start/end dates, location rules, product/category scope, and active status.
- Use reward points only after the earning, redeeming, expiry, and display rules are configured.
- Test one eligible and one non-eligible sale before announcing a promotion.
- Review promotion performance with sales reports and profit/loss before extending the offer.
Check before moving on
Discount applies only to intended products, categories, locations, and dates.
Reward point labels and totals appear correctly on invoices when enabled.
Final sale margin is still acceptable after discounts and redeemed points.
Review signals and troubleshooting
Use these checks when the screen looks correct but the numbers, records, or workflow do not behave as expected.
- If a discount does not apply, check active status, date range, customer group, product scope, and location.
- If points do not show, check Business Settings and invoice layout options.
- Deactivate expired promotions to keep POS behavior predictable.
Practical notes
- Avoid overlapping discounts unless the business explicitly allows stacking promotions.
Purchases
Purchase workflow
Record supplier purchases, landed costs, shipping, products, totals, documents, and payment status.
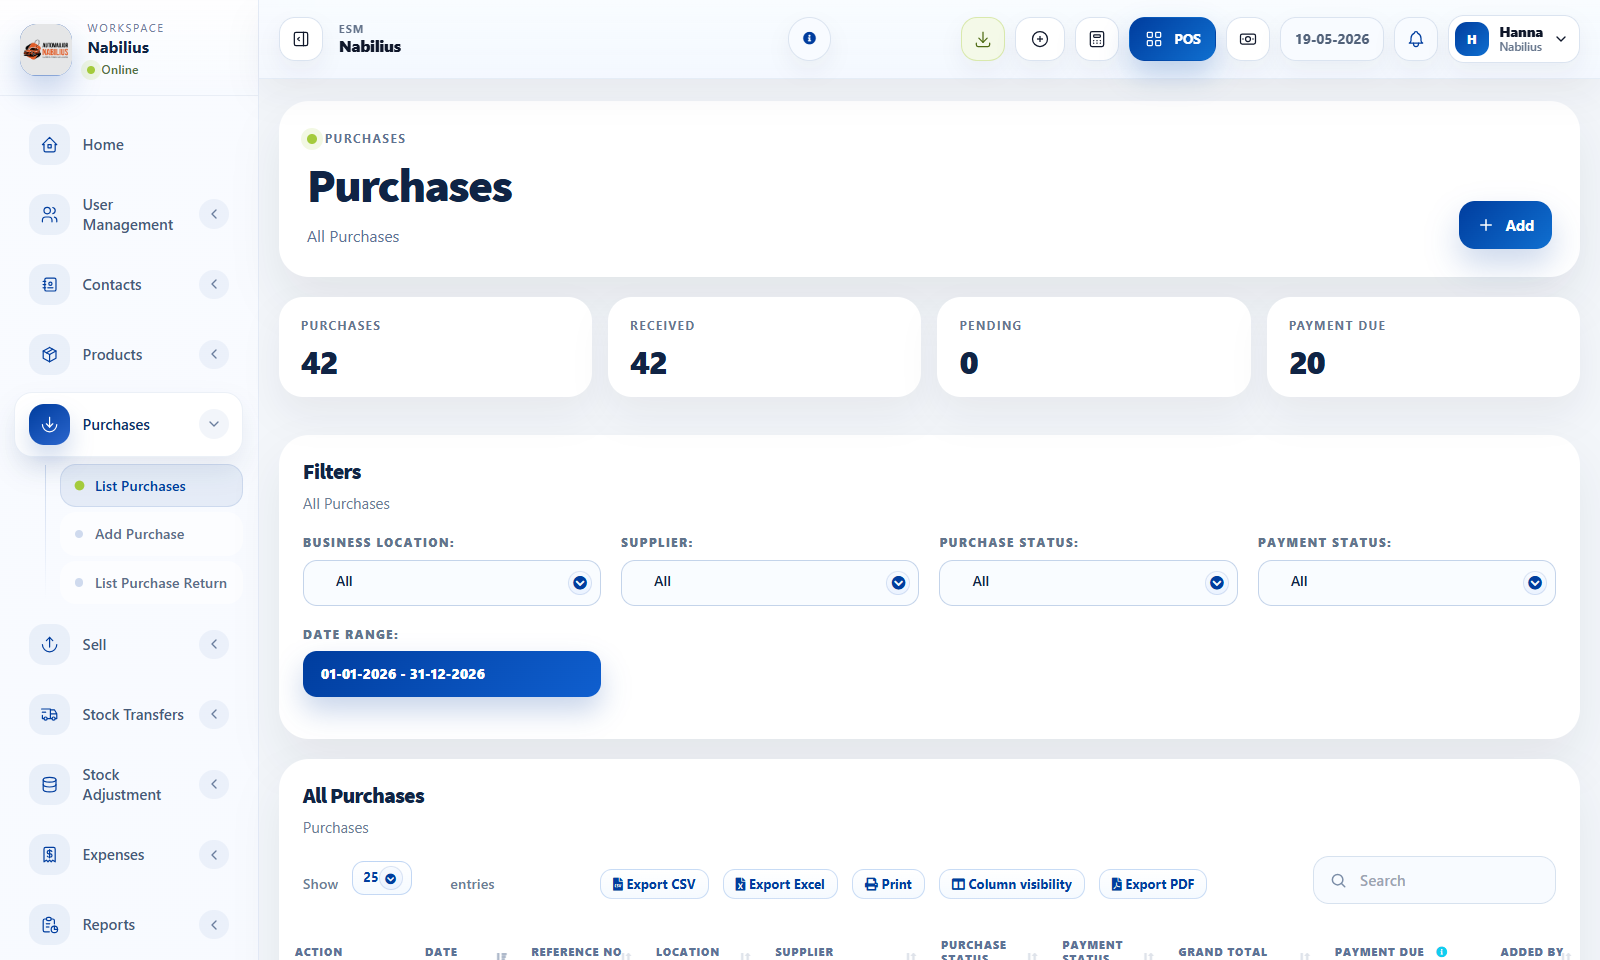
Add Purchase page
![Add Purchase page]()
Create a purchase
Purchases increase stock and record supplier financial obligations.
- Select supplier, business location, purchase date, status, reference number, and payment terms.
- Add products using the product search field and verify quantity, purchase price, tax, and subtotal.
- Add additional expenses or shipping costs when they belong to the purchase.
- Save the purchase and record payment if money was paid immediately.
Stock impact
Stock updates depend on purchase status and product configuration.
- Only stock-managed products affect inventory quantity.
- Use received statuses consistently so stock reports match reality.
- Check product stock history when purchase stock does not appear as expected.
Documents and references
Supplier invoices and import documents should be traceable.
- Attach supplier invoices or import paperwork where available.
- Use reference numbers that match supplier documents.
- Keep notes for extra expenses or special supplier terms.
Detailed operating workflow
Use purchases to receive products, update stock, track supplier dues, and preserve import or supplier documentation.
- Select supplier, purchase date, status, location, pay term, and reference before adding products.
- Add product rows with quantity, unit cost, tax, discount, lot/expiry when applicable, and documents.
- Review shipping, additional expenses, payment method, paid amount, and purchase total before saving.
- Open Stock Report and Purchase Payment Report after saving to confirm stock and dues.
Check before moving on
Purchase status is correct before relying on stock quantity.
Supplier due amount matches paid amount and grand total.
Additional expenses are included in the intended accounting fields.
Review signals and troubleshooting
Use these checks when the screen looks correct but the numbers, records, or workflow do not behave as expected.
- If stock does not increase, check purchase status, location, product row, and stock-managed setting.
- If payment due is wrong, review child payments and purchase return records.
- Attach supplier documents when traceability is important.
Practical notes
- For imported inventory, use supplier records and purchase documents to preserve traceability from import to sale.
Purchases
Purchase payments and returns
Track supplier payments, outstanding dues, purchase returns, and payment reports.
Purchase payment and purchase return pages
![Purchase payment and purchase return pages]()
Purchase payments
Payments reduce supplier due and appear in payment reports.
- Record payment method, amount, paid on date, account or reference number, and notes.
- Use partial payments when the supplier is not fully paid.
- Review Purchase Payment Report to audit payment history.
Purchase returns
Purchase returns reverse goods sent back to the supplier.
- Create returns against the original purchase when possible.
- Confirm returned quantity and refund or due adjustment.
- Check stock after return to ensure inventory moved correctly.
Supplier reconciliation
Supplier balance should match purchases, returns, advances, and payments.
- Use supplier table totals for purchase due, return due, opening balance, and advance balance.
- Open the supplier ledger when totals do not match expectations.
- Export payment records for accounting review.
Detailed operating workflow
Use purchase payments and returns to reconcile suppliers after receiving or returning products.
- Record payments against the correct supplier purchase and method.
- Use purchase returns when products are sent back to the supplier or credit is expected.
- Review returned quantity, return total, payment due, and supplier ledger before saving.
- Use Purchase Payment Report to reconcile paid, due, and method totals.
Check before moving on
Payment reference and paid-on date are correct.
Returned products match the original purchase and location.
Supplier ledger updates after payment or return is saved.
Review signals and troubleshooting
Use these checks when the screen looks correct but the numbers, records, or workflow do not behave as expected.
- If due amounts persist, check whether payments were recorded against another purchase.
- If return totals are wrong, inspect quantity, unit cost, tax, and discount from the original line.
- Use concise payment method names in reports and open details only when references are needed.
Expenses and reports
Expenses, categories, and tax rates
Record business costs and configure taxes so reports and invoices remain accurate.
Expenses and tax settings pages
![Expenses and tax settings pages]()
Expense workflow
Expenses track money spent outside product purchases.
- Create expense categories for rent, salaries, utilities, transport, marketing, repairs, or fees.
- Add expenses with date, location, category, amount, tax, payment status, contact, and notes.
- Use recurring expense fields only for repeated costs.
Tax setup
Tax rates and groups affect product prices, invoices, and tax reports.
- Create tax rates with clear names and percentages.
- Use tax groups only when multiple taxes must be combined.
- Review tax report after creating sales, purchases, and expenses.
Reports
Expense and tax records should be reviewed by date range and location.
- Use Expense Report for category and payment status review.
- Use Tax Report for input tax, output tax, and expense tax.
- Export reports for accountant review.
Detailed operating workflow
Use expenses, expense categories, and tax rates to keep operating costs and tax reporting consistent.
- Create expense categories and subcategories before entering recurring expenses or imports.
- Add expenses with date, location, category, tax, amount, payment status, contact, and notes where needed.
- Use recurring settings only when the expense should be generated repeatedly.
- Review Expense Report and Tax Report after entry to confirm the expense appears in the right period.
Check before moving on
Date range picker holds the intended selected period.
Expense category tables load or show a clean no-data message.
Tax rates and tax groups are visible in expense and tax reports.
Review signals and troubleshooting
Use these checks when the screen looks correct but the numbers, records, or workflow do not behave as expected.
- If an expense table is blank, inspect DataTable JSON and required columns.
- If a recurring expense repeats incorrectly, check interval, repeat-on day, and end condition.
- Use expense notes and references for later audit.
Practical notes
- Do not use expenses for product purchases; use Purchases so stock and supplier due stay correct.
Expenses and reports
Reports overview
Use ESMCloud reports to inspect sales, purchases, stock, customers, payments, taxes, registers, and activity.
Reports menu
![Reports menu]()
Core report filters
Reports depend heavily on date range, location, contact, product, category, brand, and payment status filters.
- Set the date range before comparing results.
- Use All locations first if you are not sure which branch contains the transaction.
- Use export buttons after filtering, not before.
Common reports
Each report answers a different operational question.
- Profit/Loss shows high-level business performance.
- Purchase & Sale Report compares transaction movement.
- Stock Report shows current stock value and movement totals.
- Product purchase and sell reports show product-level behavior.
- Payment reports show cash, card, cheque, bank transfer, and due movement.
Troubleshooting report numbers
When numbers look wrong, inspect the source transaction before editing reports.
- Check transaction date, status, location, and contact.
- Check payment status and payment records.
- Check stock-managed setting for products involved.
Detailed operating workflow
Use reports to validate operational data rather than relying only on table screens.
- Start with Purchase & Sale Report for high-level movement and Profit/Loss for profitability.
- Use Stock Report and Stock History for inventory checks.
- Use Payment Reports and Contact Reports for due amounts and reconciliation.
- Always apply the intended date range and location before exporting.
Check before moving on
Date range only applies after clicking Apply where that report requires it.
Filters update the table without reloading to stale defaults.
Export buttons reflect the currently filtered table.
Review signals and troubleshooting
Use these checks when the screen looks correct but the numbers, records, or workflow do not behave as expected.
- If page totals do not match table totals, check scrollable total rows and hidden columns.
- If pagination counts change, inspect recordsTotal and recordsFiltered in the AJAX response.
- If a report seems empty, confirm the date range includes the seeded or real transactions.
Practical notes
- Use reports as a verification layer after changing settings, imports, pricing, or stock workflows.
Expenses and reports
Profit and loss report
Understand revenue, cost, expenses, gross profit, net profit, and product-level profitability.
Profit/Loss Report page
![Profit/Loss Report page]()
Reading profit and loss
Profit/Loss summarizes business performance for the selected range.
- Use the date filter and business location field before reading totals.
- Compare sales income, purchase cost, expenses, stock adjustment impact, and net profit.
- Open profit by products when product-level margin needs review.
What affects profit
Profit depends on accurate product costs and complete expense entry.
- Purchase prices affect cost of goods sold.
- Discounts, returns, and expenses reduce profit.
- Missing purchase costs can distort margin.
Review cadence
Use this report weekly and monthly, not just at year end.
- Review monthly after all payments and expenses are entered.
- Compare profit by products with stock report to spot slow or low-margin inventory.
Detailed operating workflow
Use Profit/Loss to understand revenue, cost, gross profit, expenses, and net performance for a selected period.
- Select business location and date range before reading the summary.
- Review sales, purchases, expense, stock adjustment, and gross profit sections together.
- Use Profit by Product, Category, or Brand tabs to identify contributors.
- Compare results with Purchase & Sale Report when totals need explanation.
Check before moving on
Date filter, location filter, and tax behavior match the accounting question.
Expense and stock adjustment impacts are included in the period.
Product profit tabs do not have stray borders or layout artifacts.
Review signals and troubleshooting
Use these checks when the screen looks correct but the numbers, records, or workflow do not behave as expected.
- If profit looks too high, check product cost, opening stock, returns, and discounts.
- If expenses are missing, confirm expense dates and payment status filters.
- Export after filters are final, not before.
Expenses and reports
Stock report and stock history
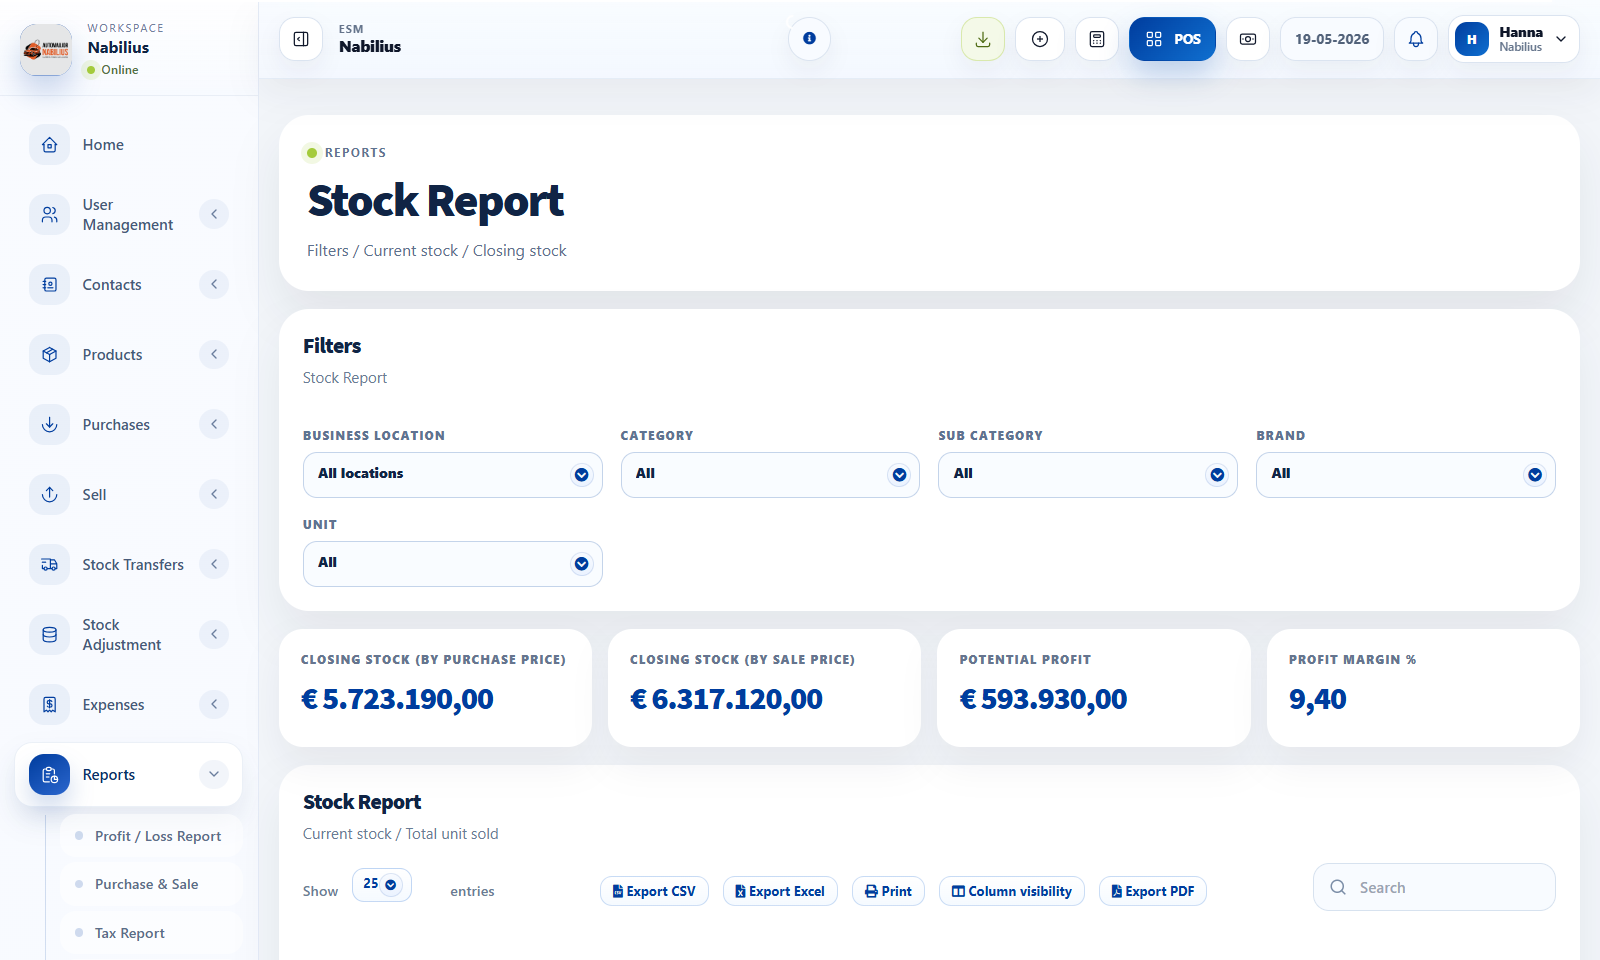
Review current stock, stock value, sold units, transferred units, adjusted units, and product history.
Stock Report page
![Stock Report page]()
Stock report columns
Stock Report combines product setup, purchase cost, sale price, and movement totals.
- Current stock shows available quantity by selected filters.
- Current stock value by purchase price estimates inventory cost value.
- Potential profit compares purchase value and selling value.
- Transferred and adjusted totals show non-sale stock movement.
Stock history
Stock history explains why stock changed.
- Open product stock history from the table when quantity looks wrong.
- Review purchases, sales, returns, transfers, and adjustments in order.
- Use SKU, location, date, and reference numbers to track the source.
Fixing mismatches
Do not patch totals directly. Fix the source transaction or create an adjustment.
- Check if stock belongs to another location.
- Check if product is marked Not for selling or not stock-managed.
- Use Stock Adjustment only after confirming the physical count.
Detailed operating workflow
Use stock reports to audit current quantity, stock value, transfers, adjustments, and product history.
- Filter by location, category, brand, unit, and active status before reading quantities.
- Use Product Stock History for item-level movement over time.
- Review total rows in the same column structure as the table.
- Use stock value by purchase and selling price carefully because they answer different questions.
Check before moving on
Total row values align with current stock, stock value, sold units, transferred units, and adjusted units.
Scrollbar style and table padding match other modern tables.
Product stock history buttons have enough width for their labels.
Review signals and troubleshooting
Use these checks when the screen looks correct but the numbers, records, or workflow do not behave as expected.
- If stock is negative or zero unexpectedly, inspect purchase, sale, return, adjustment, and transfer history.
- If stock value is wrong, check purchase price and tax settings.
- If a product is missing, confirm active status and location availability.
Expenses and reports
Payment reports
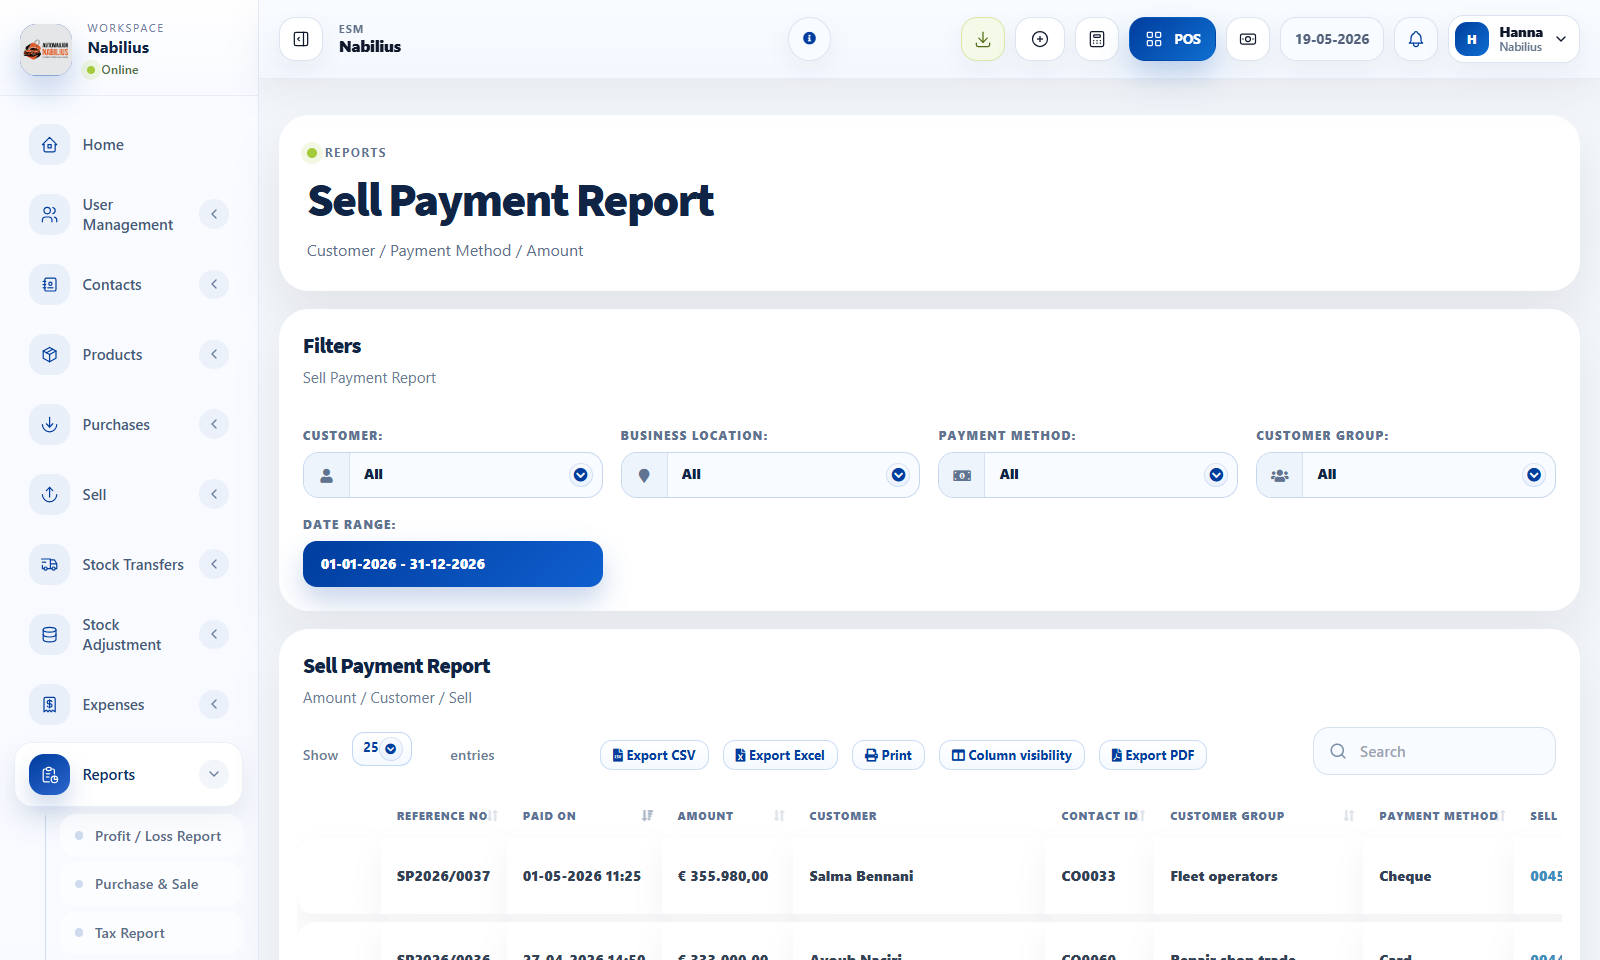
Review purchase payments, sell payments, payment methods, dues, and references.
Purchase Payment and Sell Payment reports
![Purchase Payment and Sell Payment reports]()
Payment report purpose
Payment reports answer who paid, when, how much, by which method, and against which transaction.
- Use Purchase Payment Report for supplier payments.
- Use Sell Payment Report for customer payments.
- Filter by payment method, contact, location, date range, and user where available.
Concise payment method display
Payment method cells should be easy to scan.
- Review methods such as Cash, Cheque, Card, and Bank Transfer.
- Open the transaction or child payment details only when reference information is needed.
Reconciliation
Use payment reports with ledgers and totals for accounting checks.
- Compare report totals with contact ledger balances.
- Confirm partial payments and payment due amounts.
- Export payment reports after applying filters.
Detailed operating workflow
Use payment reports to reconcile money received from customers and paid to suppliers.
- Choose sell or purchase payment report based on the transaction side being reviewed.
- Filter by date range, contact, location, user, and payment method.
- Read concise payment methods first, then open details only when reference numbers are needed.
- Use contact ledgers to confirm the payment affected the expected balance.
Check before moving on
Pagination counts stay consistent between pages.
Payment method cells show concise names such as Cash, Cheque, Card, or Bank Transfer.
Totals align under amount and due columns.
Review signals and troubleshooting
Use these checks when the screen looks correct but the numbers, records, or workflow do not behave as expected.
- If the first page count changes after clicking next, inspect server-side pagination and filtered totals.
- If child payments appear too detailed, keep details in the child view and summarize the table cell.
- If a payment is missing, check whether it was recorded under another transaction or contact.
Practical notes
- When reconciling, export only after confirming date range, payment method, location, and contact filters.
Expenses and reports
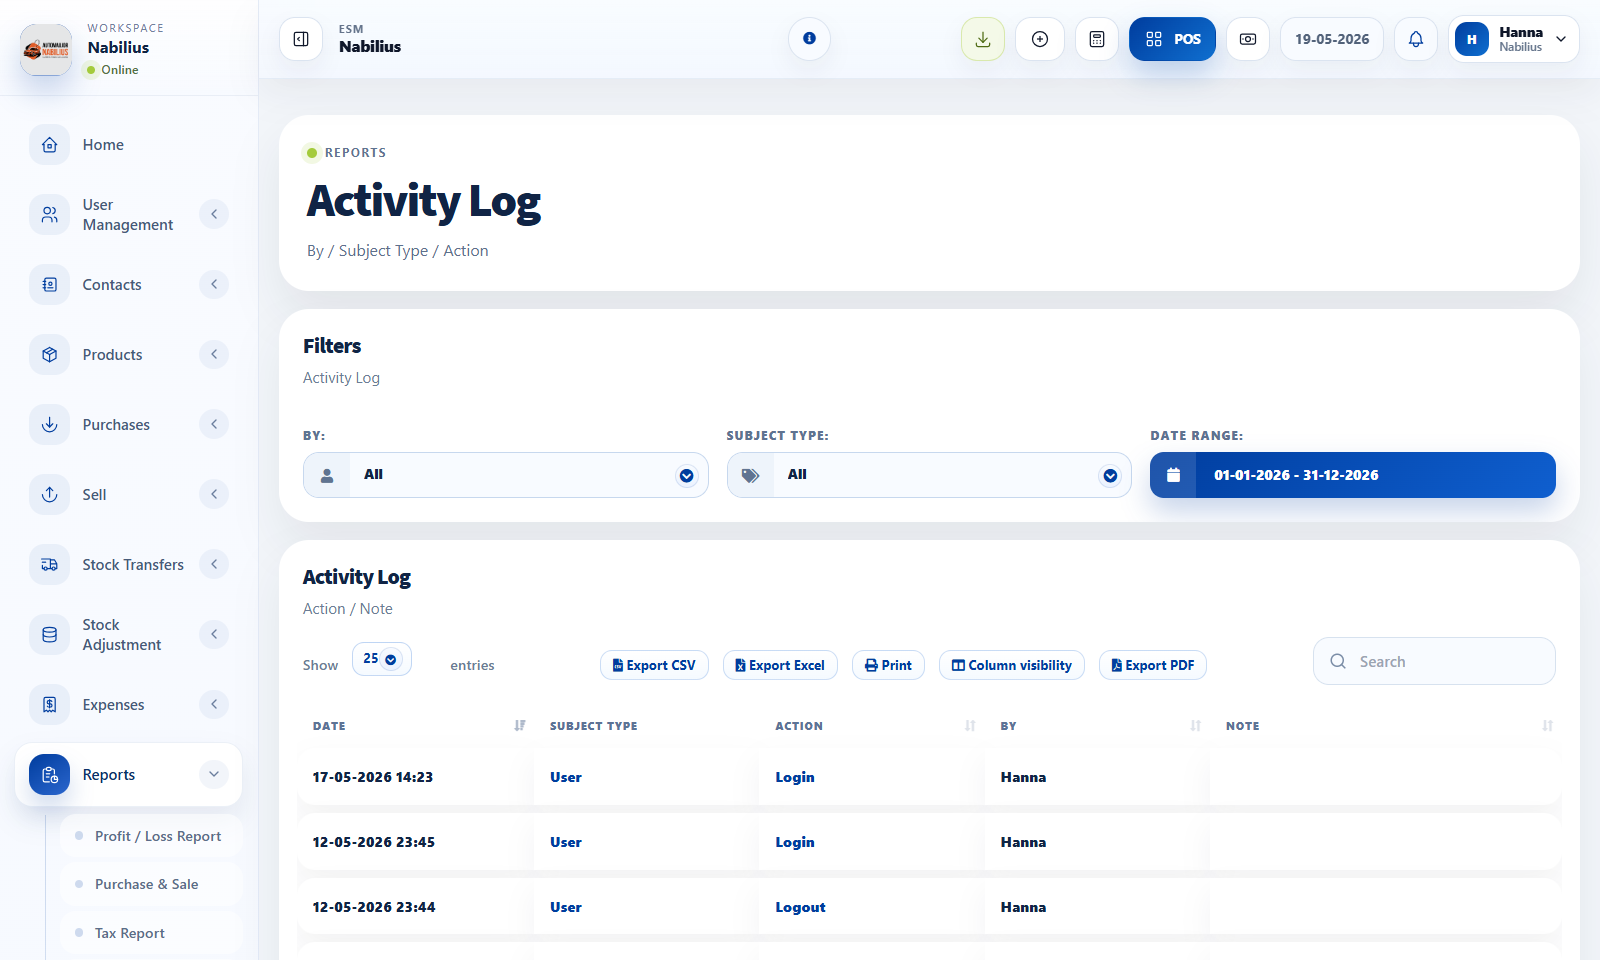
Activity log
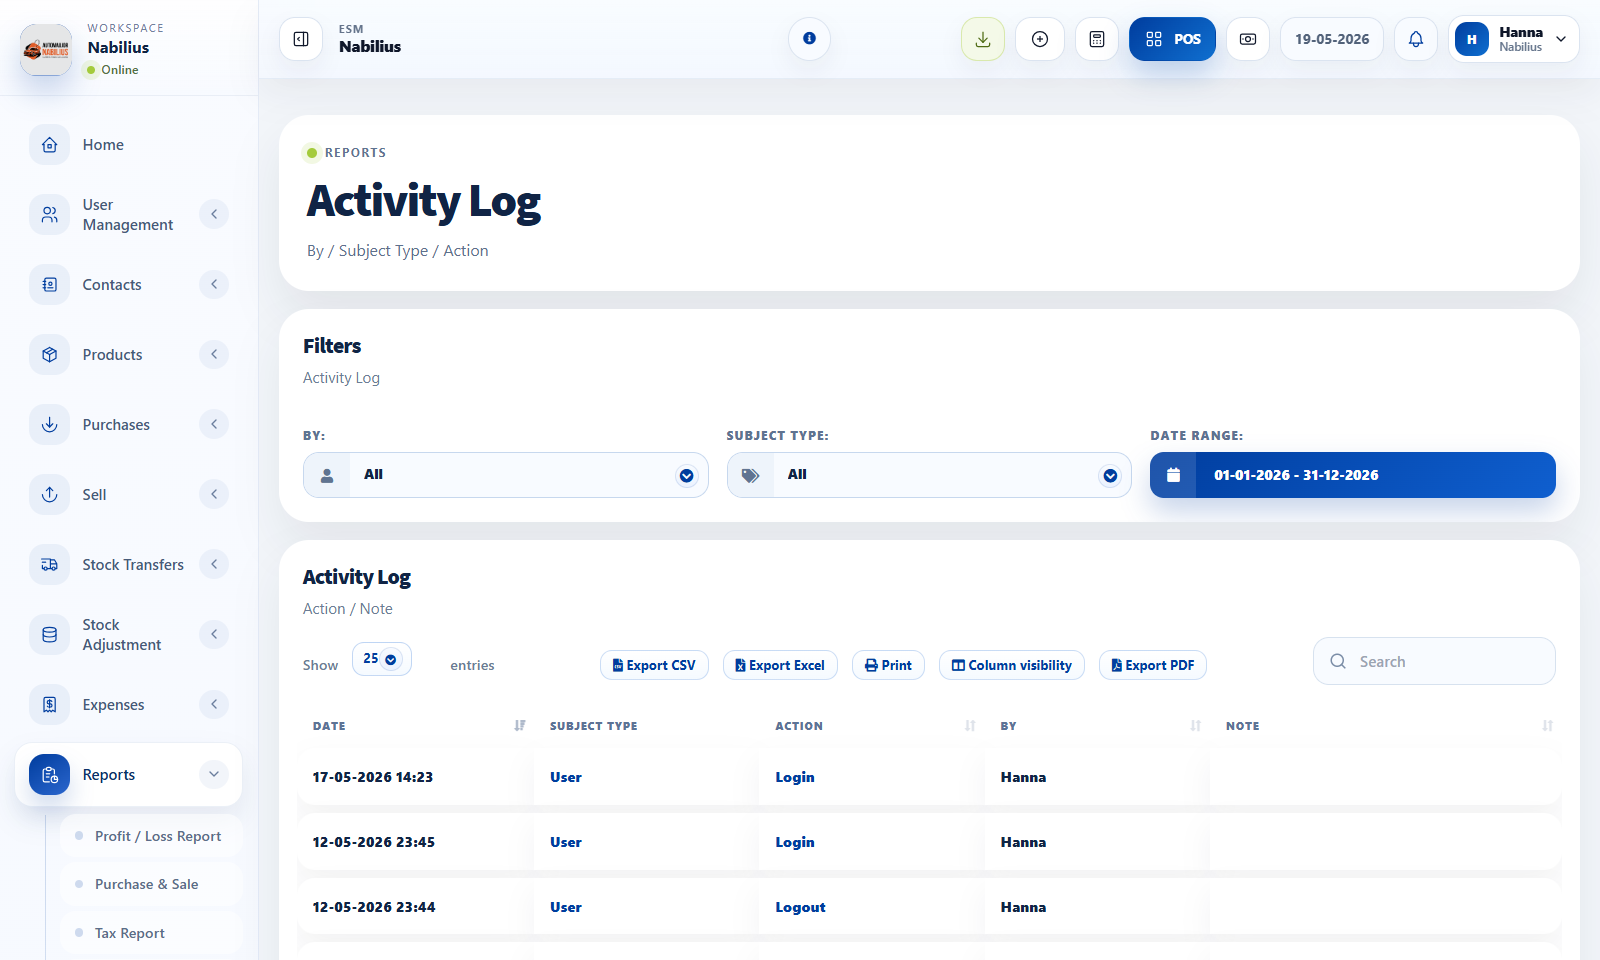
Audit user actions such as login, logout, added records, status changes, and sensitive updates.
Activity Log page
![Activity Log page]()
What the log records
The activity log helps owners understand who changed what and when.
- Logins and logouts identify user access events.
- Created, updated, deleted, and status-change events identify operational changes.
- Notes can include references such as invoice numbers, expense references, or status values.
How to use it
Use the log when investigating unexpected totals, data changes, or user actions.
- Filter by date and search by user, subject, action, or reference.
- Open the related record when a note includes an invoice or reference number.
- Export the log when an audit needs to be shared.
Limitations
The log is an audit helper, not a replacement for permissions.
- Keep sensitive permissions limited through roles.
- Review access regularly rather than relying on logs after the fact.
Detailed operating workflow
Use Activity Log for accountability when records are created, updated, deleted, logged in, or logged out.
- Search by user, subject, action, reference number, or note when investigating a change.
- Filter by date before exporting audit data.
- Use note details to jump back to related invoices, expenses, or status changes.
- Review login and logout events after access-sensitive work.
Check before moving on
Login and logout both register for authenticated users.
Status and total details are compact and readable inside the note column.
Export buttons and search remain visible and aligned.
Review signals and troubleshooting
Use these checks when the screen looks correct but the numbers, records, or workflow do not behave as expected.
- If a login is missing, check authentication event logging and user session flow.
- If the log is too noisy, filter before exporting rather than changing log behavior.
- Use logs with role permissions; do not rely on audit after granting broad access.
HRM and essentials
Leave and attendance
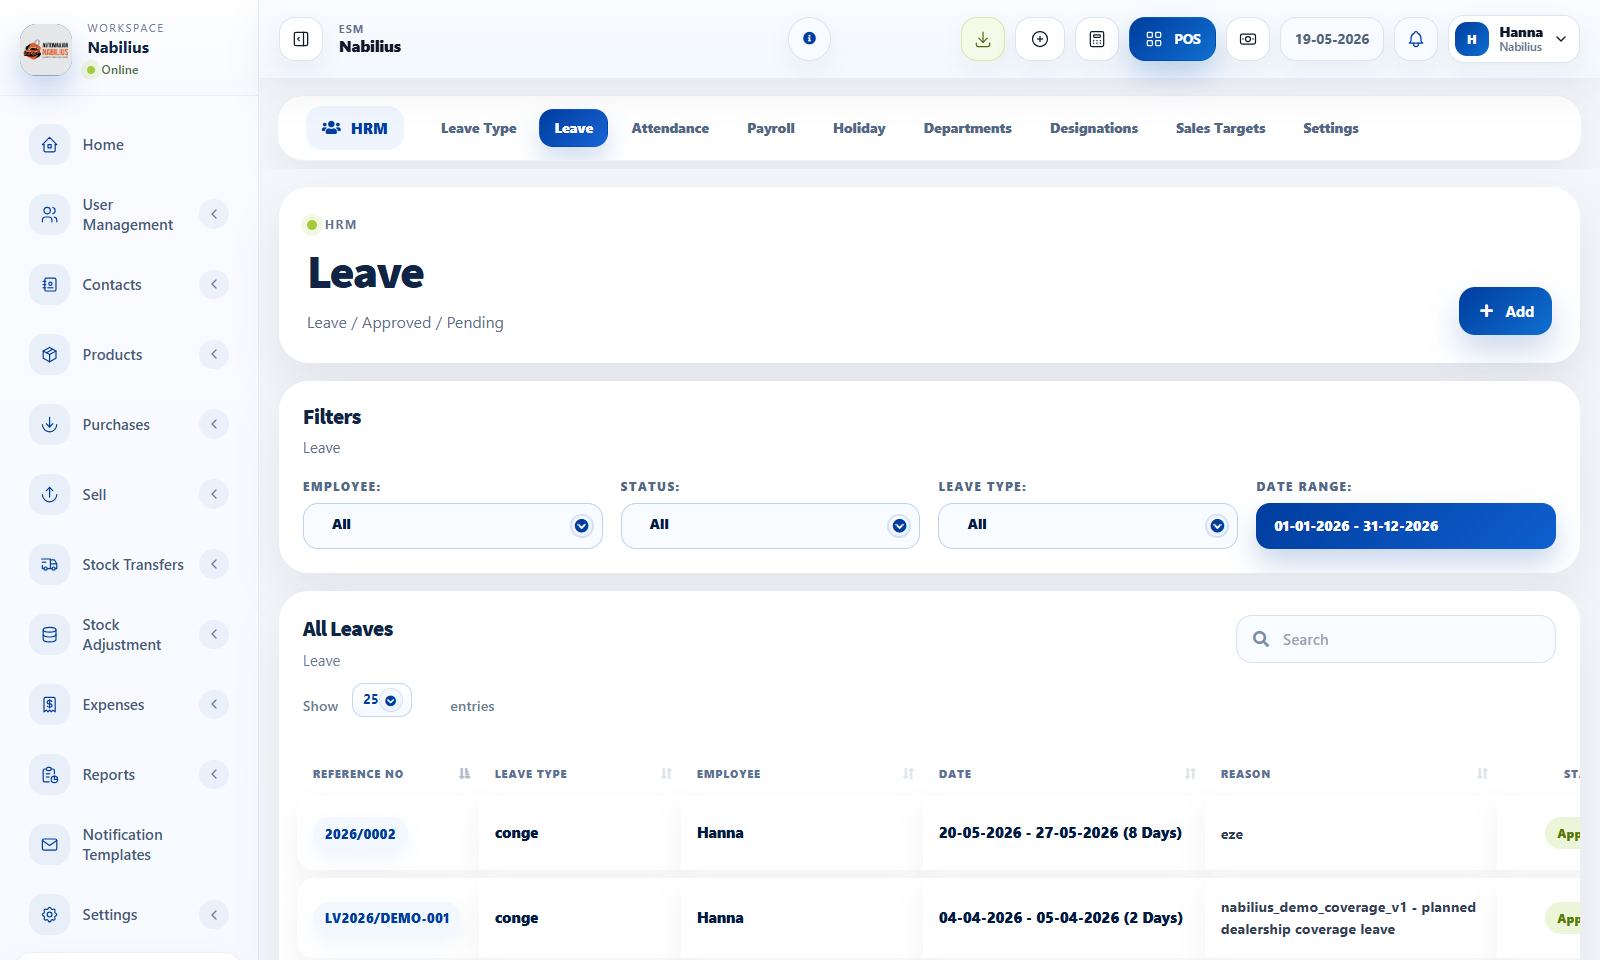
Track employee leave, attendance by date or shift, import attendance, and review activity.
HRM leave and attendance pages
![HRM leave and attendance pages]()
Leave management
Leave records track employee absence requests and approval status.
- Create leave types with maximum allowed days where needed.
- Add leave with employee, start date, end date, reason, and status.
- Use activity and status change modals to review or update a leave request.
Attendance
Attendance can be entered manually or imported from a template.
- Use attendance by date or shift to review present and absent staff.
- Use Import Attendance when many clock records need to be loaded.
- Download the template file and keep date/time formatting consistent.
Review routine
HRM records become important when payroll is generated.
- Review leave and attendance before payroll processing.
- Check holidays and shifts for the same period.
- Export reports when payroll or HR records need approval.
Detailed operating workflow
Use leave and attendance to track staff availability, approvals, imports, and payroll readiness.
- Create leave types before users start requesting leave.
- Add leave records with employee, start date, end date, reason, and status.
- Review attendance by date or shift and import template files when needed.
- Check leave and attendance before generating payroll.
Check before moving on
Date pickers do not trigger unsaved-change warnings when selecting dates.
Attendance import template is available and uses the expected date/time format.
Leave activity and status modals use modern table and button styling.
Review signals and troubleshooting
Use these checks when the screen looks correct but the numbers, records, or workflow do not behave as expected.
- If a leave status is wrong, use the change status modal and confirm activity history.
- If attendance is missing, compare manual entries with imported template rows.
- If payroll totals seem wrong, verify leave, attendance, holidays, and employee assignment first.
HRM and essentials
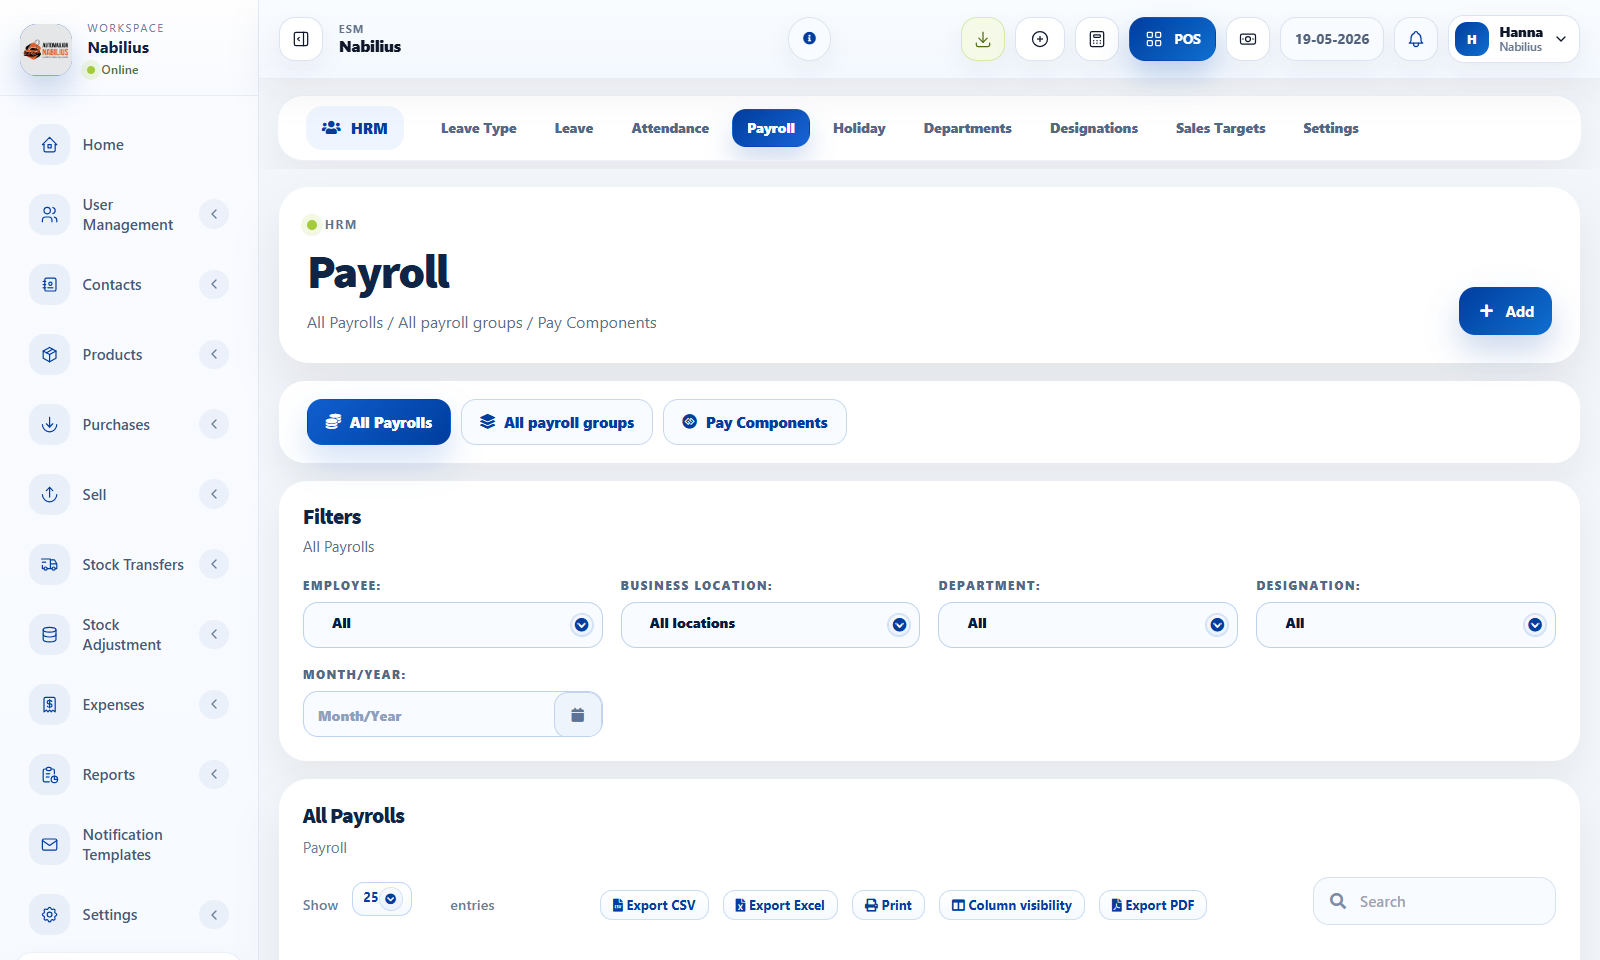
Payroll
Generate payrolls, use pay components, and understand automatically generated payroll groups.
Payroll page
![Payroll page]()
Payroll groups
Payroll groups are generated automatically from payroll runs based on selected month, location, employees, and employee structure such as department or designation.
- Use payroll groups as filters for batches created during payroll processing.
- Create a custom group only when a manual draft batch is needed.
- Review group details before final payroll approval.
Pay components
Pay components represent earnings and deductions.
- Create components for allowance, bonus, deduction, reimbursement, or statutory items.
- Keep component names clear for reports and employee review.
Payroll review
Payroll should be checked against attendance, leave, and employee details.
- Confirm the payroll month and employee selection.
- Review amounts and components before saving or approving.
- Export payroll tables for accounting records.
Detailed operating workflow
Use payroll to prepare pay runs, pay components, and automatically generated or custom payroll groups.
- Review employees, attendance, leave, holidays, departments, and designations before payroll processing.
- Use payroll groups as generated filters for payroll runs and create custom groups only for manual draft batches.
- Create pay components for recurring earnings, deductions, allowances, bonuses, or reimbursements.
- Review payroll amounts and payment status before exporting or paying.
Check before moving on
Payroll group explanation is visible and not too wide.
Add buttons, search, entries, and export buttons stay aligned in each payroll tab.
Custom group creation does not replace automatic payroll grouping.
Review signals and troubleshooting
Use these checks when the screen looks correct but the numbers, records, or workflow do not behave as expected.
- If a payroll group is missing, check the selected month, location, employees, and run status.
- If a component is wrong, correct it before payroll approval.
- Export after filters are set for the exact payroll period.
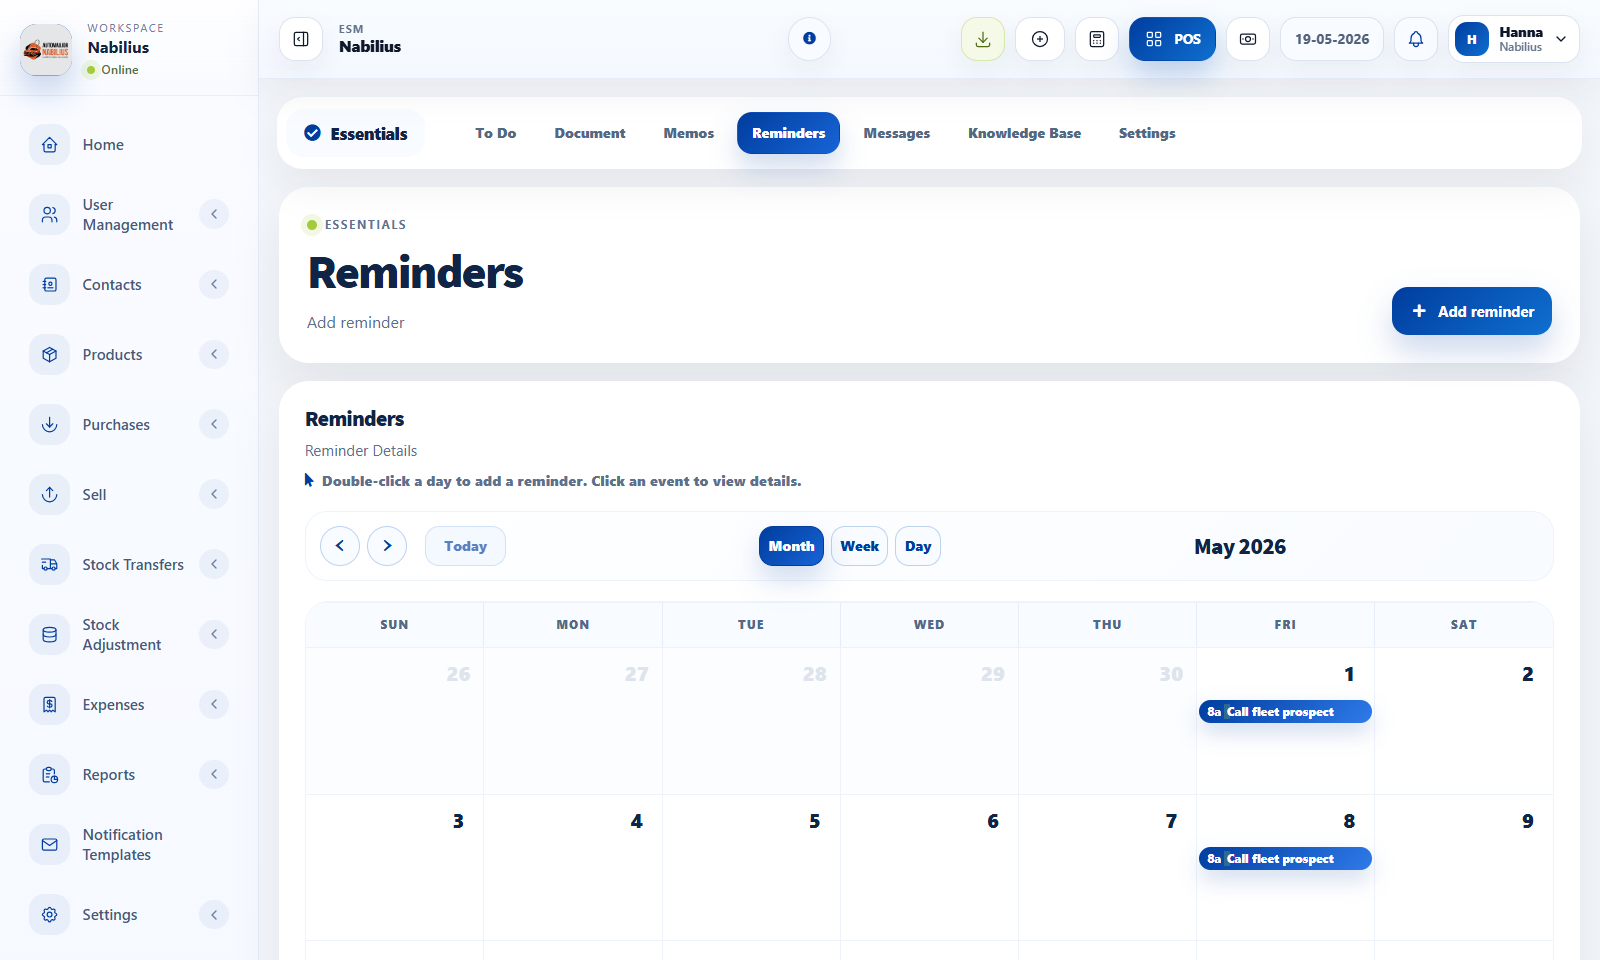
HRM and essentials
Essentials: reminders, documents, memos, and messages
Organize internal reminders, shared documents, notes, memos, knowledge base entries, and team communication.
Essentials module pages
![Essentials module pages]()
Reminders and todos
Use reminders and todos for operational follow-up without leaving ESMCloud.
- Create reminders with clear titles, dates, and assignees.
- Use calendar views to monitor upcoming work.
- Complete or update tasks when work changes status.
Documents and memos
Documents and memos keep internal context attached to the business.
- Upload documents that staff need to reference.
- Use memos for internal announcements.
- Use knowledge base pages for reusable procedures.
Sales targets
Sales targets help compare employee performance against planned goals.
- Define targets for the relevant employee and period.
- Review sales target tables with date and employee filters.
Detailed operating workflow
Use Essentials for reminders, documents, memos, knowledge base, messages, and internal follow-up.
- Create reminders with title, date, assignee, priority, and enough notes to make follow-up clear.
- Use the calendar to review upcoming work and switch between relevant reminder views.
- Upload documents and memos where staff need repeatable internal references.
- Use knowledge base pages for procedures that should not live only in chat or memory.
Check before moving on
Calendar views are readable and consistent with the dashboard design.
Reminder dates use the intended single-date picker behavior.
Shared documents and memos have clear visibility rules.
Review signals and troubleshooting
Use these checks when the screen looks correct but the numbers, records, or workflow do not behave as expected.
- If a reminder does not show, check date, assignee, and status filters.
- If documents are hard to find, improve names and categories before uploading more files.
- Review completed reminders periodically so active lists stay useful.
Settings and billing
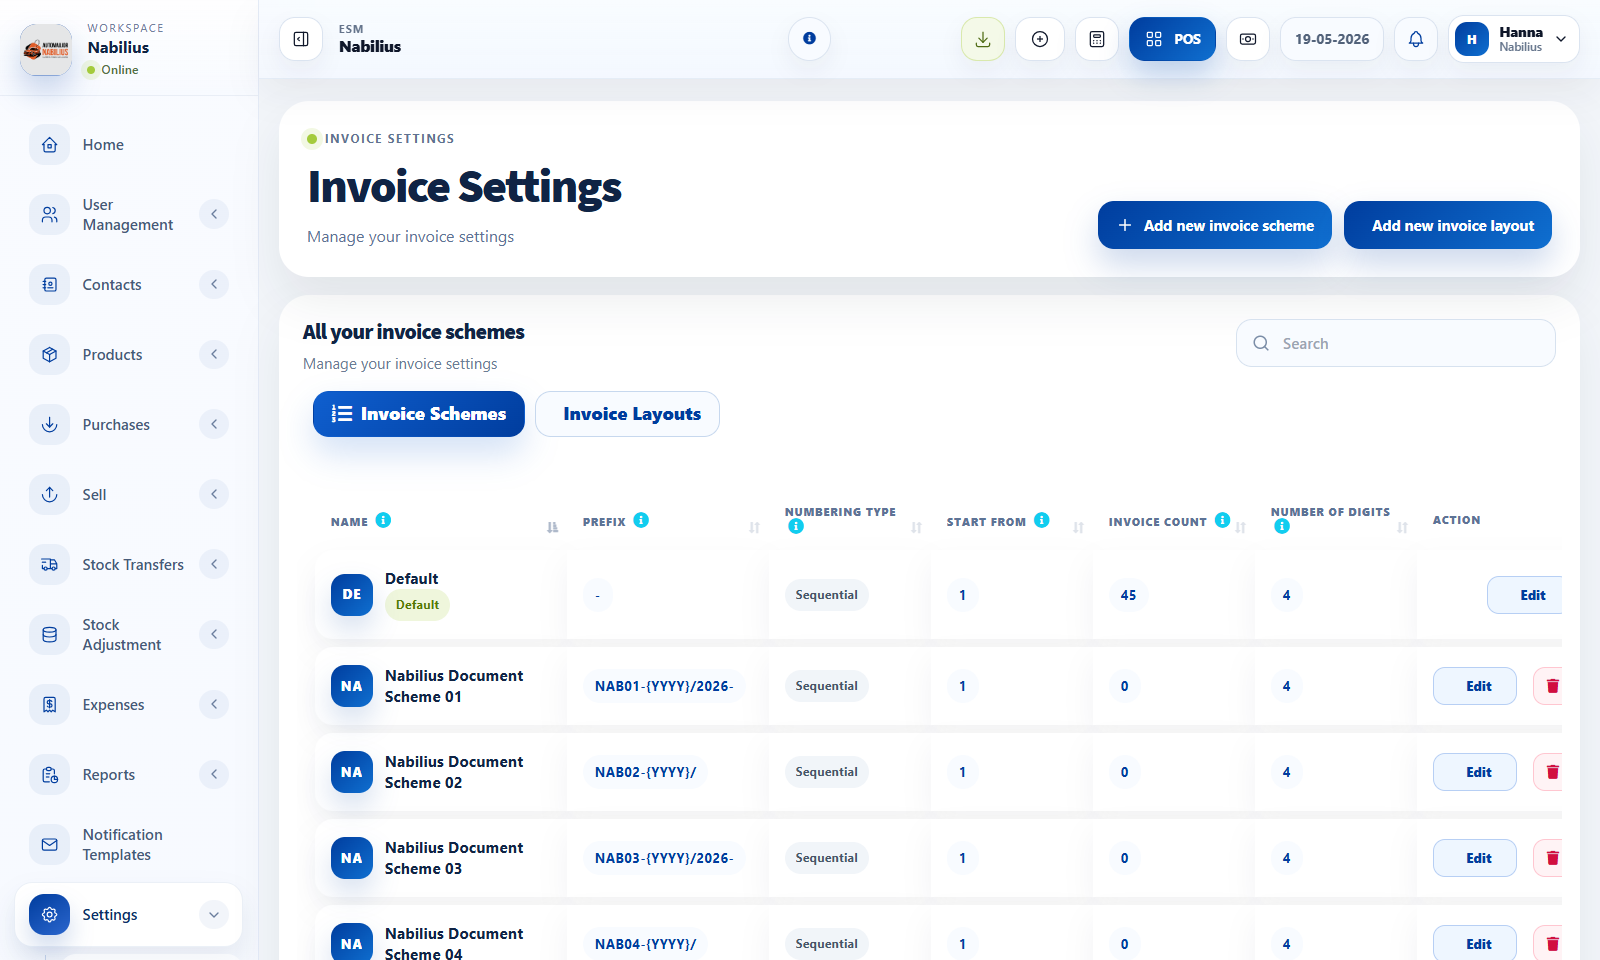
Invoice schemes, layouts, barcodes, and printers
Control invoice numbers, print layouts, barcode labels, receipts, logos, tax labels, and printer setup.
Invoice settings pages
![Invoice settings pages]()
Invoice schemes
Invoice schemes control numbering format and sequence.
- Create schemes for sales, POS, quotations, or location-specific numbering when needed.
- Use previews to confirm the next invoice number format.
- Do not reset sequences casually because invoice numbering is an accounting control.
Invoice layouts
Invoice layouts control what customers see on printed or PDF documents.
- Upload invoice logo and configure customer, tax, due, reward point, QR, and footer labels.
- Use checkbox tiles to show or hide optional invoice fields.
- Assign the layout to business locations after saving.
Barcodes and printers
Barcode settings and printers support labels, receipts, and cash drawer workflows.
- Create barcode settings that match the paper and label dimensions.
- Configure printers according to the device type and receipt format.
- Test print before using a new format in live operations.
Detailed operating workflow
Use invoice settings to control numbering, print layout, barcode labels, printers, logos, and customer-facing labels.
- Create invoice schemes with safe numbering formats and preview the next number before saving.
- Create invoice layouts with logo, customer labels, date labels, tax labels, QR options, totals, and footer text.
- Create barcode settings for the paper size and label dimensions used by the business.
- Configure printers and test receipts or labels before assigning them to live operations.
Check before moving on
Invoice scheme and invoice layout tables load and switch cleanly.
Checkbox tiles align with paired fields and info icons sit inside tiles.
Invoice logo and file inputs are aligned and readable.
Review signals and troubleshooting
Use these checks when the screen looks correct but the numbers, records, or workflow do not behave as expected.
- If numbering dropdowns or modal scrollbars break, check Select2/dropdown z-index inside modals.
- If invoice layout fields look misaligned, use the empty-label-space pattern for checkbox tiles.
- Assign defaults to business locations after creating schemes and layouts.
Practical notes
- Keep one default invoice scheme and one default layout available at all times.
- Keep a short internal note explaining which scheme and layout each location should use.
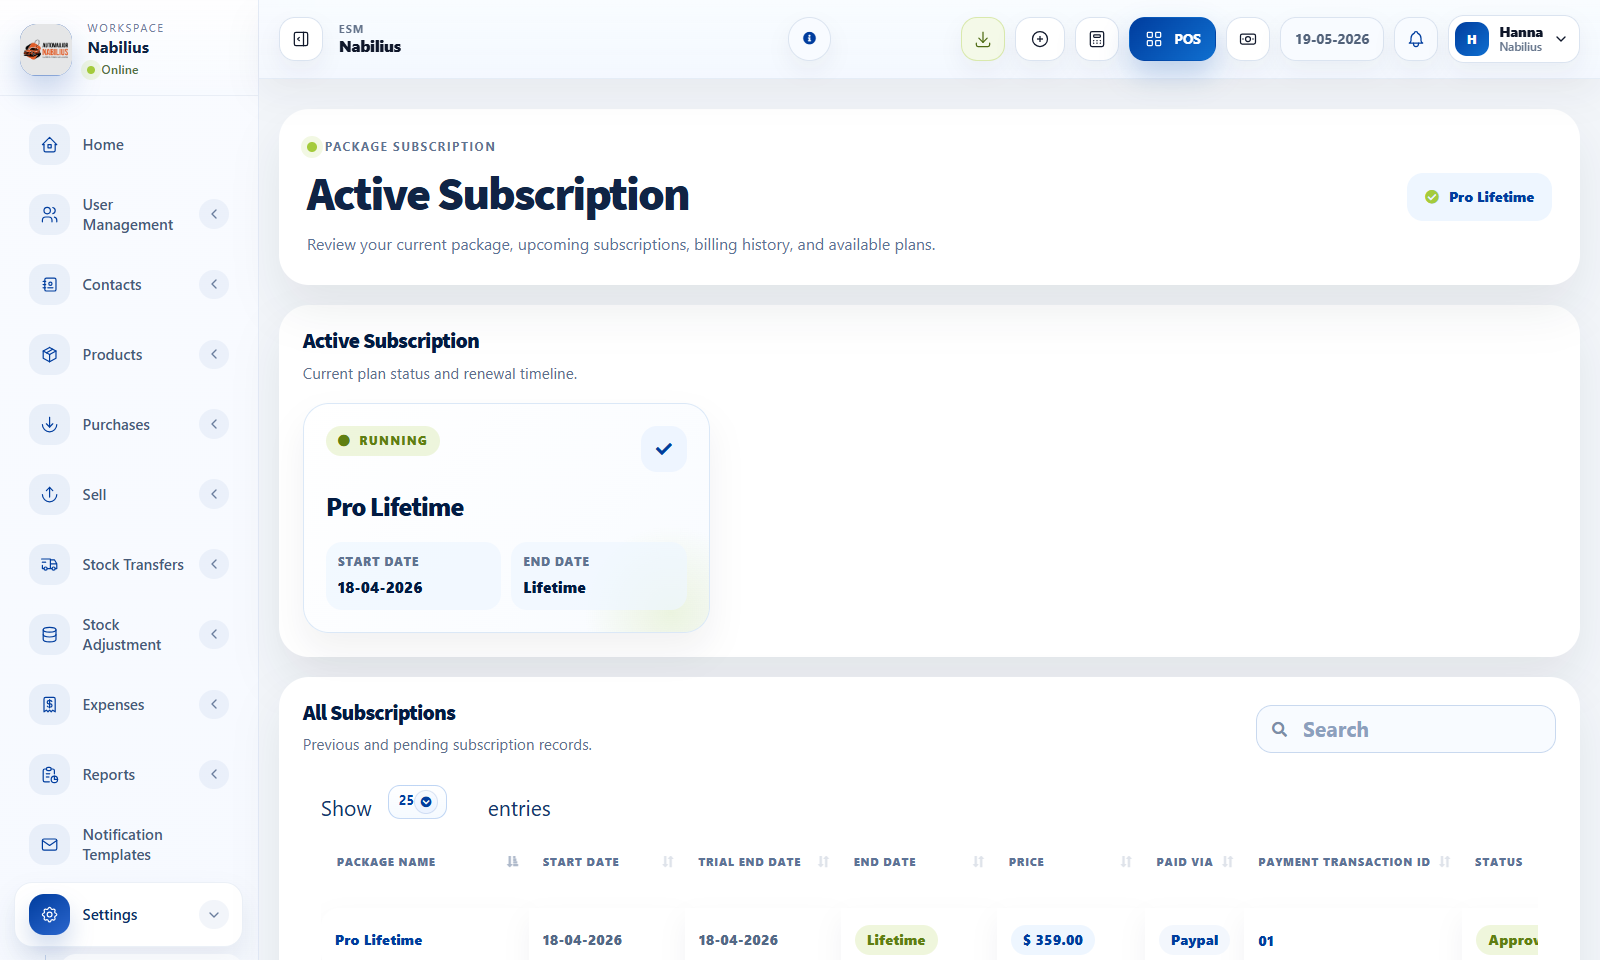
Settings and billing
Subscriptions and billing
Review active subscriptions, packages, billing cadence, special offers, lifetime intervals, and payment status.
Active Subscription and Pricing pages
![Active Subscription and Pricing pages]()
Package selection
Packages define access, limits, and billing behavior.
- Choose monthly, annual, special offer, or lifetime packages where available.
- Review plan limits before starting or renewing a subscription.
- Use coupons only when they are valid for the selected package.
Payment flow
Payment providers and offline payments keep subscription state in sync with business access.
- Confirm total amount before checkout.
- Use local HTTP only for local development; production payment callbacks should use HTTPS.
- Check active subscription after payment succeeds.
Access checks
Subscription status can affect whether a business can use the app.
- If an account is inactive, check business status and subscription status.
- If a payment provider fails locally, check provider credentials and SSL certificate configuration.
Detailed operating workflow
Use subscriptions to manage package access, billing cadence, coupons, payment methods, and active status.
- Review the active subscription before changing packages or billing intervals.
- Select monthly, annual, special offer, or lifetime intervals based on available package data.
- Apply coupon codes before payment and verify total amount payable.
- Use payment provider flows only after local/prod HTTPS and callback requirements are understood.
Check before moving on
Special offer is the default pricing interval when intended.
Lifetime intervals can have an empty interval count and no forced end date.
All subscriptions table loads or shows a clean no-data state.
Review signals and troubleshooting
Use these checks when the screen looks correct but the numbers, records, or workflow do not behave as expected.
- If an account is inactive, check business status, subscription status, and payment confirmation.
- If PayPal or MyFatoorah fails locally, confirm local SSL handling without weakening production HTTPS.
- If a coupon changes the total, verify the payable tile recalculates immediately.
Settings and billing
Troubleshooting checklist
Resolve common issues such as tables stuck processing, missing products, stock mismatches, date filters, and SSL warnings.
Support and troubleshooting workflow
![Support and troubleshooting workflow]()
Table stuck on processing
A table stuck on Processing usually means the AJAX response failed or the server returned unexpected JSON.
- Open browser developer tools and inspect the network request.
- Check Laravel logs for the related controller error.
- Confirm columns in Blade and controller JSON match.
- If counts change between pages, inspect recordsTotal, recordsFiltered, and pagination parameters.
Products not appearing
Product visibility depends on status, stock, location, selling flags, and filters.
- Check product active status and Not for selling setting.
- Check business location and current stock.
- Clear category, brand, and search filters.
Payment provider SSL warning
Local Windows/WAMP setups may need a trusted CA bundle for cURL. Production should keep SSL verification enabled.
- Install or point PHP cURL to a valid CA bundle locally.
- Do not disable HTTPS or SSL verification in production.
- Check payment provider callback URLs after changing the domain.
Detailed operating workflow
Use this checklist when a table, dropdown, form, screenshot, payment provider, or report behaves unexpectedly.
- Capture the page URL, user, business, date range, selected location, and exact action that failed.
- Check browser console and network response before editing view code.
- Check Laravel logs and the relevant controller method for server-side table or AJAX failures.
- Reproduce the issue with one controlled record before generalizing a fix across the app.
Check before moving on
The failure is not caused by stale filters, hidden columns, or missing permissions.
The DataTable column definition matches the JSON keys returned by the controller.
Local-only SSL workarounds are not used in production payment flows.
Review signals and troubleshooting
Use these checks when the screen looks correct but the numbers, records, or workflow do not behave as expected.
- If a visual change does nothing, inspect whether another shared partial overrides the selector.
- If a dropdown style reverts after interaction, patch the initialized Select2/dropdown state, not only the original select.
- If a table is blank but counts exist, inspect row rendering and data keys before changing the query.
Practical notes
- For production issues, capture the exact URL, user, time, network response, and Laravel log line before changing code.
- Fix one confirmed cause at a time; broad UI or query changes can hide the original failure.